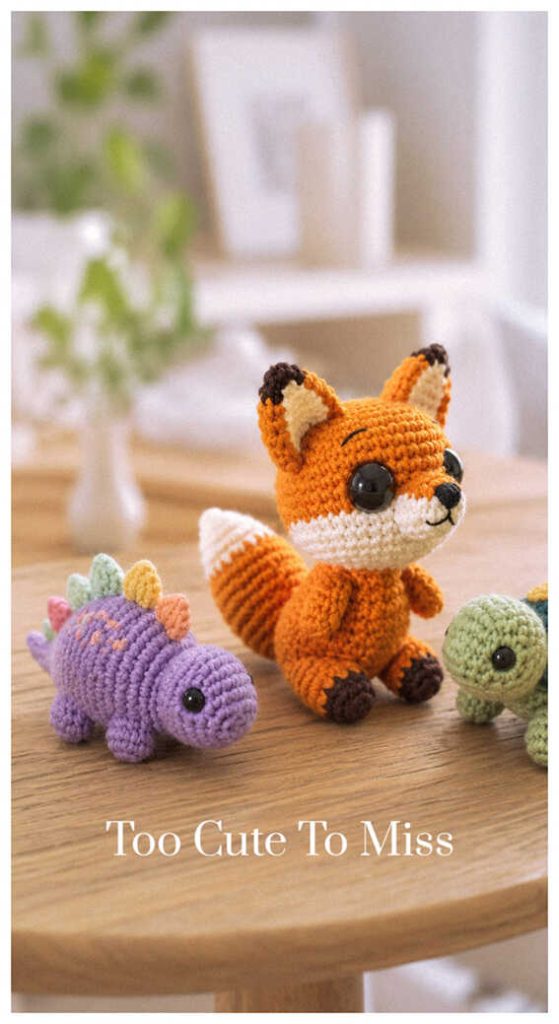
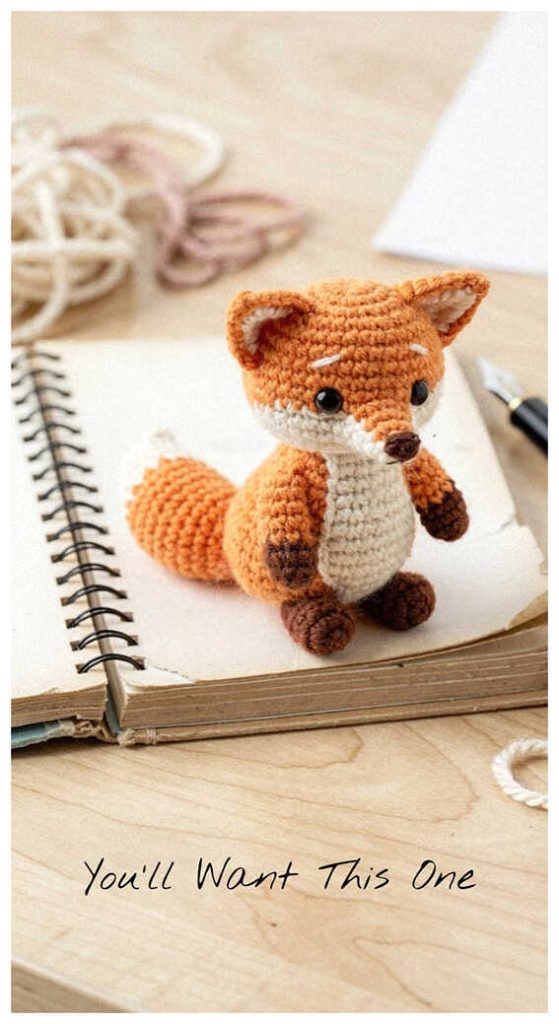
Free Red Fox Amigurumi Pattern You’ll Want to Make
Designer: My Hobby / Orekhovo-Zuyevo
VK: @myhobby
Difficulty Level: Intermediate
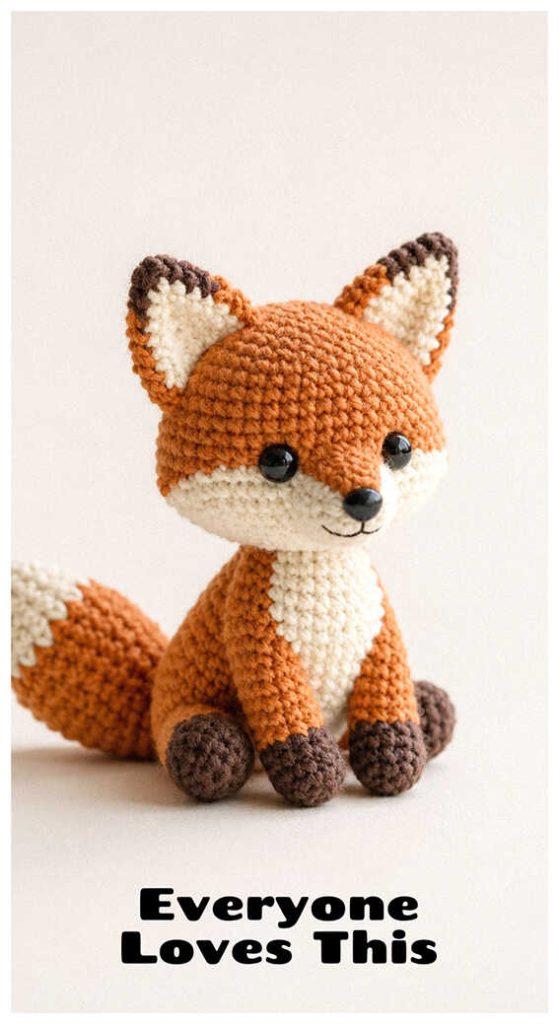
A cozy woodland crochet project to add fluffy handmade charm to your collection
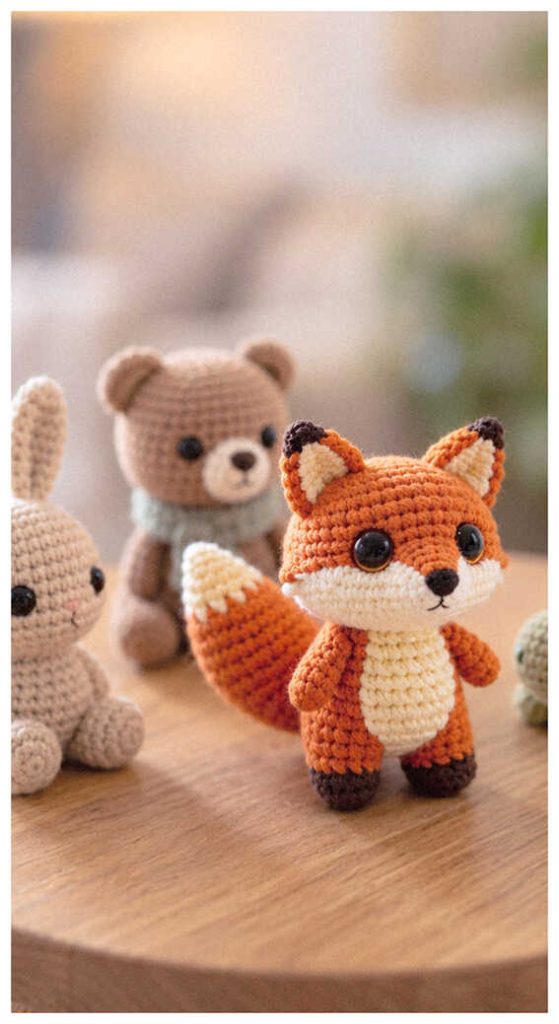
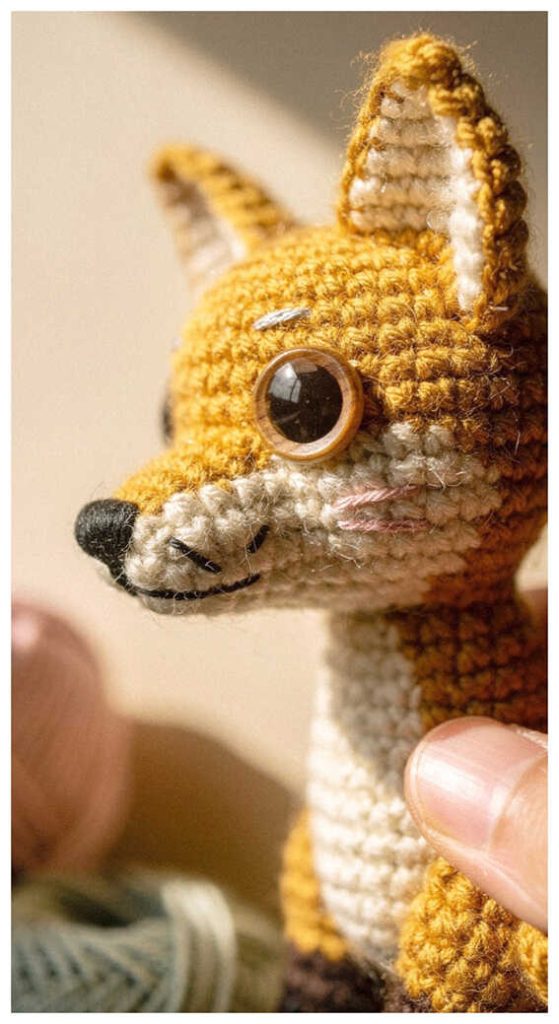
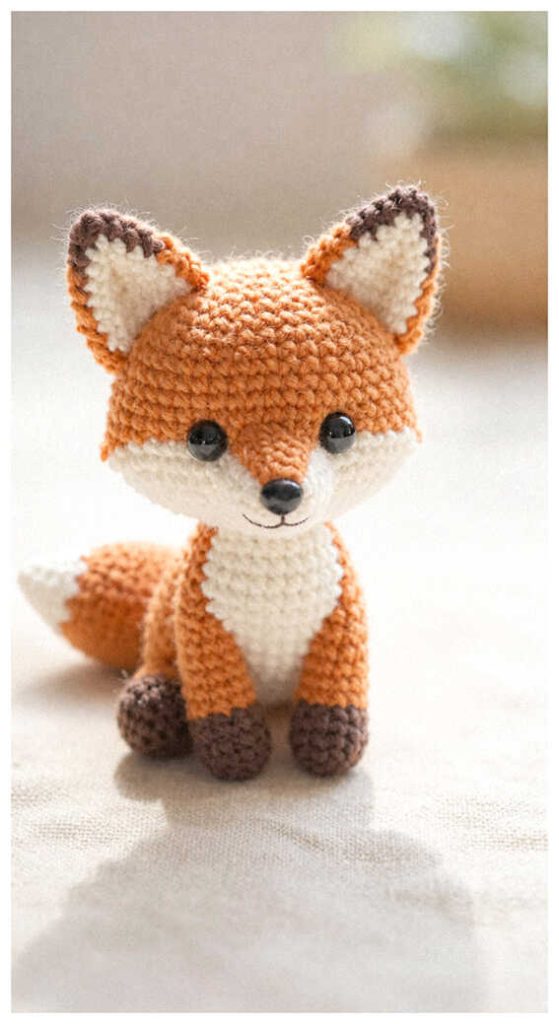
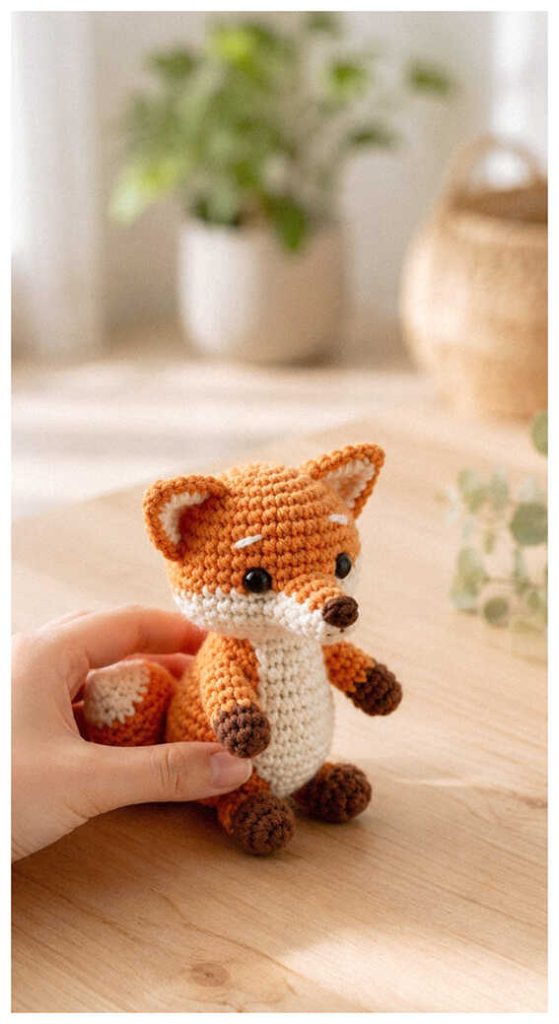
Create something adorable with this free red fox amigurumi pattern featuring soft long-pile texture and charming woodland character. This cute crochet animal makes a lovely handmade gift idea, cozy crochet decor piece, or soft crochet toy for animal lovers. The fluffy finish gives this fox extra personality, and we sincerely thank the designer for sharing this beautiful creation. You’ll also find more inspiring red fox amigurumi ideas waiting at the end of the pattern.
The full pattern is just below—scroll down whenever you’re ready to begin.
This is an intermediate amigurumi pattern with separate parts, shaping, and finishing details using techniques similar to character-focused projects like those by Elena Konstantinova. If you enjoy creative designs, you might also love the cute snake amigurumi from our blog.
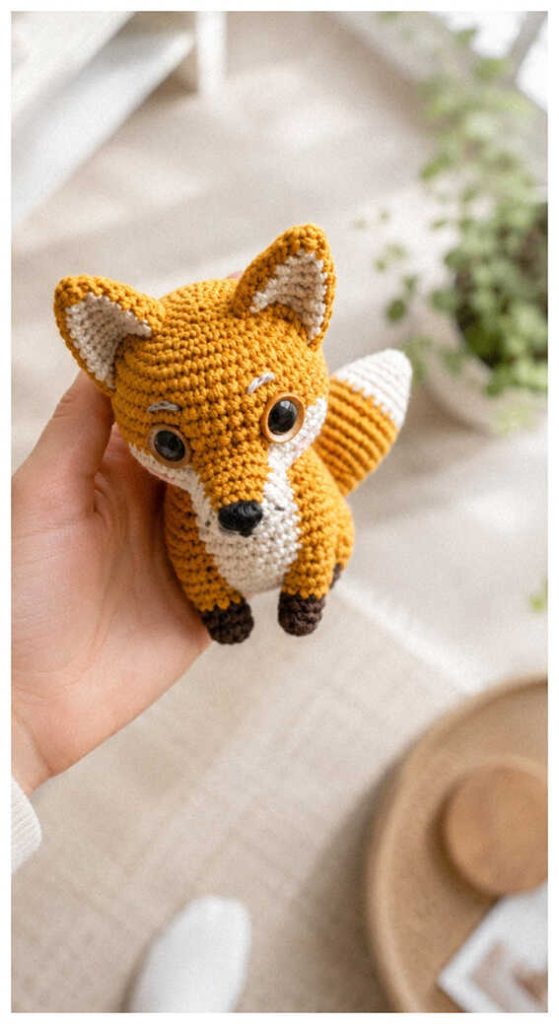
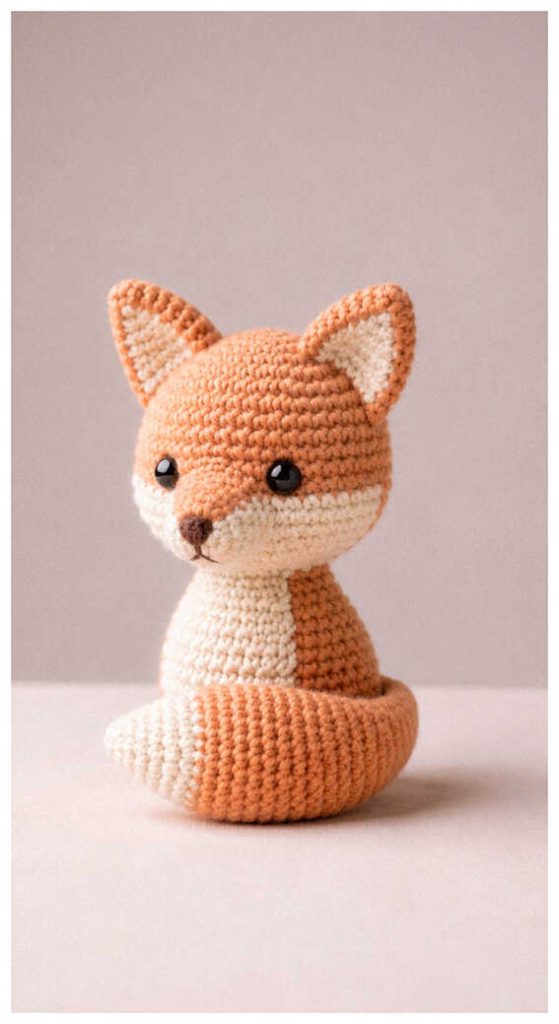
The design uses long-pile yarn like Nako Paris for a fluffy effect, while a slicker brush helps create extra softness. You may also enjoy the jellyfish amigurumi as a playful contrast project from another part of our blog network.
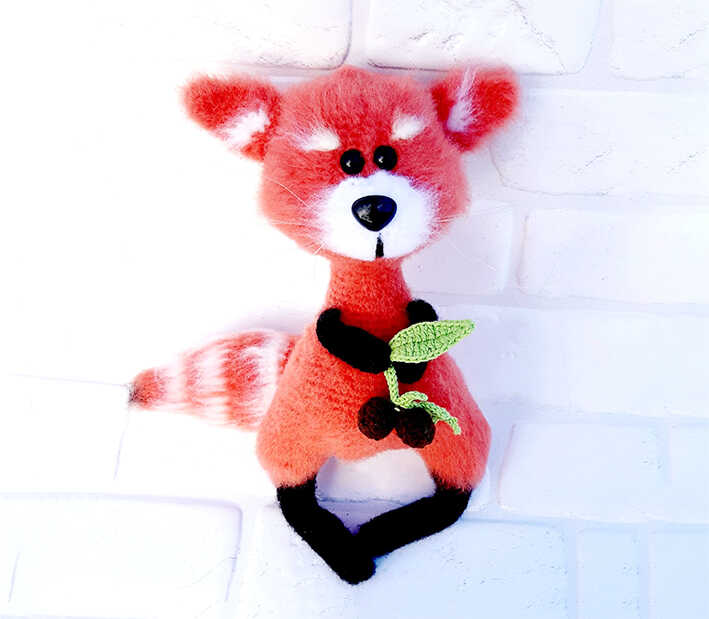
You’ll see how this red fox gains its fluffy charm through clever shaping.
Materials and Tools
• Yarn:
▸ Nako Paris (or similar long-pile yarn)
▸ Main fox color
▸ Black
▸ White
• Crochet hook
• Larger crochet hook (for tail)
• Safety eyes
• Safety nose
• Fiberfill stuffing
• Slicker brush
• Stitch markers
• Pins
• Needle for sewing parts
• Scissors
Abbreviations
MR — magic ring
ch — chain
sl st — slip stitch
sc — single crochet
inc — increase
dec — decrease
triple inc — work 3 sc in one stitch
triple dec — crochet 3 stitches together
quadruple dec — crochet 4 stitches together
(…) x n — repeat n times
HOW TO MAKE A CUTE RED FOX AMIGURUMI YOU’LL WANT TO MAKE
Ears (Make 2)
R1: 6 sc in MR (6)
R2: (2 sc, inc) x 2 (8)
R3: (3 sc, inc) x 2 (10)
R4: 10 sc
R5: (4 sc, inc) x 2 (12)
R6: (5 sc, inc) x 2 (14)
R7: (6 sc, inc) x 2 (16)
R8: (7 sc, triple inc) x 2 (20)
R9: 20 sc
R10: 2 sc, quadruple dec, 3 sc, dec, 9 sc (16)
R11: Fold in half and crochet through both layers (8)
Leave a tail for sewing.
Muzzle
Ch 5.
Starting from the 2nd chain from hook:
R1: 1 sc, 2 inc, 1 sc, ch, turn
R2: 2 sc, 2 inc, 2 sc, ch, turn
R3: 3 sc, 2 inc, 3 sc, ch, turn
R4: 10 sc, ch, turn
R5: 2 sc, inc, 4 sc, inc, 2 sc, ch, turn
R6: 12 sc, ch, turn
R7: 1 sc, dec, 6 sc, dec, 1 sc, ch, turn
R8: 1 sc, dec, 4 sc, dec, 1 sc, ch, turn
R9: 1 sc, dec, 2 sc, dec, 1 sc, ch, turn
R10: 6 sc
Leave a tail for sewing.
Arms (Make 2)
Use black yarn.
R1: 5 sc in MR
R2: 5 inc (10)
R3–R8: 10 sc
R9–R12: 4 sl st, 6 sc (10)
R13: 4 sl st, 2 sc, dec, 2 sc (9)
R14: 5 sc, dec, 2 sc (8)
R15: Fold in half and crochet through both layers (4)
Tail
Use a larger hook.
R1: 4 sc in MR
R2: (1 sc, inc) x 2 (6) — black yarn
R3: (1 sc, inc) x 3 (9)
R4: (2 sc, inc) x 3 (12)
R5–R6: 12 sc
R7: (3 sc, inc) x 3 (15)
R8: (4 sc, inc) x 3 (18)
R9: 18 sc — white yarn
R10: (5 sc, inc) x 3 (21) — white yarn
R11: 21 sc
R12: (6 sc, inc) x 3 (24)
R13: 24 sc
R14: (7 sc, inc) x 3 (27)
R15: 27 sc — white yarn
R16: (8 sc, inc) x 3 (30) — white yarn
R17–R22: 30 sc
R23: (8 sc, dec) x 3 (27)
R24: (7 sc, dec) x 3 (24)
R25: 2 dec, 9 sc, 2 inc, 9 sc (24)
R26: (dec, 6 sc) x 3 (21)
R27: 21 sc
R28: 2 dec, 8 sc, 2 inc, 7 sc (21)
R29: (dec, 5 sc) x 3 (18)
R30: 2 dec, 6 sc, 2 inc, 6 sc (18)
R31: (dec, 4 sc) x 3 (15), stuff
R32: (dec, 3 sc) x 3 (12)
R33: 12 sc
Leave a tail for sewing.
Legs (Make 2)
R1: 5 sc in MR
R2: 5 inc (10)
R3: (4 sc, inc) x 2 (12)
R4–R13: 12 sc, stuff
R14–R17: 4 sl st, 8 sc (12)
R18: 4 sl st, 3 sc, dec, 3 sc (11)
R19–R20: 11 sc
R21: 1 sc, 4 inc, 6 sc (15)
R22–R23: 15 sc
Change yarn to main color.
R24: (4 sc, inc) x 3 (18)
R25: (2 sc, inc) x 6 (24)
R26: 24 sc
Count 12 stitches and place a marker — this will be the joining point.
Fasten off one leg. Continue with the second leg.
Body
R1: 12 sc along the first leg, ch 10, 24 sc along the second leg, 10 sc along the chain, 12 sc along the first leg
R2: 12 sc, 10 sc along the chain, 46 sc (68)
R3–R4: 68 sc
R5: dec, 12 sc, (inc, 1 sc) x 3, 14 sc, dec, 14 sc, inc, 1 sc, inc, 15 sc (71)
R6: dec, 12 sc, (2 sc, inc) x 3, 14 sc, dec, 14 sc, inc, 17 sc (73)
R7: 37 sc, dec, 32 sc, dec (71)
R8: 36 sc, dec, 16 sc, dec, 13 sc, dec (68)
R9: 68 sc
R10: 12 sc, dec, 10 sc, dec, 42 sc (66)
R11: 12 sc, dec, 8 sc, dec, 42 sc (64)
R12: 12 sc, dec, 6 sc, dec, 11 sc, dec, 8 sc, dec, 9 sc, dec, 6 sc, dec (58)
R13: 58 sc
R14: 15 sc, 2 dec, 26 sc, dec, 11 sc (55)
R15: 55 sc
R16: 1 sc, dec, 26 sc, dec, 11 sc, dec, 11 sc (52)
R17: 14 sc, dec, 36 sc (51)
R18: 4 sc, dec, 8 sc, dec, 7 sc, dec, 26 sc (48)
R19: (6 sc, dec) x 6 (42)
R20: (dec, 5 sc) x 6 (36)
R21: 36 sc
R22: (4 sc, dec) x 6 (30)
R23: 30 sc
Brush out the fur.
R24: Attach the arms in this round (your stitch count may differ by 1–2 stitches): 2 sc, 4 sc together with first arm, 7 sc, 4 sc together with second arm, 13 sc (30)
R25–R26: 30 sc
Stuff firmly.
R27: (3 sc, dec) x 6 (24)
R28–R29: 24 sc
R30: (2 sc, dec) x 6 (18)
R31–R32: 18 sc
R33: (2 sc, inc) x 6 (24)
R34: (3 sc, inc) x 6 (30)
R35: (4 sc, inc) x 6 (36)
R36: 6 sc, 2 inc, 6 sc, inc, 9 sc, 2 inc, 7 sc, inc, 2 sc (42)
R37: 7 sc, 2 inc, 8 sc, inc, 11 sc, 2 inc, 8 sc, inc, 2 sc (48)
R38: 7 sc, inc, 2 sc, inc, 21 sc, inc, 2 sc, inc, 12 sc (52)
R39: 52 sc
R40: 9 sc, inc, 26 sc, inc, 15 sc (54)
R41: (6 sc, inc) x 7, 5 sc (61)
R42–R44: 61 sc
Brush out the fur.
R45: 12 sc, 5 dec, 11 sc, 5 dec, 14 sc, dec, 2 sc (50)
R46: 50 sc
R47: 13 sc, triple dec, 13 sc, triple dec, 18 sc (46)
R48–R52: 46 sc
Brush out the fur. Insert safety eyes at the level of R46. Stuff firmly, especially the neck area.
R53: (6 sc, dec) x 5, 6 sc (41)
R54: 19 sc, dec, 20 sc (40)
R55: (3 sc, dec) x 8 (32)
R56: (1 sc, dec) x 10, dec (21)
Stuff firmly.
R57: dec, 19 sc (20)
R58: 10 dec (10)
R59: Pull the remaining stitches closed and fasten off.
Assembly
Sew the tail to the back of the body.
Sew the ears to the top of the head.
Sew the muzzle to the face.
Attach the safety nose.
Brush out the fur thoroughly using a slicker brush.
Add whiskers.
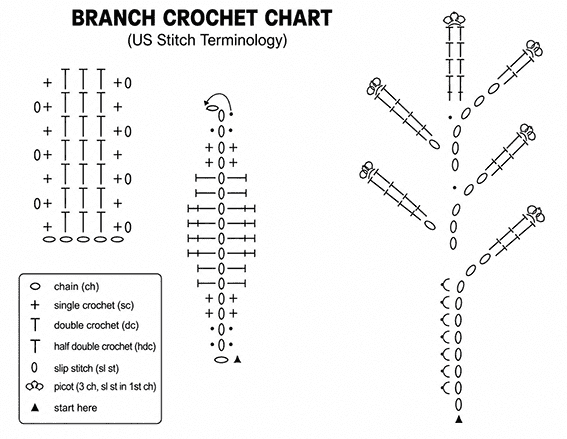
Branch Crochet Chart
Copyright & Credits
This pattern was originally created by Joint Purchases in @myhobby. The pattern itself may not be redistributed, copied, or republished without permission. You may sell finished toys made from this pattern, provided proper credit is given to the original designer.
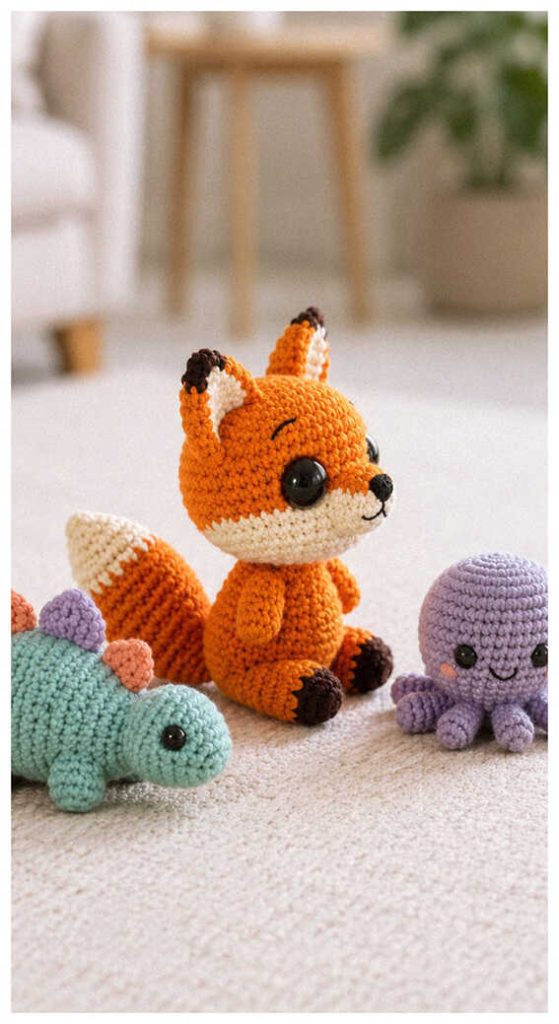
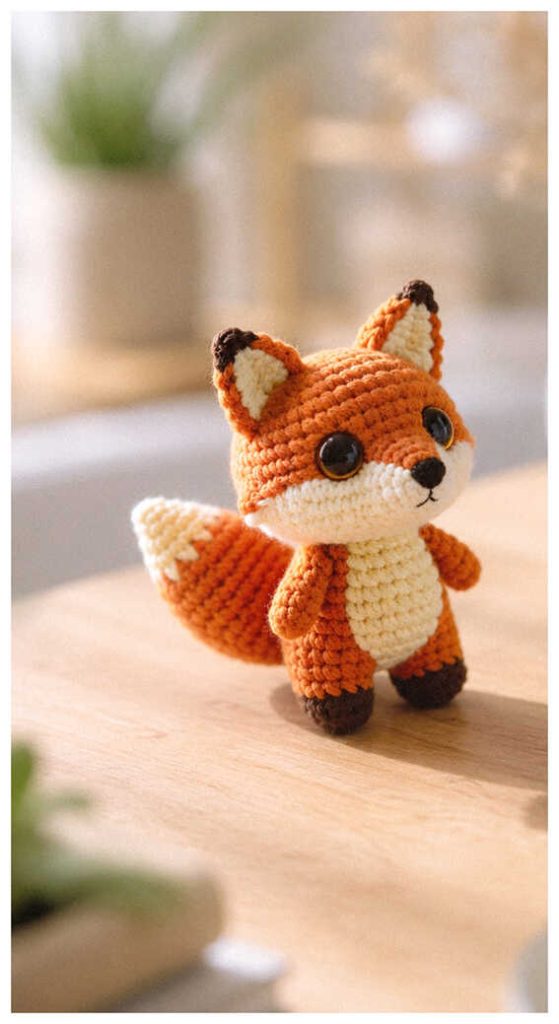
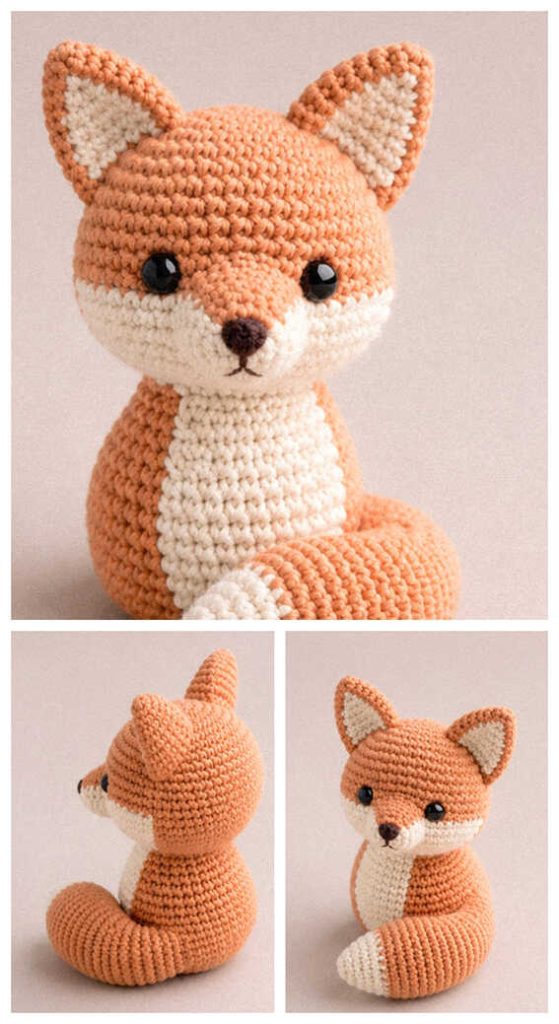
Soft and playful, amigurumi fox designs are a charming handmade gift idea for animal lovers and anyone who enjoys cozy handmade decor. If you’re wondering who is this for, these cute fox projects make a perfect gift for birthdays, nursery shelves, or thoughtful surprises. It’s easy to see why people love this style—warm colors, woodland charm, and adorable details that instantly stand out.
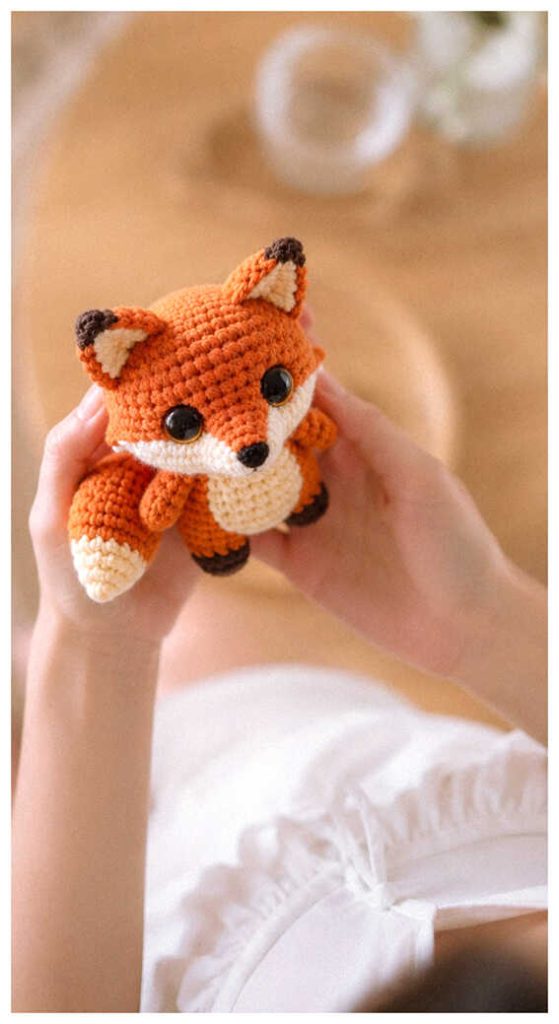
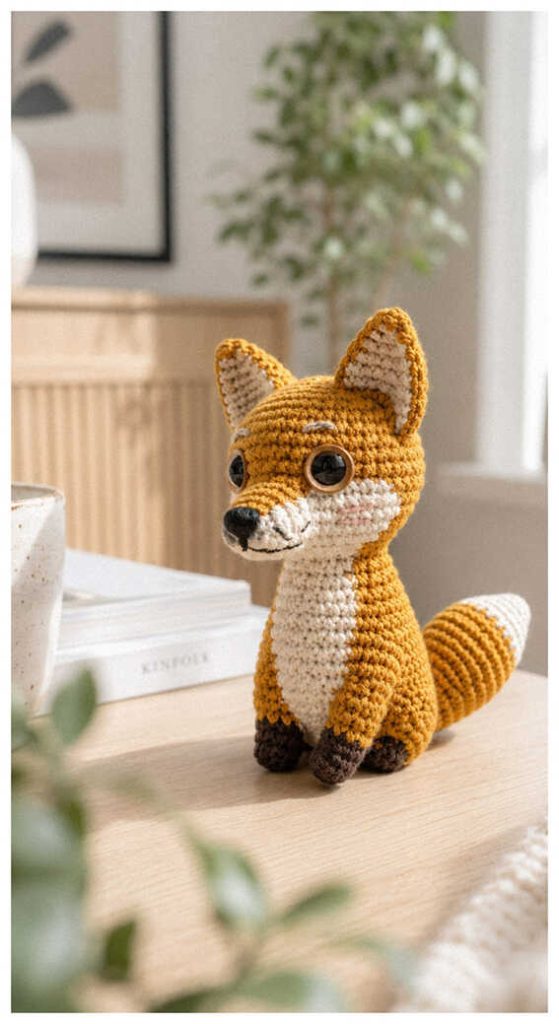
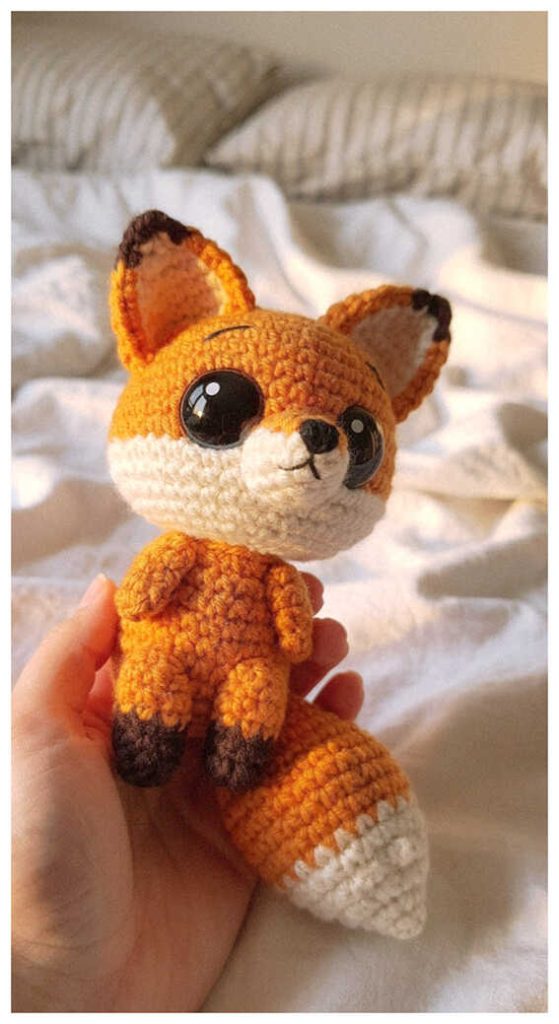
Cute Amigurumi Fox You’ll Want to Make