Free Goat Kids Amigurumi Pattern You’ll Want to Make
Designer: Julia Gavrilova
Instagram: @julia_knitting11
Difficulty Level: Intermediate
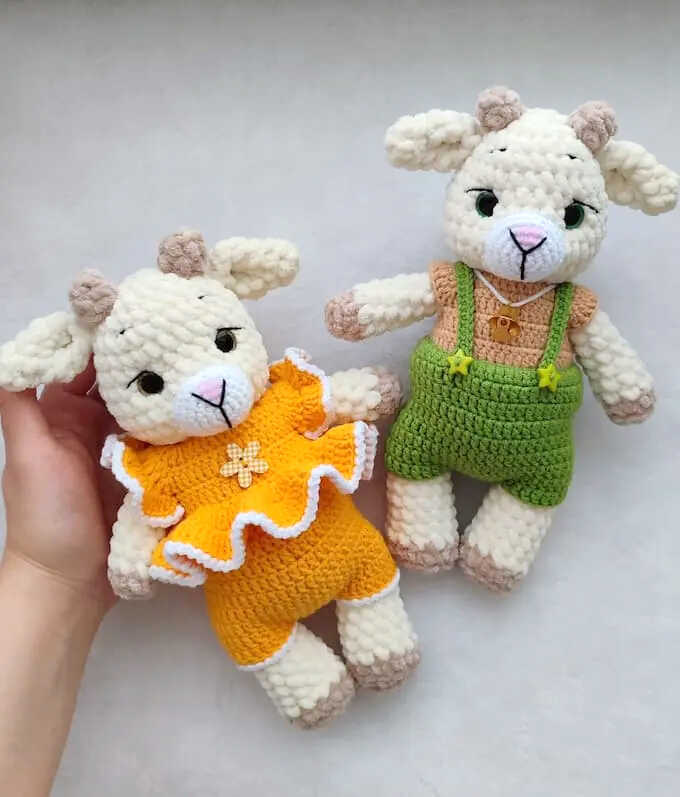
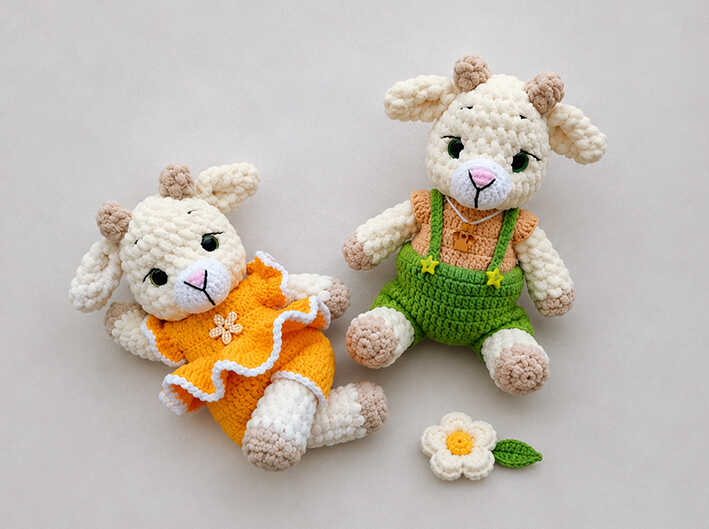
A sweet handmade pair is ready to bring extra charm to your crochet time
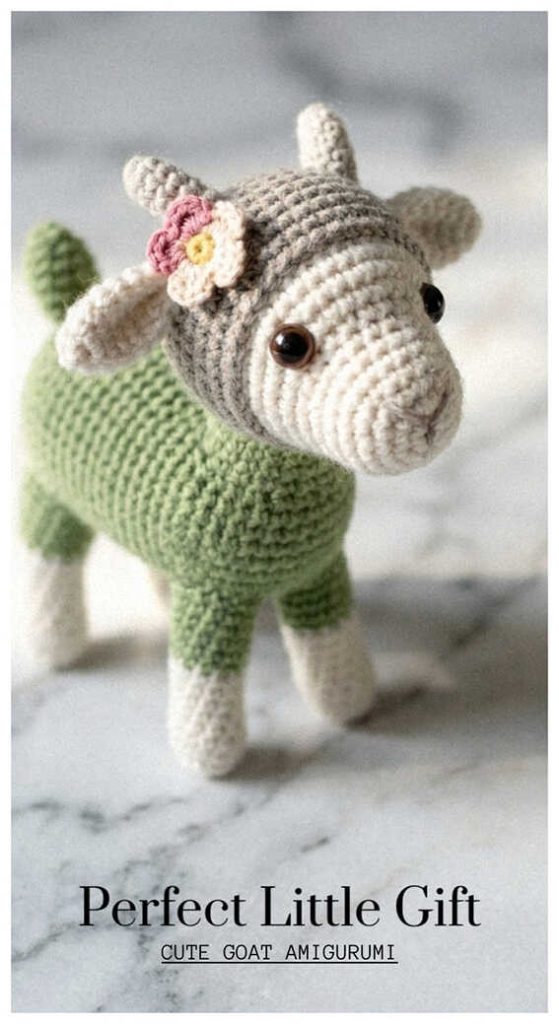
Create something adorable with this free Goat Kids amigurumi pattern designed by Julia Gavrilova (@julia_knitting11). This delightful boy-and-girl duo makes a perfect handmade gift idea, nursery decor accent, or soft crochet toy for animal lovers. Plush yarn gives the goats a cozy texture, while cotton clothing adds playful detail. We sincerely thank Julia Gavrilova for sharing this charming design, and you’ll also find more inspiring goat amigurumi ideas waiting at the end of the pattern.
The full pattern is just below—scroll down whenever you’re ready to explore the details.
This is an intermediate amigurumi pattern with separate parts, outfit details, and finishing work. If you enjoy sweet animal projects, you might also love the baby llama amigurumi from one of our other blogs.
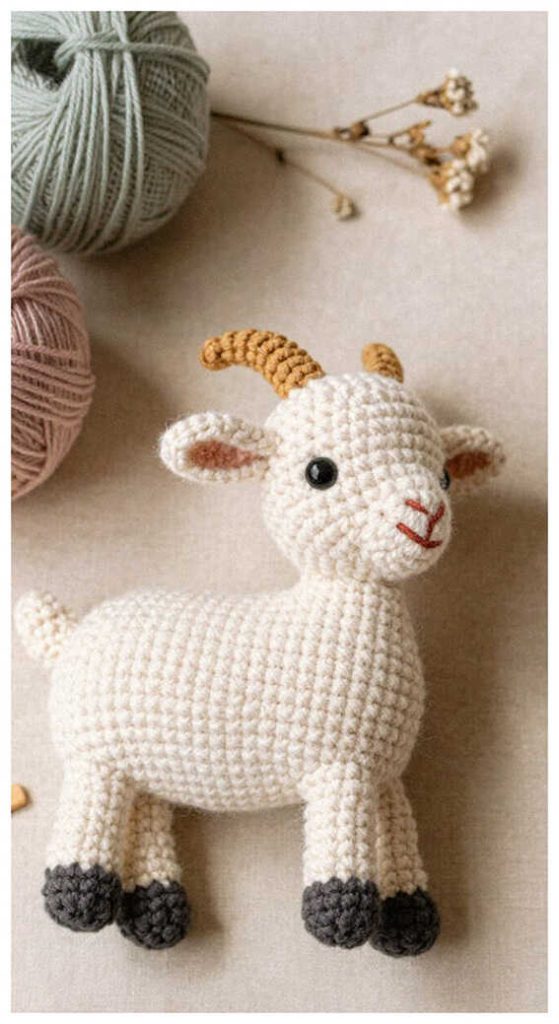
The design combines plush and cotton yarn for texture contrast, creating a beautifully detailed pair. You may also enjoy the little squirrel amigurumi as another charming animal project.
You’ll love seeing how these goat kids come together with charming outfit details.
Materials and Tools
• Yarn:
▸ YarnArt Dolce — milky white (745), main color
▸ YarnArt Dolce — beige (771), for hooves and horns
▸ YarnArt Jeans — green (69)
▸ YarnArt Jeans — beige (07)
▸ YarnArt Jeans — yellow (35)
▸ YarnArt Jeans — white (62)
• 3.5 mm crochet hook (for plush yarn)
• 2 mm crochet hook (for cotton yarn)
• 12 mm safety eyes
• Fiberfill stuffing
• Small bells
• 9 decorative buttons (approximately 1 cm diameter)
• Stitch markers
• Pins
• Needle for sewing parts
• Scissors
Abbreviations
MR — magic ring
tch — turning chain
ch — chain
sl st — slip stitch
sc — single crochet
dc — double crochet
hdc — half double crochet
inc — increase
dec — decrease
(…) x n — repeat n times
HOW TO MAKE CUTE GOAT KIDS AMIGURUMI YOU’LL WANT TO MAKE
Arms
Stuff only halfway.
Use beige yarn.
R1: 8 sc in MR
R2: 8 sc in BLO
Change to milky white yarn.
R3–R10: 8 sc
Fold in half and crochet through both sides: 4 sc.
Legs
Stuff only halfway.
Use beige yarn.
R1: 7 sc in MR
R2: inc x 7 (14)
R3: 14 sc in BLO
Change to milky white yarn.
R4: (dec, 5 sc) x 2 (12)
R5–R9: 12 sc
R10: (dec, 4 sc) x 2 (10)
R11–R12: 10 sc
Fold in half and crochet through both sides: 5 sc.
Body + Head
R1: 6 sc in MR
R2: inc x 6 (12)
R3: (1 sc, inc) x 6 (18)
R4: (2 sc, inc) x 6 (24)
R5: (3 sc, inc) x 6 (30)
R6: Crochet the legs into this round (marker is at the back): 5 sc, 5 sc with first leg, 10 sc, 5 sc with second leg, 5 sc (30)
R7–R9: 30 sc
R10: (8 sc, dec) x 3 (27)
R11: (7 sc, dec) x 3 (24)
R12: 24 sc
R13: (6 sc, dec) x 3 (21)
R14: (5 sc, dec) x 3 (18)
R15: Crochet the arms into this round: 5 sc, 4 sc with first arm, 5 sc, 4 sc with second arm (18)
R16: (1 sc, dec) x 6 (12)
Continue directly into the head.
R17: inc x 12 (24)
R18: (3 sc, inc) x 6 (30)
R19: (9 sc, inc) x 3 (33)
R20–R22: 33 sc
R23: (9 sc, dec) x 3 (30)
R24–R25: 30 sc
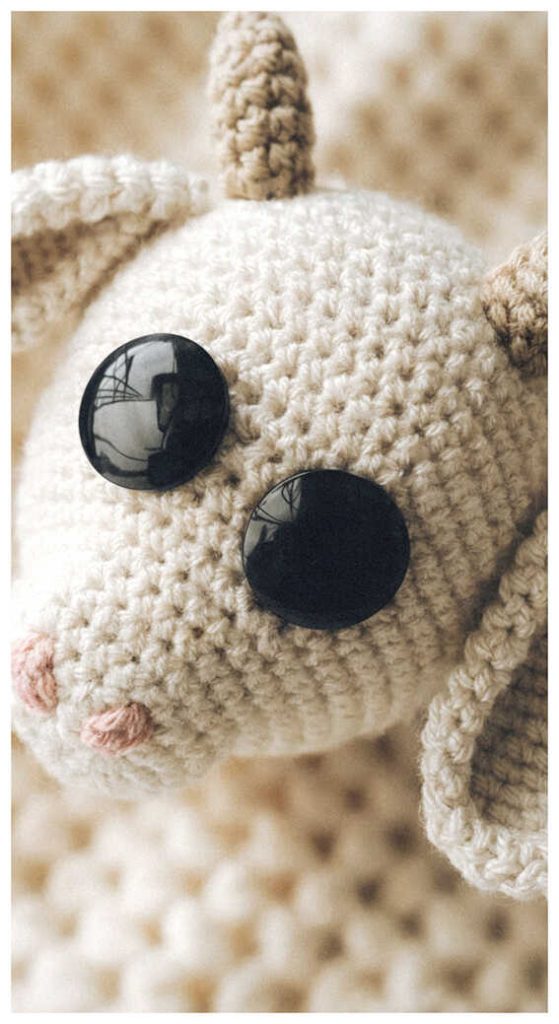
Insert safety eyes between R20 and R21, leaving 5 sc between them.
R26: (3 sc, dec) x 6 (24)
R27: (2 sc, dec) x 6 (18)
R28: (1 sc, dec) x 6 (12)
R29: dec x 6 (6)
Sculpt the eye area.
Muzzle
Use YarnArt Jeans yarn.
R1: 6 sc in MR
R2: inc x 6 (12)
R3: (1 sc, inc) x 6 (18)
R4: (2 sc, inc) x 6 (24)
R5: (7 sc, inc) x 3 (27)
R6: 27 sc
Horns
Use beige yarn.
R1: 4 sc in MR
R2: inc, 1 sc, inc, 1 sc (6)
R3: 6 sc
Ears
R1: 6 sc in MR
R2: 6 sc
R3: (1 sc, inc) x 3 (9)
R4: (2 sc, inc) x 3 (12)
R5: 12 sc
Fold in half and crochet through both sides: 6 sc. Fold in half once again and crochet 3 sc. Sew between R23 and R24.
Girl Cardigan
Work in turned rows.
Right side rows: dc
Wrong side rows: sc
Use yellow yarn.
R1: Ch 42, starting in the 4th chain from hook: 5 dc, 3 dc in one stitch, 6 dc, 3 dc in one stitch, 12 dc, 3 dc in one stitch, 6 dc, 3 dc in one stitch, 6 dc, tch, turn (48)
R2: 7 sc, 3 sc in one stitch, 8 sc, 3 sc in one stitch, 14 sc, 3 sc in one stitch, 8 sc, 3 sc in one stitch, 7 sc, 3 tch, turn (56)
R3: 7 dc, 3 dc in one stitch, 10 dc, 3 dc in one stitch, 16 dc, 3 dc in one stitch, 10 dc, 3 dc in one stitch, 8 dc, tch, turn (64)
R4: 9 sc, skip 14 dc (sleeve), ch 6, 18 sc, skip 14 dc (sleeve), ch 6, 9 sc, 3 tch, turn
R5: 8 dc, in chain space: inc, 4 dc, inc, 18 dc, in chain space: inc, 4 dc, inc, 9 dc, tch, turn (52)
R6: 52 sc, 3 tch, turn
R7: dc in the same stitch as the 3 tch, dc inc x 51, tch, turn (104)
R8: (1 sc, inc) x 52, 3 tch, turn (156)
R9: 155 dc
Using the same yarn, make button loops on the back left side:
(5 ch, 4 sl st) x 3, 5 ch, sl st
Cut yarn, fasten off, and weave in the end.
With white yarn, work along the bottom edge in BLO:
(sl st, ch) x 156
Collar
Start from the side with the button loops.
38 sl st along the neckline, tch, turn, BLO 13 sl st, 2 sc, 2 hdc, inc from dc, 1 dc, 3 ch, sl st in the same stitch as the last dc, sl st in the next stitch, 3 ch, dc in the same stitch as the 3 ch, inc from dc, 2 hdc, 2 sc, 13 sl st
Sleeve Edging
Along the sleeve edge:
(3 dc in one stitch) x 14
Cut yellow yarn.
With white yarn in BLO:
(sl st, ch) x 42
Boy Cardigan
Work the same as the girl cardigan through R6.
R7: 51 dc, tch, turn
R8: 52 sc, 3 tch, turn
R9: 51 dc
Using the same yarn, make button loops on the back left side:
(5 ch, 5 sl st) x 2, 5 ch, sl st
Cut yarn, fasten off, and weave in the end.
Shorts
The shorts are worked the same way for both the girl and the boy.
R1: Ch 52, join into a ring, 3 tch, 51 dc
R2–R9: 3 tch, 51 sc
Fold in half and, from the wrong side, sew the center with 6 sc through both layers. Each leg opening should have 23 stitches remaining.
For the girl, edge the leg openings with white yarn:
(sl st, ch) x 23
For the boy, make suspenders.
Attach yarn at the center back.
Ch 35.
Starting in the 6th chain from hook:
30 sc
Sew on buttons.
Assembly
Hang the finished pieces.
Sew the muzzle in place.
Sew the horns onto the head.
Sew the ears between R23 and R24.
Attach the safety eyes if not already inserted.
Sew on the buttons.
You can sew a small bell onto the cardigan or shorts, or glue any decorative embellishment as desired. The original design uses wooden decorative buttons.
Copyright & Credits
This pattern is designed by Julia Gavrilova; you may sell finished toys made from this pattern, but please credit the designer by tagging @julia_knitting11 and linking to their social media when sharing your work.
Soft amigurumi goat designs make a sweet handmade gift idea. Wondering who is this for? They’re a perfect gift for farm animal lovers, kids, and nursery decor fans. It’s easy to see why people love this style—cozy textures and adorable charm.
Cute Amigurumi Goat You’ll Want to Make