
Free Easy Sheep Amigurumi Pattern for Cozy Crochet Days
Designer: Olga Romahina
VK: @kotsklubkom
Difficulty Level: Beginner
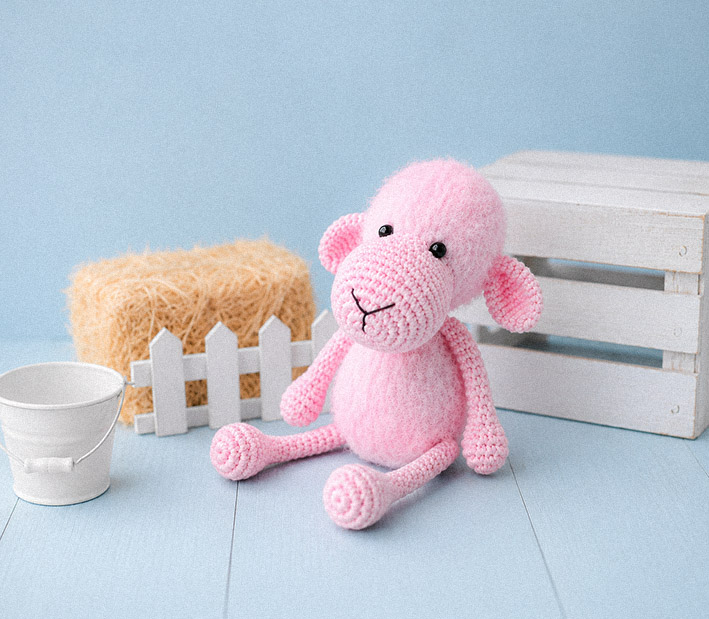
A cozy crochet favorite is ready to bring soft handmade charm to your day.
Create something adorable with this free sheep amigurumi pattern designed by Olga Romahina (@kotsklubkom). With its fluffy textured body and sweet little face, this cute crochet animal makes a lovely handmade gift idea, nursery decor accent, or soft crochet toy. As a beginner crochet project, it offers a relaxing and approachable make, and we sincerely thank Olga Romahina for sharing this charming design. You’ll also find more inspiring sheep amigurumi ideas waiting at the end of the pattern.
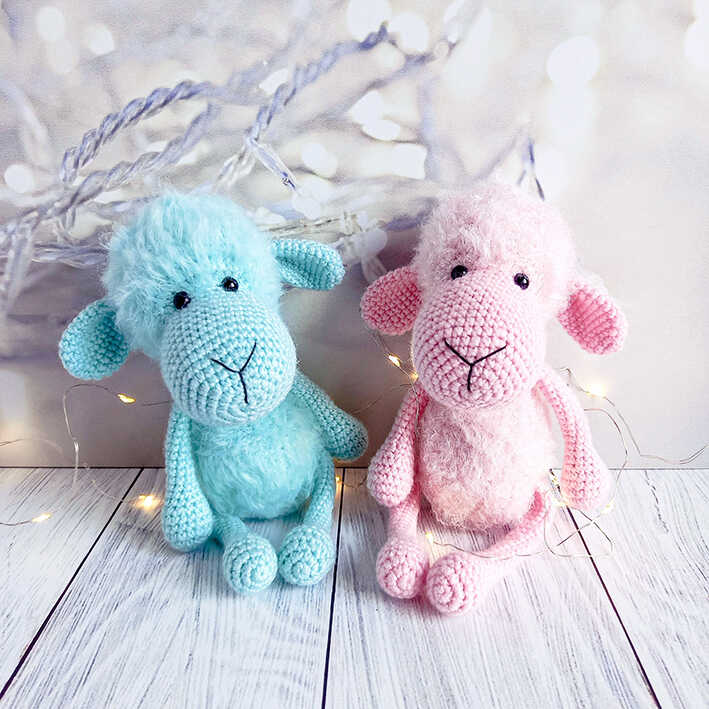
This beginner-friendly amigurumi pattern combines textured and smooth yarn for beautiful contrast while keeping the shaping simple and enjoyable. If you enjoy cozy animal projects, you might also love the mole amigurumi from one of our other blogs.
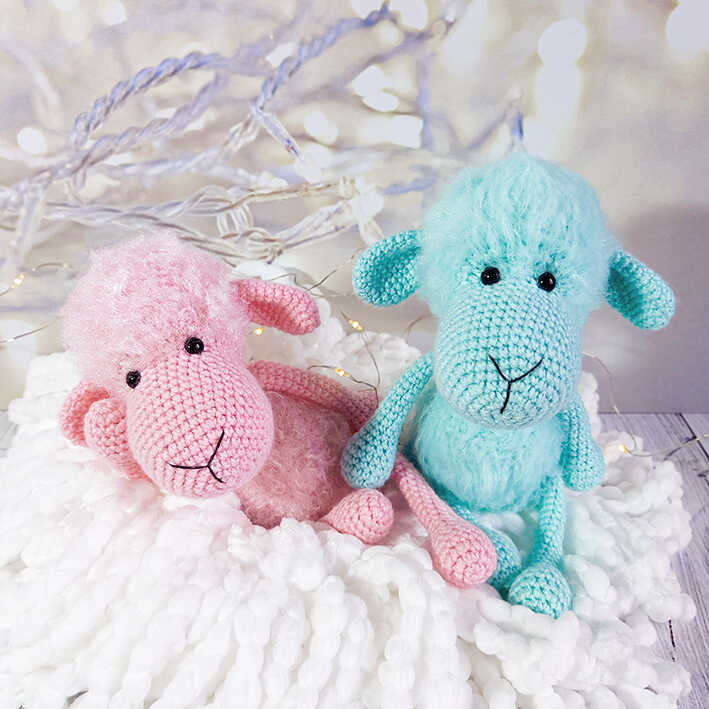
The design works beautifully with soft textured yarn, while cotton alternatives can create a more defined finish. You may also enjoy the little duck amigurumi as another charming animal project from our blog network.
You’ll love seeing how this fluffy sheep comes together with soft texture and simple shaping.
Materials and Tools
• Yarn:
▸ Smooth yarn (for muzzle, arms, legs)
▸ Textured yarn (for head and body)
• Crochet hook suitable for your yarn
• 1.75 mm crochet hook (example for smooth yarn)
• 2–2.5 mm crochet hook (example for textured yarn)
• Fiberfill stuffing
• 6 mm safety eyes / beads / half beads
• Black embroidery thread
• Needle for sewing parts
Abbreviations
MR — magic ring
sc — single crochet
inc — increase
dec — decrease
(…) x n — repeat n times
HOW TO MAKE AN EASY SHEEP AMIGURUMI YOU’LL WANT TO MAKE
Arms (Make 2)
Stuff only the lower part.
R1: 6 sc in MR
R2: inc x 6 (12)
R3: (1 sc, inc) x 6 (18)
R4–R6: 18 sc
R7: (1 sc, dec) x 6 (12)
R8: 12 sc
R9: (2 sc, dec) x 3 (9)
R10–R23: 9 sc
Fold in half and crochet through both layers: 4 sc.
Legs (Make 2)
Stuff only the lower part.
R1: 6 sc in MR
R2: inc x 6 (12)
R3: (1 sc, inc) x 6 (18)
R4–R6: 18 sc
R7: (1 sc, dec) x 6 (12)
R8: 12 sc
R9: (2 sc, dec) x 3 (9)
R10–R27: 9 sc
Fold in half and crochet through both layers: 4 sc.
Ears (Make 2)
R1: 6 sc in MR
R2: inc x 6 (12)
R3: (1 sc, inc) x 6 (18)
R4–R10: 18 sc
R11: (1 sc, dec) x 6 (12)
Fold in half and crochet through both layers: 6 sc.
Fold in half once more and secure with a needle.
Head
Start the muzzle with smooth yarn, then switch to textured yarn.
Stuff as you crochet.
R1: 6 sc in MR
R2: inc x 6 (12)
R3: (1 sc, inc) x 6 (18)
R4: (2 sc, inc) x 6 (24)
R5: (3 sc, inc) x 6 (30)
R6: (4 sc, inc) x 6 (36)
R7: (5 sc, inc) x 6 (42)
R8–R14: 42 sc
R15: (5 sc, dec) x 6 (36)
R16: 36 sc
R17: (4 sc, dec) x 6 (30)
Change to textured yarn.
If using safety eyes, insert them between R17 and R18. Leave 4–6 sc between the eyes. The section with the 6 increases forms the forehead.
R18: 12 sc, 6 inc, 12 sc (36)
R19: (5 sc, inc) x 6 (42)
R20–R29: 42 sc
R30: (5 sc, dec) x 6 (36)
R31: (4 sc, dec) x 6 (30)
R32: (3 sc, dec) x 6 (24)
R33: (2 sc, dec) x 6 (18)
R34: (1 sc, dec) x 6 (12)
R35: 6 dec
Fasten off and hide the yarn tail inside the head.
Body
Stuff as you crochet.
R1: 6 sc in MR
R2: inc x 6 (12)
R3: (1 sc, inc) x 6 (18)
R4: (2 sc, inc) x 6 (24)
R5: (3 sc, inc) x 6 (30)
R6: (4 sc, inc) x 6 (36)
R7: (5 sc, inc) x 6 (42)
R8–R15: 42 sc
Attach the legs in R8 (or R9 if preferred), leaving 17 sc between the legs.
R16: (5 sc, dec) x 6 (36)
R17: 36 sc
R18: (4 sc, dec) x 6 (30)
R19: 30 sc
R20: (3 sc, dec) x 6 (24)
R21: 24 sc
R22: (2 sc, dec) x 6 (18)
R23–R24: 18 sc
Attach the arms in R24, aligned parallel to the bottom, leaving 5 sc between the arms.
R25–R27: 18 sc
Finish at the center back, leaving a long tail for sewing.
Assembly
Sew the head to the body.
Sew through the lower front loops along the textured yarn transition so the head tilts slightly forward.
Sew the ears no higher than eye level, adjusting placement as desired.
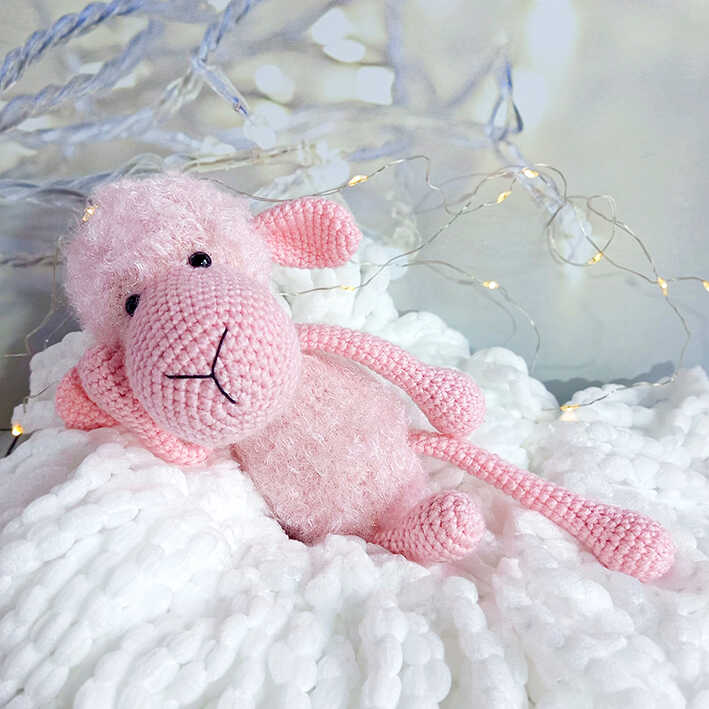
For the ponytail, choose a point near the center back of the body. Insert the hook, ch 7–8, then work back along the chain with hdc. Secure and hide both yarn tails inside the toy.
You can decorate your sheep with a hat, scarf, or a flower.
Copyright & Credits
This pattern is designed by Olga Romahina; you may sell finished toys made from this pattern, but please credit the designer by tagging @kotsklubkom and linking to their social media when sharing your work.