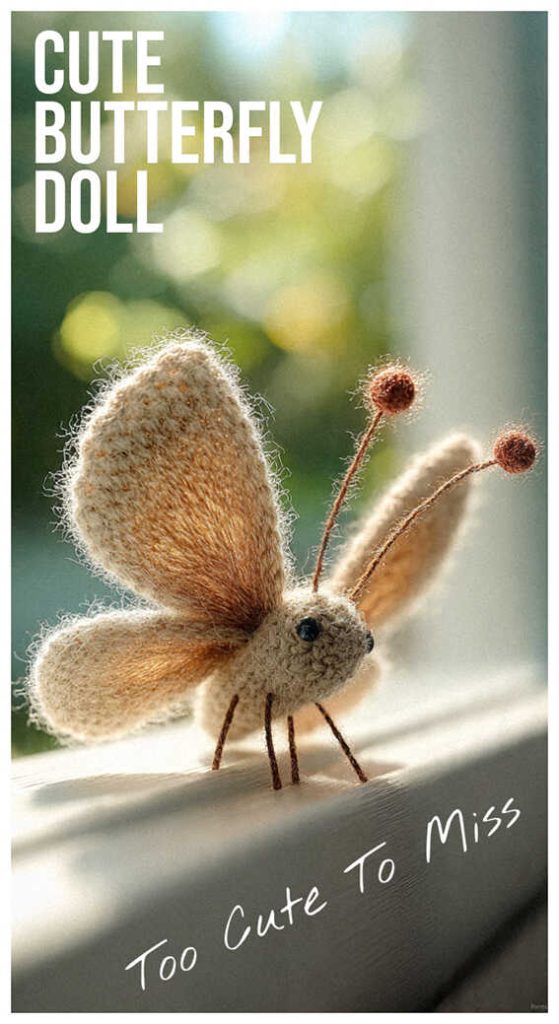
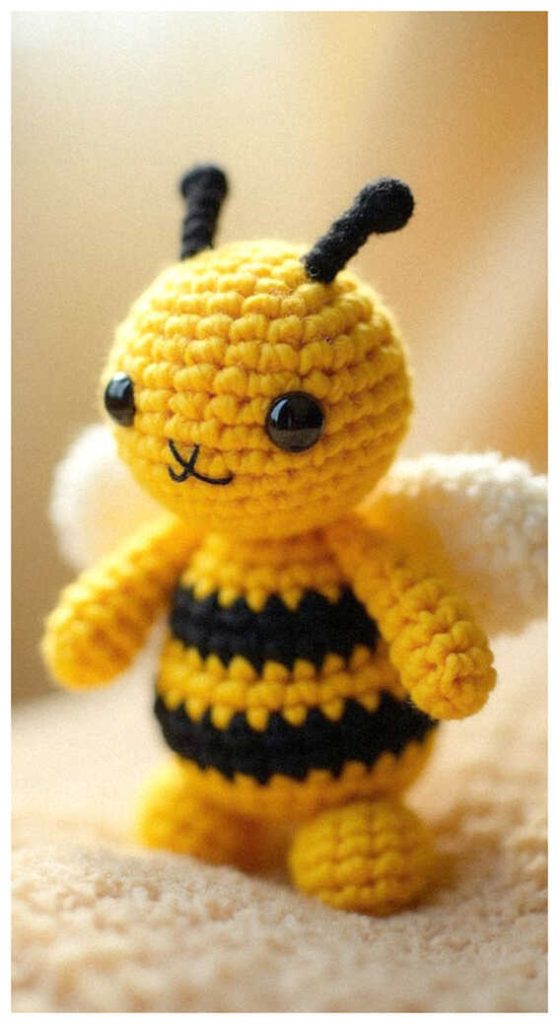
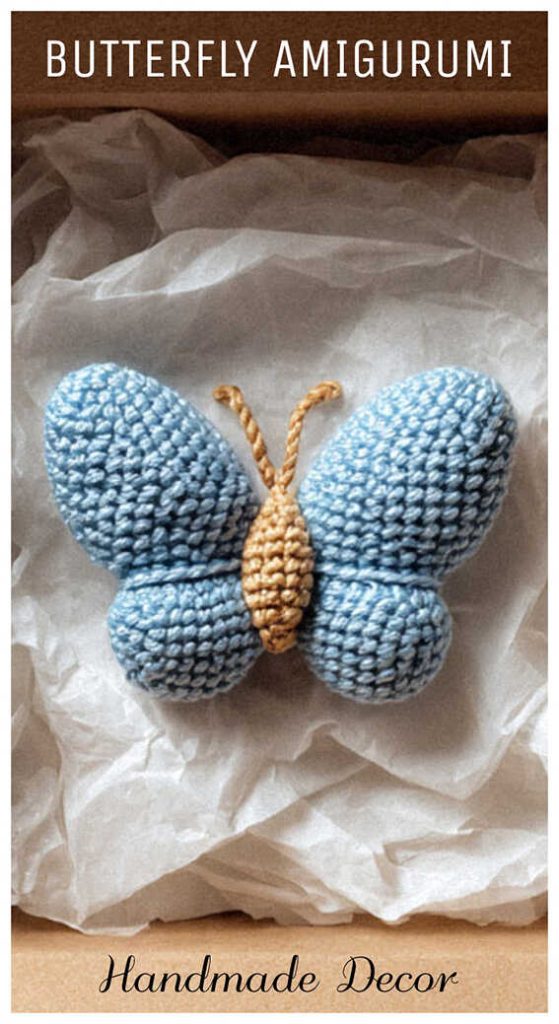
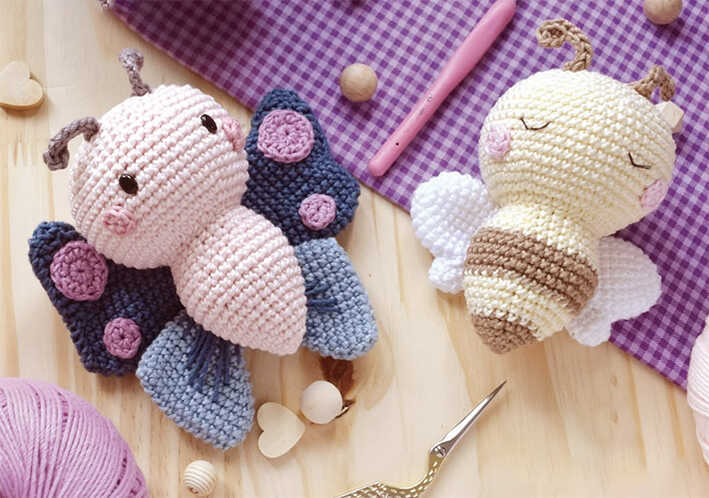
Free Butterfly and Bee Amigurumi Pattern
Designer: Caroline Schossler
Instagram: @gatomiacrochetaria
Etsy Shop: GatoMiaCrochetaria
Difficulty Level: Beginner
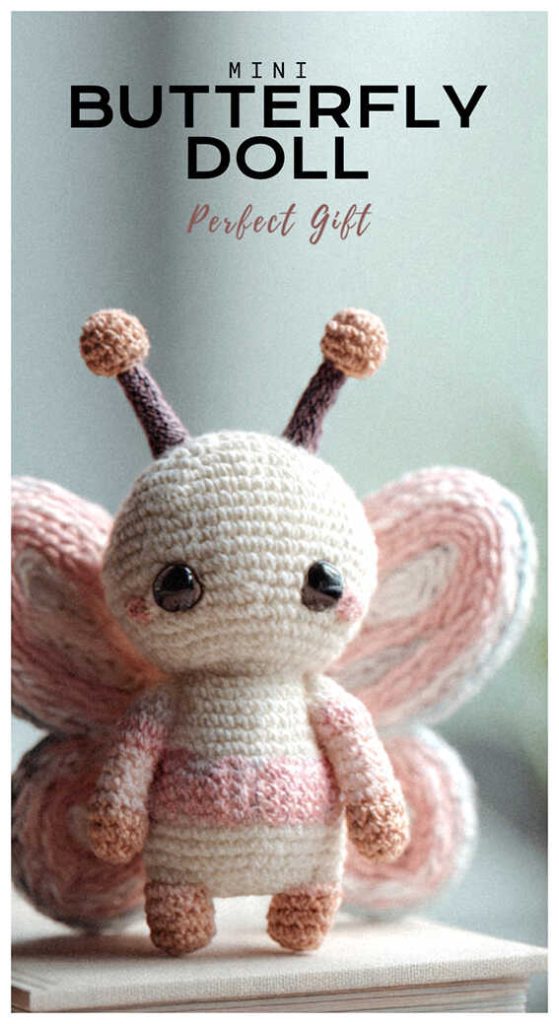
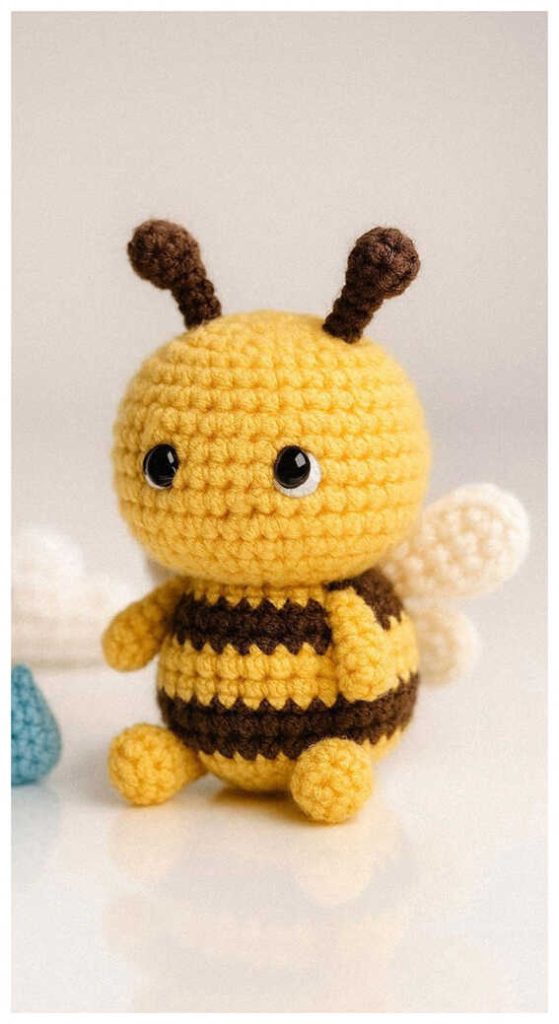
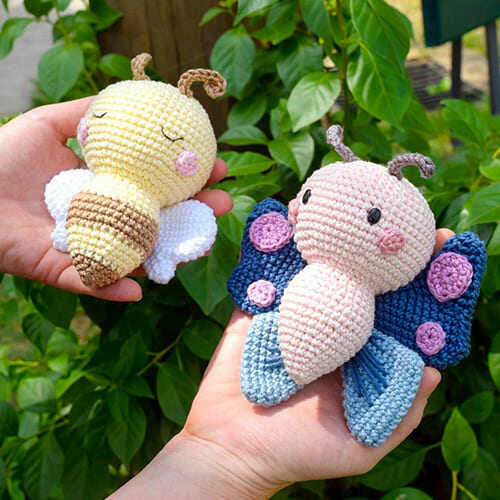
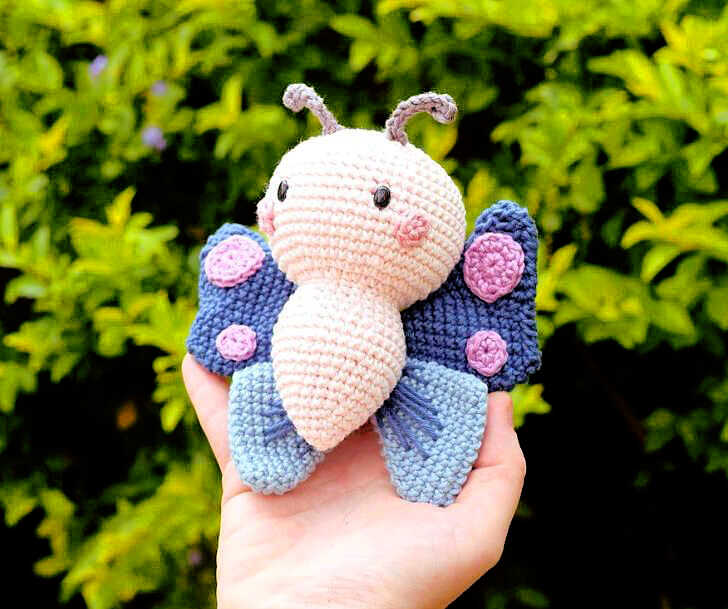
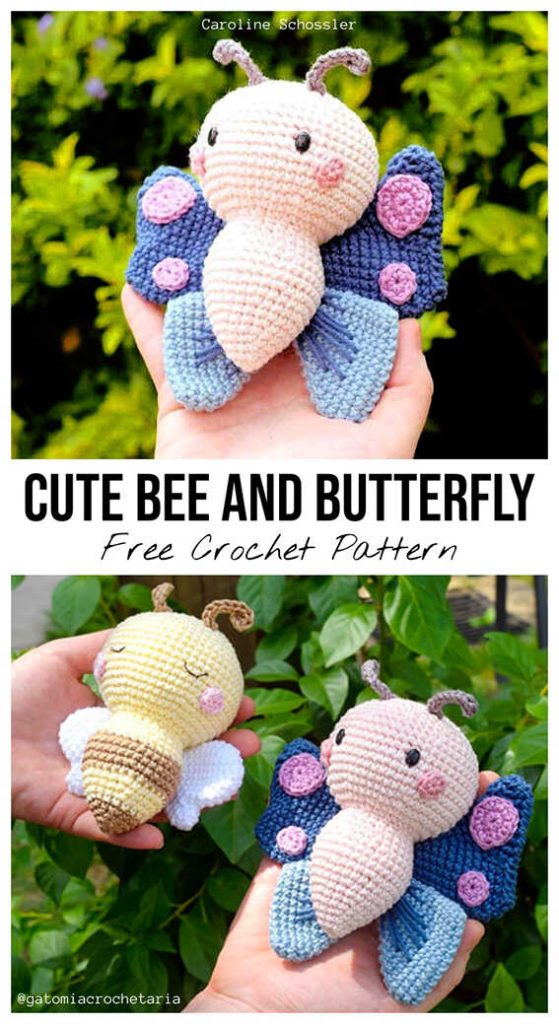
A playful spring-inspired project to bring a light and joyful touch to your crochet time.
Create something delightful with this free butterfly and bee amigurumi pattern designed by Caroline Schossler of @gatomiacrochetaria. These charming insects are perfect for DIY crochet gift ideas, nursery decor, or seasonal handmade toys. Their simple shapes and soft details fit Easy Crochet Projects and Low Sew Amigurumi Patterns, and we sincerely thank Caroline Schossler for sharing this beautiful design. You will also find lovely insect amigurumi ideas at the end of the pattern.
Ready to make your own? Scroll down to find the original pattern source and get started today.
This is a beginner-friendly amigurumi pattern using basic stitches and easy shaping. It works up fast, making it great for quick gifts or small shop items. If you enjoy playful designs, you might also love the mini dinosaur amigurumi, which adds a fun twist to themed collections.
The design uses cotton yarn for a clean finish with a 2.5 mm hook and simple tools. You can switch yarn types to adjust size and texture easily. You may also enjoy the cute doll amigurumi as another quick and giftable project idea.
Materials and Tools
• Yarn (100% cotton)
• 2.5 mm crochet hook (for body, wings, and antennae)
• Embroidery thread (for details)
• 6×8 mm (or 5 mm) oval safety eyes
• Fiberfill stuffing
Using these materials, the insects will measure approximately 14 cm.
The yarn used is only a suggestion, and you can adapt it to whatever you have at home.
Abbreviations
MR: Magic ring
Sc: Single crochet
Hdc: Half double crochet
Inc: Increase
Dec: Decrease
Dc- inc: Double crochet increase
Hdc- inc: Half double crochet increase
Ch: Chain
Rnd: Round
Slst: Slip stitch
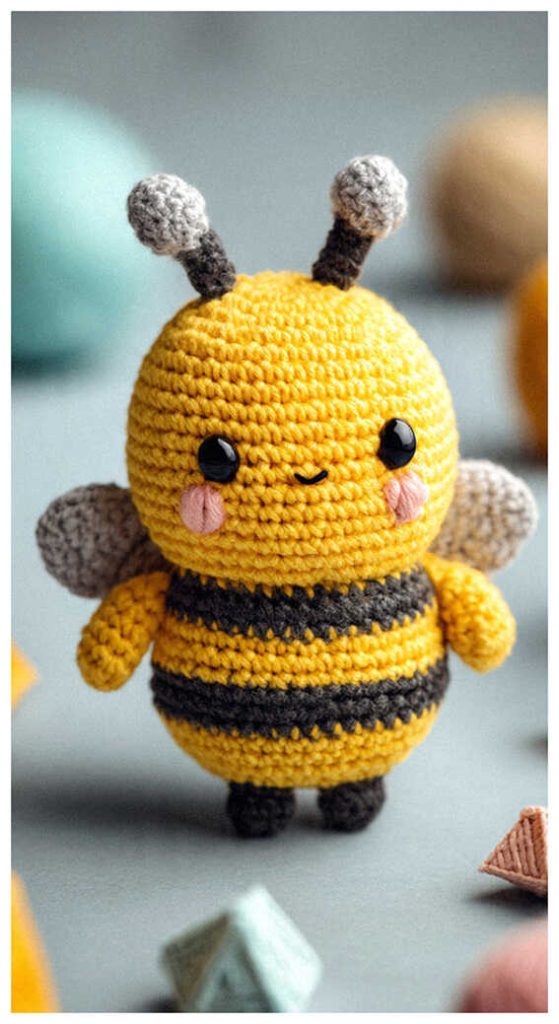
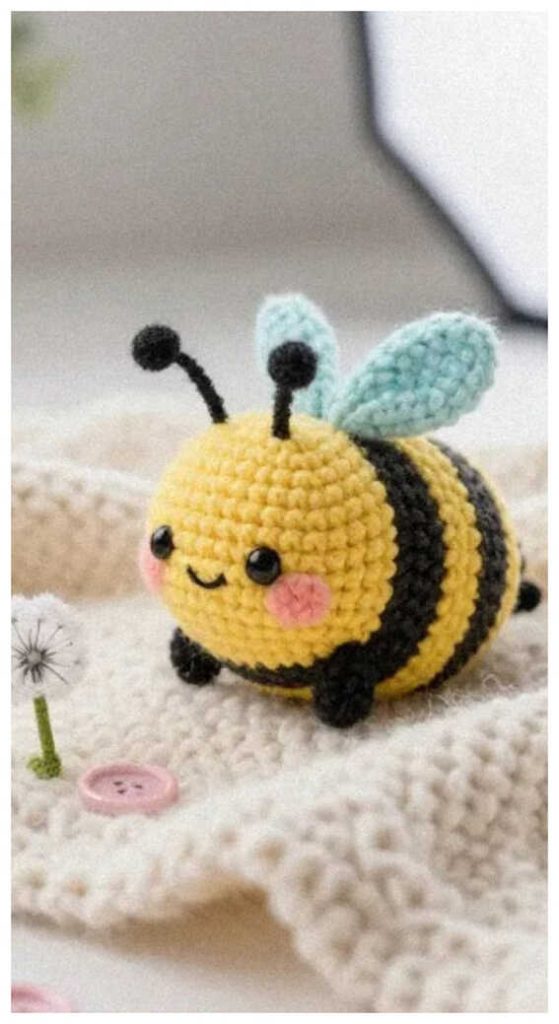
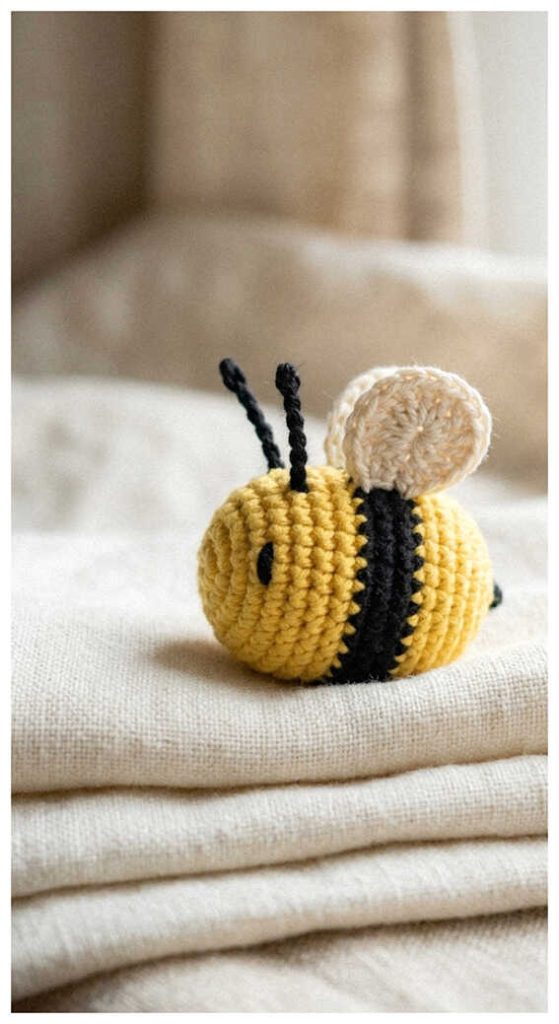
CUTE BUTTERFLY AND BEE YOU’LL WANT TO MAKE
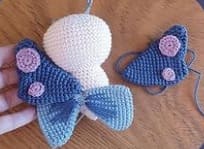
Body and Head
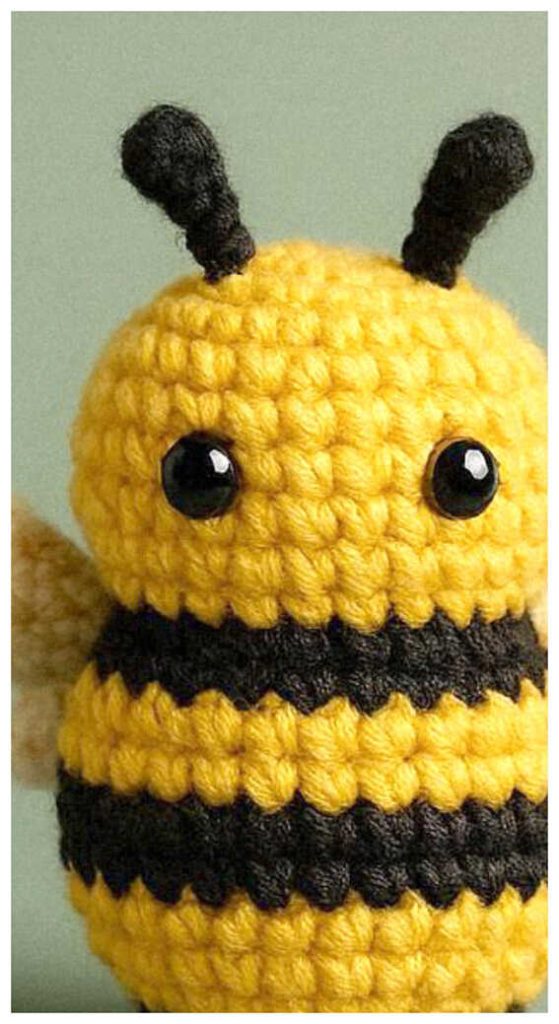
The base for the body and head is the same both insects. When making the bee, change colors as shown in the pattern. When making the butterfly, use the same color for the entire piece.
Rnd 1. 6 sc in MR (6)
Rnd 2. (1sc,inc)*3 (9)
Rnd 3. (2sc,inc)*3 (12)
Rnd 4. (1sc,inc)*6 (18)
If you’re making the bee, change to yellow.
Rnd 5. sc around (18)
Rnd 6. 1sc, inc, (2sc,inc)*5, 1sc (24)
Rnd 7. sc around (24)
Rnd 8. (3sc,inc)*6 (30)
Bee- change to black/brown.
Rnd 9. sc around (30)
Rnd 10. 2sc, inc, (4sc,inc)*5, 2 sc (36)
Rnd 11-12. sc around (36)
Bee- change to yellow, fasten off the second color.
Rnd 13. 2 sc, 1 dec, (4sc,dec)*5, 2 sc (30)
Rnd 14. sc around (30)
Rnd 15. (3sc,dec)*6 (24)
Rnd 16. sc around (24)
Rnd 17. 1 sc, dec, (2sc,dec)*5, 1sc (18)
Rnd 18. inc around (36)
Rnd 19. (2sc,inc)*12 (48)
Rnd 20. (7sc,inc)*6 (54)
Rnd 21-28. sc around (54)
Rnd 29. (7sc,dec)*6 (48)
Rnd 30. 3sc, dec, (6sc,dec)*5, 3 sc (42)
If you plan on using safety eyes, insert them between rounds 24 and 25, eight stitches apart.
Stuffing the body and continue to stuff while you work.
Rnd 31. (5sc,dec)*6 (36)
Rnd 32. 2 sc, dec, (4sc,dec)*5, 2 sc (30)
Rnd 33. (3sc,dec)*6 (24)
Rnd 34. 1 sc, dec, (2sc,dec)*5, 1 sc (18)
Rnd 35. (1sc,dec)*6 (12)
Rnd 36. dec around
Fasten off, close the opening.
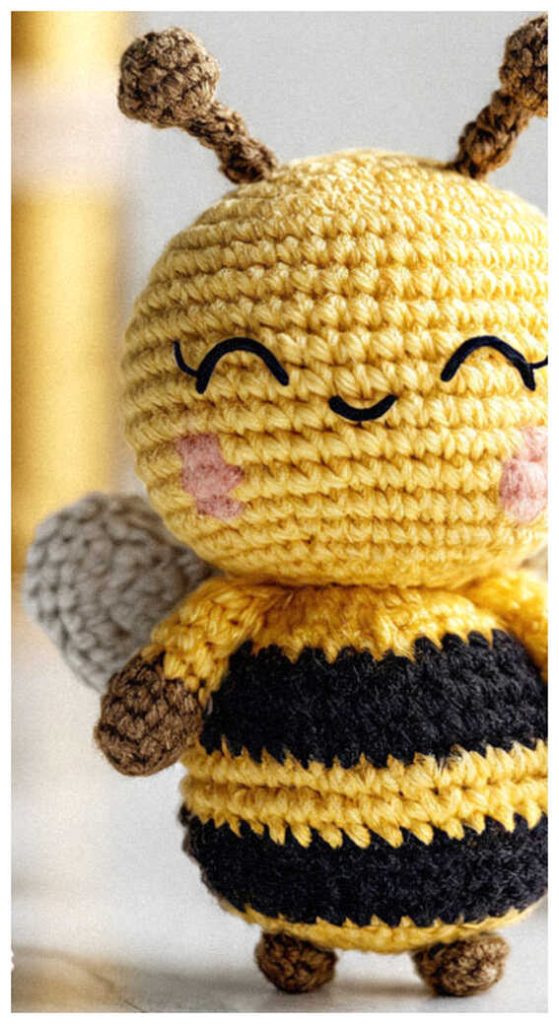
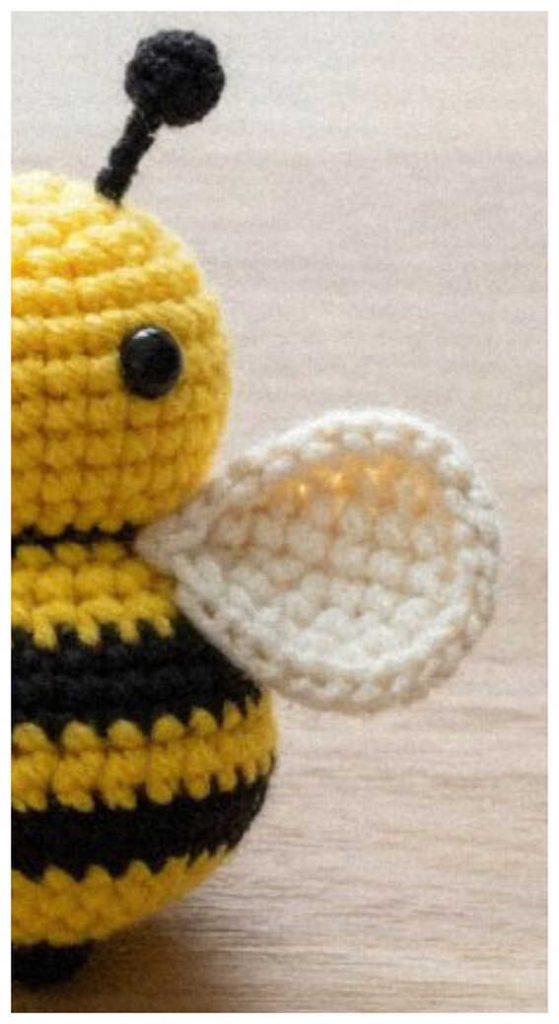
Bee Wings
(Repeat each part 2x)
Bottom wing
(start with this part)
Rnd 1. 8 sc in MR (8)
Rnd 2. sc around (8)
Fasten off.
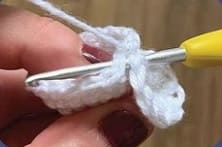
Top wing
Rnd 1. 6 sc in MR (6)
Rnd 2. 6 inc (12)
Rnd 3. (1sc,inc)*3 (18)
Rnd 4-6. sc around (18)
Rnd 7. Now we are going to join the wings, working 1 sc through the last stitch of bottom wing and the next stitch of the top wing.
Continue working 17 sc on the top wing, and 8 sc on the bottom wing (25)
Rnd 8. (7sc,dec)*2, 2 sc, dec, 3 sc (22)
Rnd 9. dec, 12sc, dec, 6sc (20)
Rnd 10. dec, 10sc, dec, 6sc (18)
Rnd 11. (1sc,dec)*6 (12)
Rnd 12. sc around (12)
Rnd 13. (2sc,dec)*3 (9)
Rnd 14. (1sc,dec)*3 (6)
Don’t need to stuffing. Fasten off, leave a long tail for sewing.
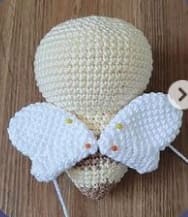
Try to sew the wings right over the color change step.
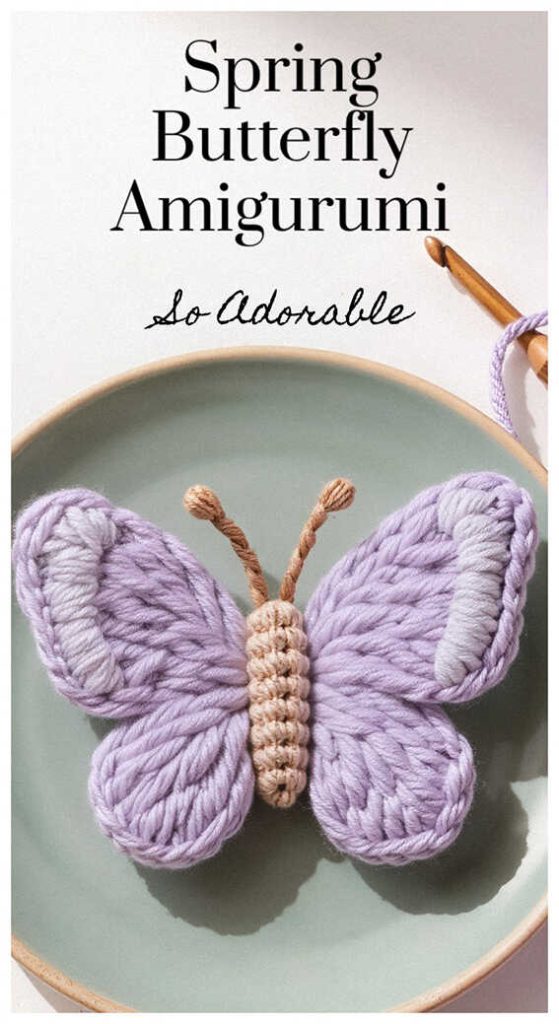
Butterfly Wings
(Repeat each part 2x)
Bottom wing
Rnd 1. Chain 12, skip 1 chain, 9sc,inc,turn, continue on the other side of the chain, 10 sc (22)
Rnd 2. inc, 8sc, inc, sc, inc, 8sc, inc, sc (26)
Rnd 3. sc around (26)
Rnd 4. 12sc, dec, 12 sc (25)
Rnd 5. 11sc, dec, 12sc (24)
Rnd 6. 10sc, 2dec, 10sc (22)
Rnd 7. 9sc, 2dec, 9sc (20)
Rnd 8. 8sc, 2dec, 8sc (18)
Rnd 9. 7sc, 2dec, 7sc (16)
Rnd 10. 6sc, 2dec, 6sc (14)
Rnd 11. 5sc, 2dec, 5sc (12)
Rnd 12. (2sc,dec)*3 (9)
Rnd 13. (1sc,dec)*3 (6)
Don’t stuffing.
Fasten off and leave a long tail for sewing.
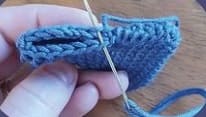
Top wing
Rnd 1. 6 sc in MR (6)
Rnd 2. (1sc,inc)*3 (9)
Rnd 3. (2sc,inc)*3 (12)
Rnd 4. 4sc, 3inc, 5sc (15)
Rnd 5. sc around (15)
Rnd 6. 4sc, (1sc,inc)*3, 5sc (18)
Rnd 7. sc around (18)
Rnd 8. 4sc, (2sc,inc)*3, 5sc (21)
Rnd 9. 4sc, (3sc,inc)*3, 5sc (24)
Rnd 10. 11sc, 2inc, 11sc (26)
Rnd 11. sc around (26)
Rnd 12. 13sc, inc, 12sc (27)
Rnd 13. 6 sc, slst 1, 1sc, 4hdc, 2dc-inc, 4hdc, 1sc, 1slst, 7sc (29)
Rnd 14. dec, 4sc, 1slst, 1sc, 4hdc, 4dc-inc, 4hdc, 1sc, 1slst, 5sc, 1dec (31)
Rnd 15. dec, 3sc, 1slst, 1sc, 4hdc, 8dc, 4hdc, 1sc, 1slst, 4sc, 1dec (29)
Don’t need to stuff.
Fold the wing in half and sew just the outside loops of each chain, leaving a long tail to sew the wing to the body.
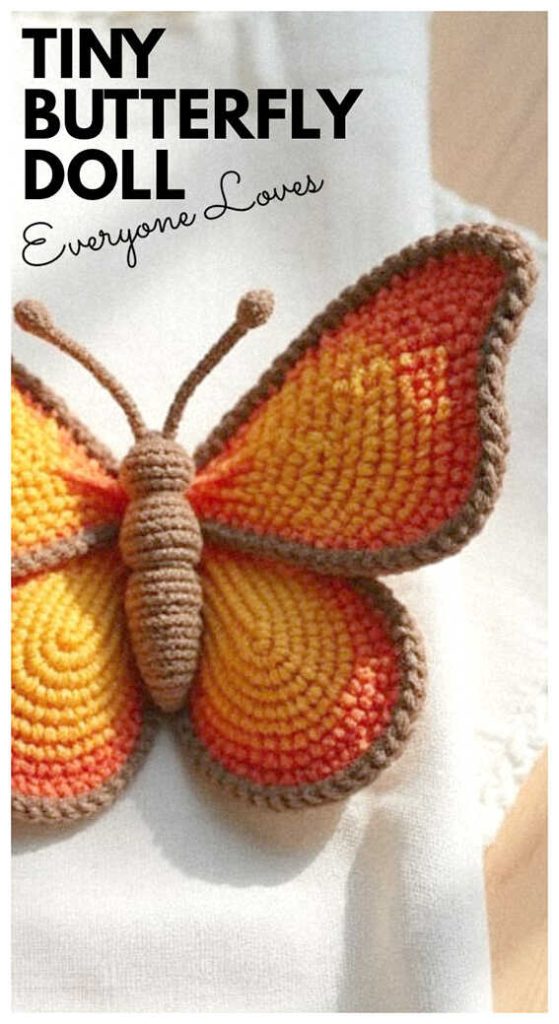
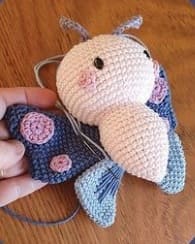
Try to make the meeting of the 4 wings right in the center of the back. Looking at the butterfly from the front, make sure to overlap the bottom wing and add a few stitches to join the junction of the top wing with the bottom wing, making sure that the finishing is invisible.
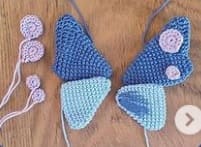
Use your imagination to decorate. I made two circles in different sizes. Don’t forget to repeat the same pattern mirrored on the other side.
Antennae
(Bee and butterfly)
Chain 9, skip 2 chains, 1 dc, in this same chain, add 1 hdc and 1sc, continue on the
other chains: slst 6. Sew it on the head, using the center of the eyes as reference (safety or embroired eyes).
Cheeks
6 sc in the magic ring, 1 slst to close. Leave a tail for sewing.
Assembly
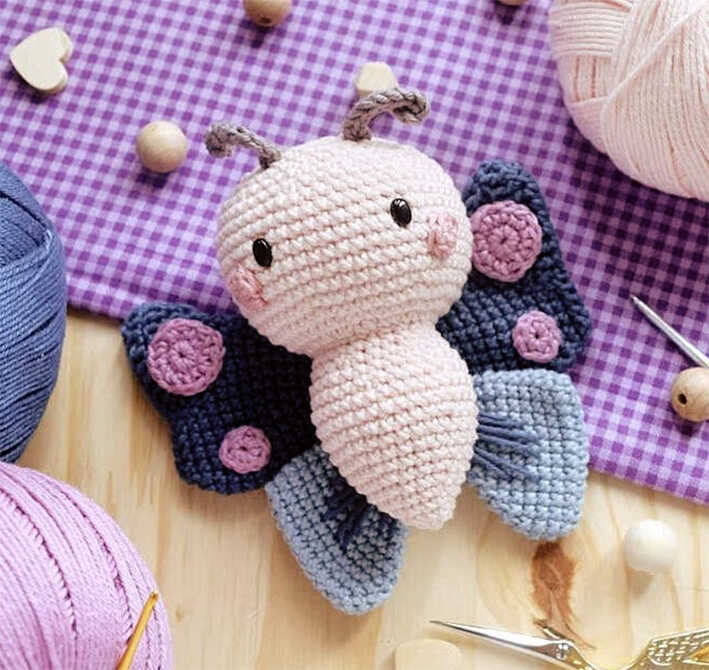
Sew the cheeks close to the eyes. Sew the wings and anteannae following the pics and corresponding patterns.
Use a finer thread to embroider the eyes, this will make the work look more delicate.
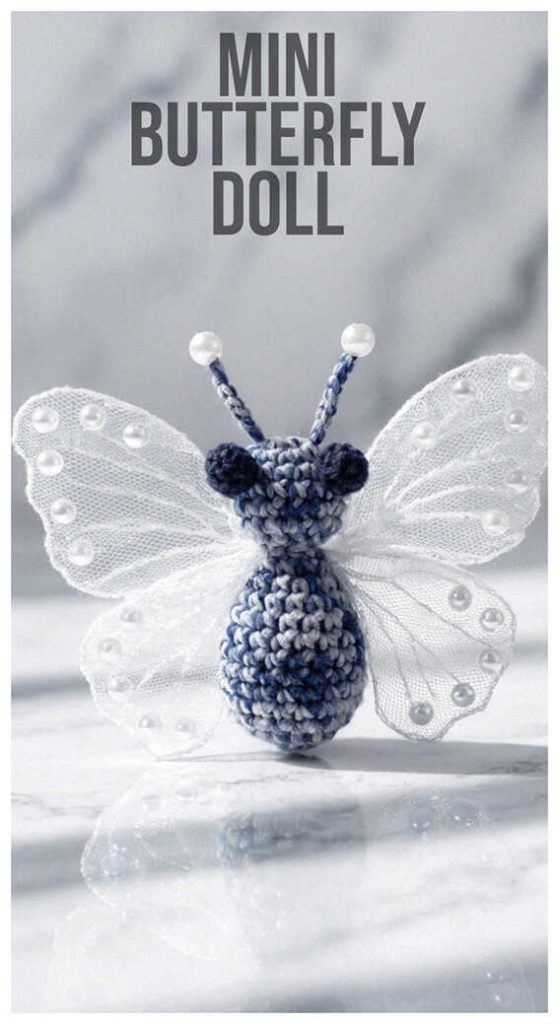
Save These Pins for Later Inspiration
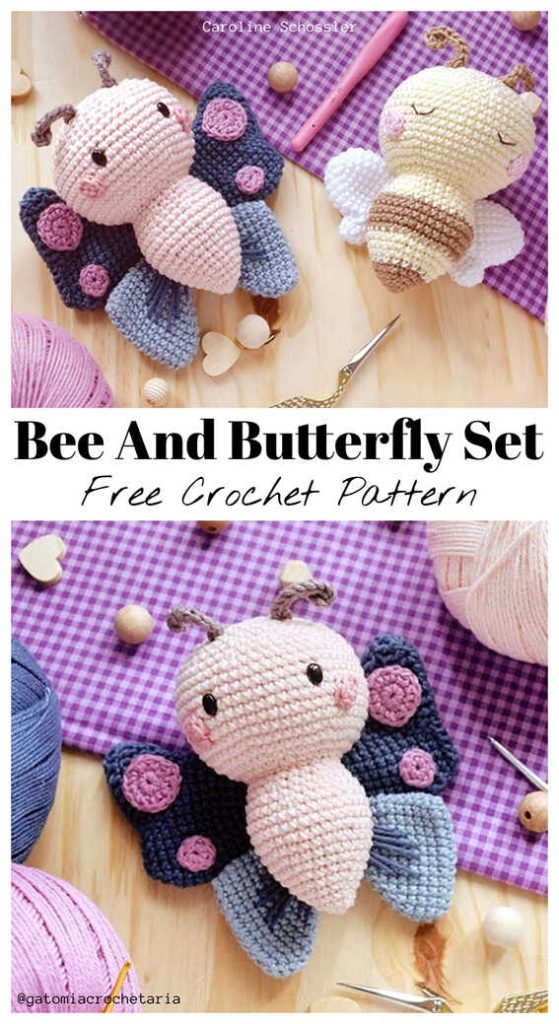
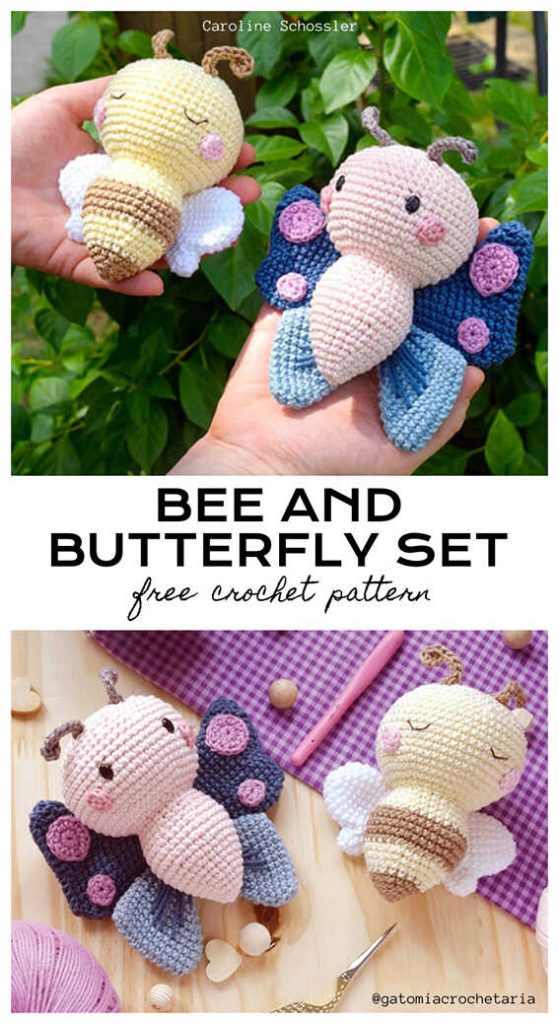
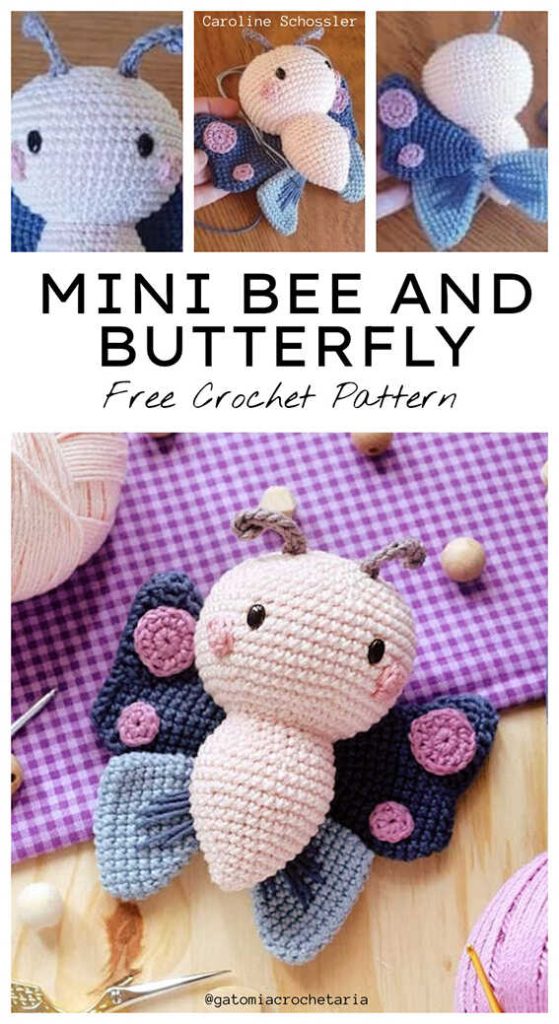
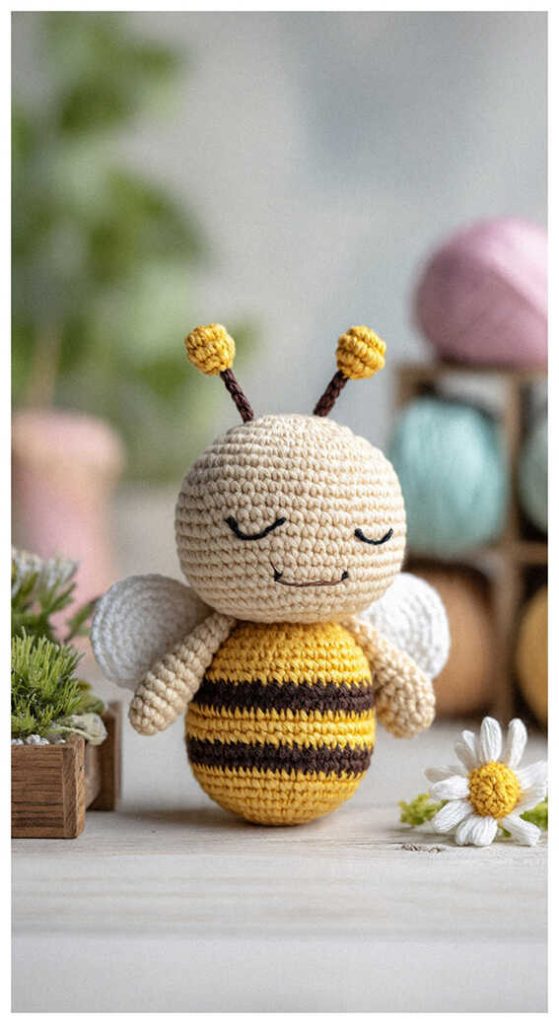
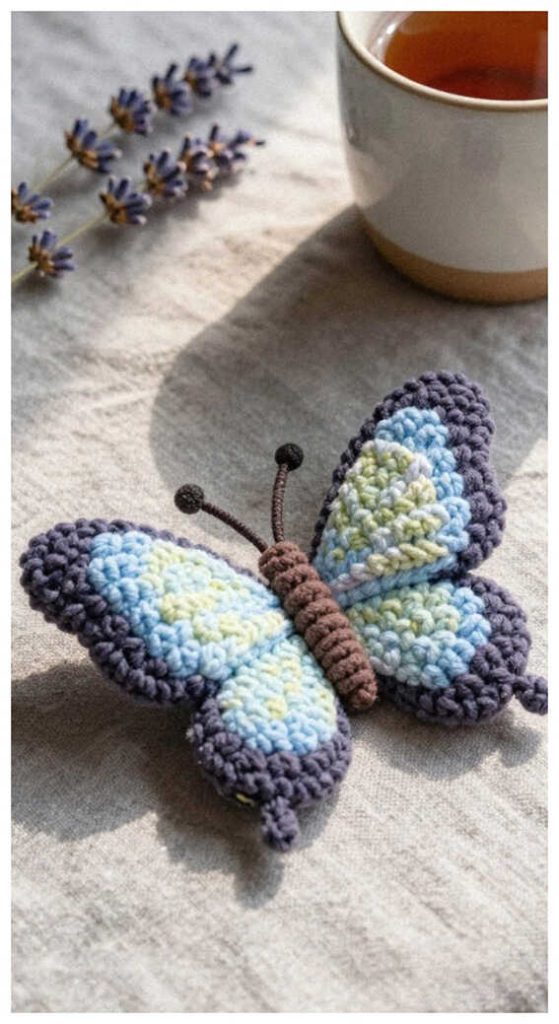
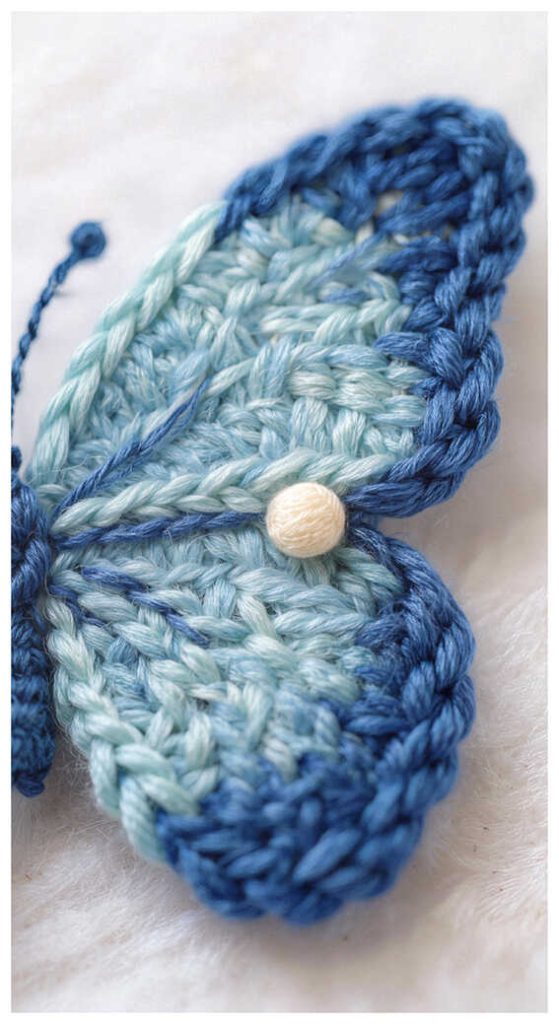
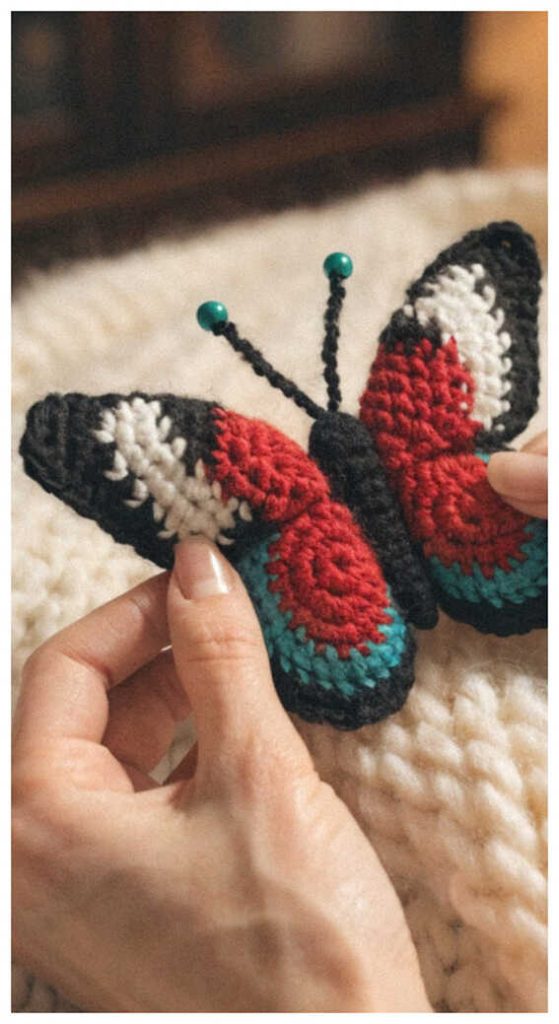
Soft, colorful crochet insects are perfect for quick projects that feel both playful and gift-ready. Small details like rounded shapes, textured wings, and gentle color contrasts make butterfly and bee designs especially appealing for spring decor and handmade gifts. Mixing different styles can help you create a charming mini collection that stands out.
Cute Butterfly and Bee Amigurumi You’ll Want to Make