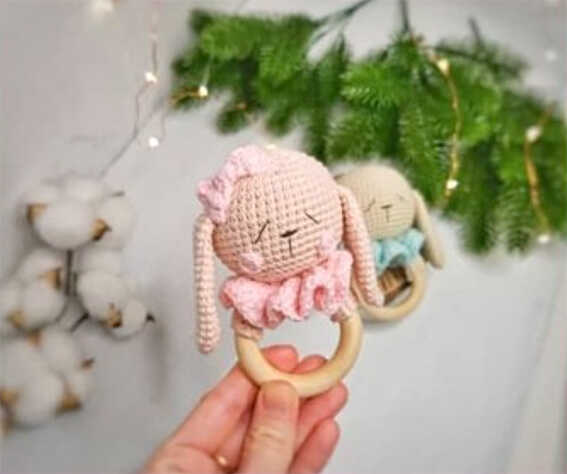
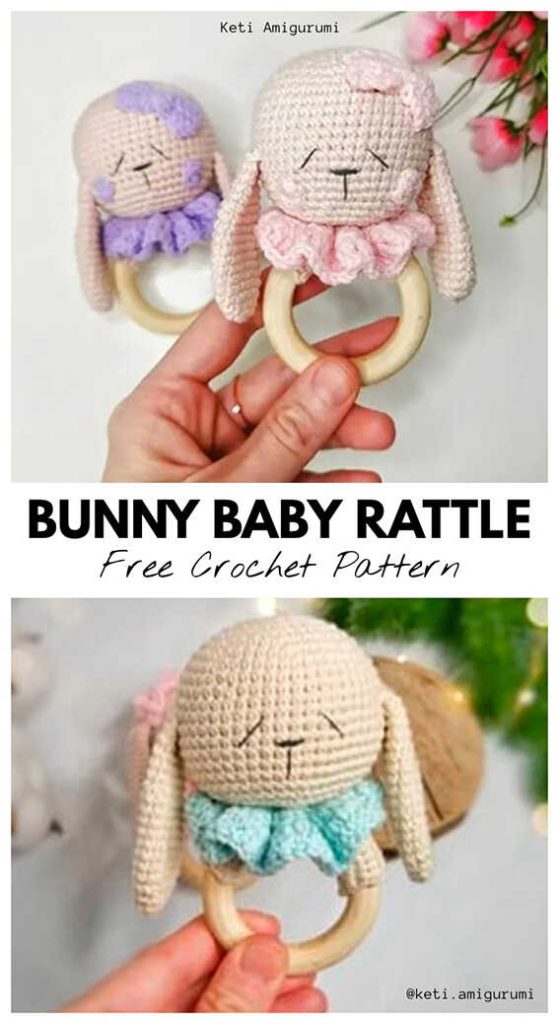
Free Bunny Baby Rattle Amigurumi Pattern
Designer: Keti Amigurumi
Instagram: @keti.amigurumi
Difficulty Level: Beginner
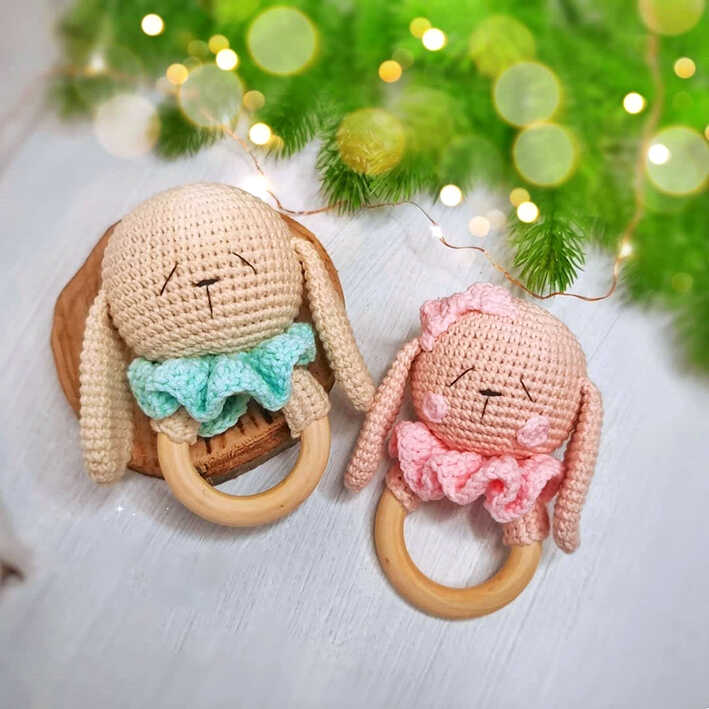
A soft and meaningful crochet moment begins with a tiny handmade gift.
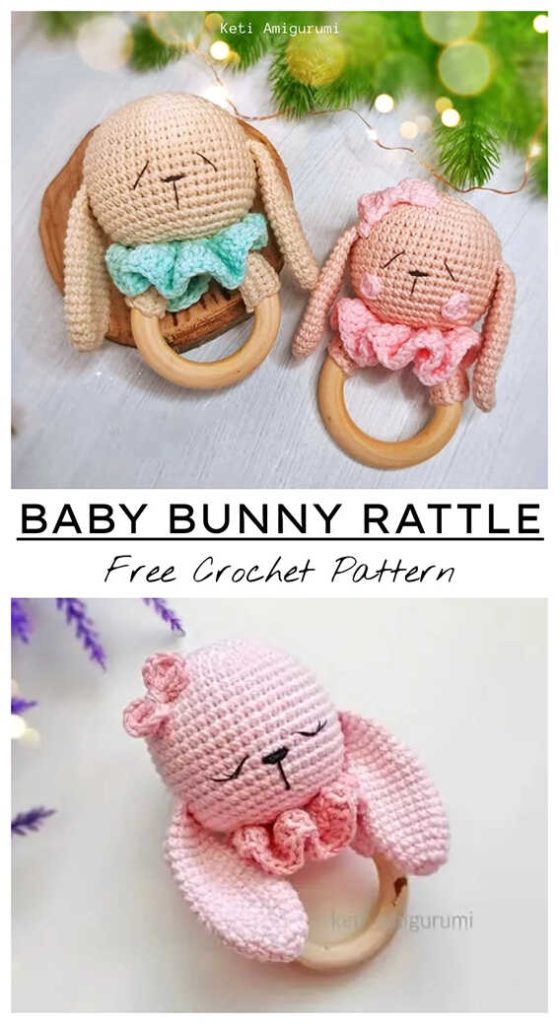
Create a charming handmade gift with this free bunny baby rattle amigurumi pattern by @keti.amigurumi. With its soft texture and sweet look, it’s a perfect choice for baby showers, nursery decor, or thoughtful crochet gifts. Its clean shape and minimal assembly fit Low Sew Amigurumi Patterns, and we truly thank @keti.amigurumi for this lovely design.
Want to make this cute baby toy? Scroll down to find the original pattern source and start now.
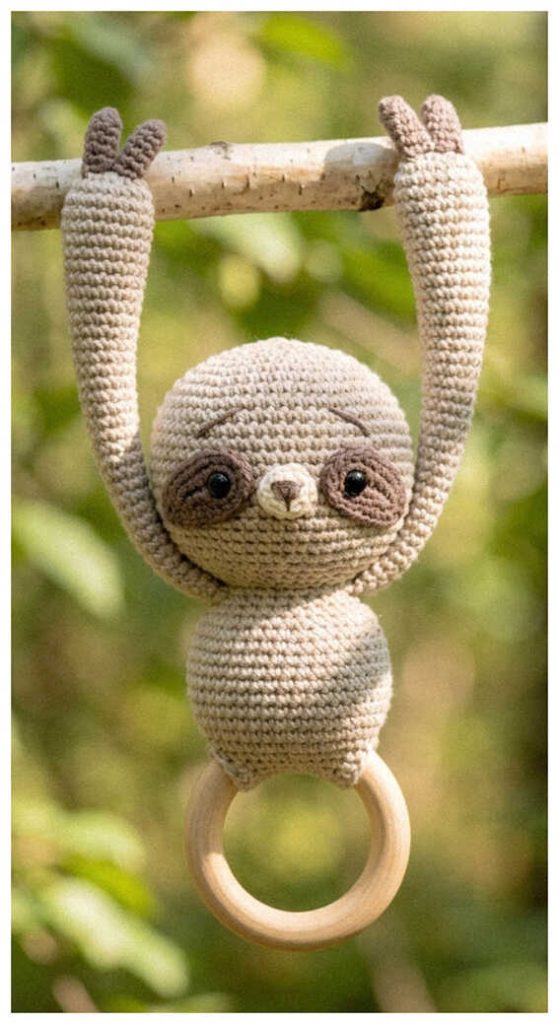
This is a beginner-friendly amigurumi pattern with simple stitches and easy shaping. It works up fast, making it ideal for quick gifts or small shop items. If you enjoy soft baby toys, you might also love the cute sloth amigurumi.
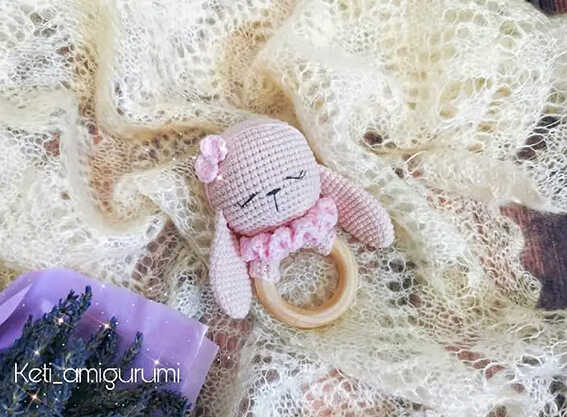
The design uses cotton yarn for a clean finish, while velvet yarn creates a softer, larger plush. You may also enjoy the mini lamb amigurumi as another quick gift idea.
You will need:
• YarnArt Jeans yarn (55% cotton, 65% acrylic, 50 g/160 m)
• 2.0 mm crochet hook
• Wooden ring (5.5-6 cm diameter)
• Black embroidery thread
• Sewing needle and scissors
• Rattle insert
• Stuffing
Abbreviations:
R – row
ch – chain
sl st – slip stitch
sc – single crochet
dc – double crochet
inc – increase (2 sc in one stitch)
dec – decrease (2 sc together)
[…] – number of stitches you should have at the end of the row
(…) – repeat whatever is between the brackets the given number of times
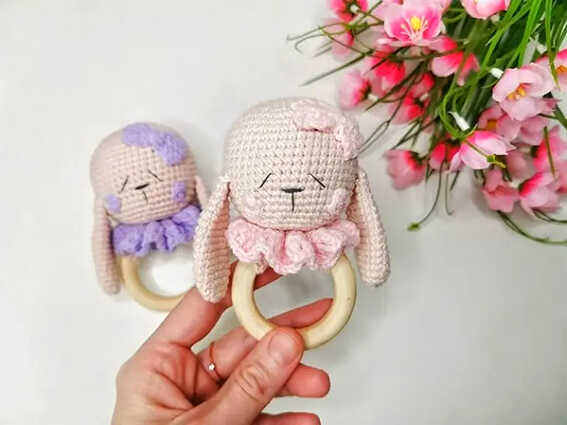
CUTE BUNNY BABY RATTLE YOU’LL WANT TO MAKE
Head
R 1: 7 sc in magic ring [7]
R 2: (inc) repeat 7 times [14]
R 3: (1 sc, inc) repeat 7 times [21]
R 4: (2 sc, inc) repeat 7 times [28]
R 5: (3 sc, inc) repeat 7 times [35]
R 6: (4 sc, inc) repeat 7 times [42]
R 7: (5 sc, inc) repeat 7 times [49]
R 8-19: 49 sc (12 rows)
R 20: (5 sc, dec) repeat 7 times [42]
R 21: (4 sc, dec) repeat 7 times [35]
R 22: (3 sc, dec) repeat 7 times [28]
Insert stuffing and rattle (if using).
R 23: (2 sc, dec) repeat 7 times [21]
R 24: (1 sc, dec) repeat 7 times [14]
Stuff firmly.
R 25: (dec) repeat 7 times [7]
Close the opening, leave a tail for sewing.
Ears (make 2)
R 1: 6 sc in magic ring [6]
R 2: (inc) repeat 6 times [12]
R 3: 12 sc
R 4: (1 sc, inc) repeat 6 times [18]
R 5-12: 18 sc (8 rows)
R 13 :(3 sc, dec) repeat 3 times, then 3 sc [15]
R 14-16: 15 sc (3 rows)
R 17: (2 sc, dec) repeat 3 times, then 3 sc [12]
R 18: 12 sc
Fold the top opening flat and sc through both sides.
Fasten off and leave a long tail for sewing.
Sew the ears on the sides of the head.
Cheeks
(make 2) – optional
R 1: 7 sc in magic ring [7]
Close the row with a sl st and pull tight the ring to finish.
Sew the cheeks on the face.
Ring cover (Handle)
Make ch 25.
Work in turning rows (adjust length so it wraps tightly around your ring):
R 1: from the 2nd ch from hook: 24 sc, 1 turning chain
R 2-8: 24 sc, 1 turning chain (7 rows)
R 9: 24 sc
Fasten off and leave a long tail for sewing.
Sew it around the wooden ring.
Finishing
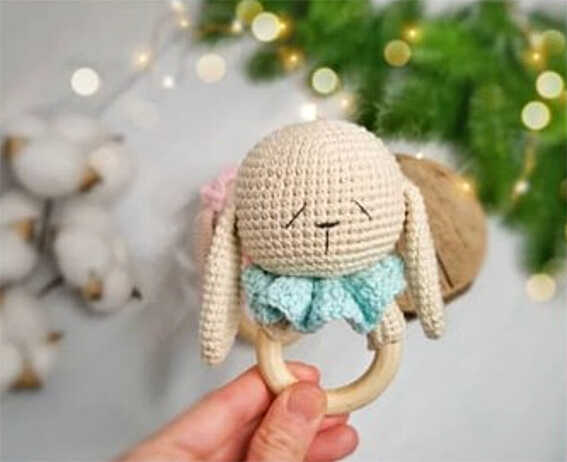
Embroider eyes and nose (refer to photo).
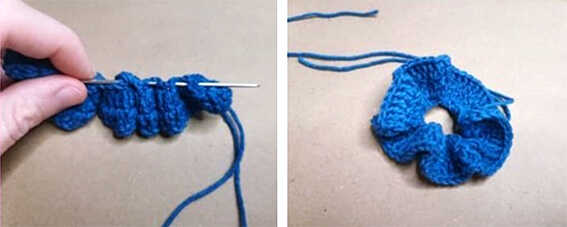
Ruffle collar
Make ch 35.
R 1: from the 2nd ch from hook: 2 dc in every stitch (70)
R 2: (1 dc, inc) repeat 35 times (105)
Gather the fabric like an accordion and slightly tighten.
Bow
Make ch 8.
Work in turning rows:
R 1: from the 2nd ch from hook: 7 sc, 1 turning chain
R 2-4: 7 sc, 1 turning chain (3 rows)
R 5: 7 sc
Fasten off.
Wrap thread around the middle to form a bow.
Save These Pins for Later Inspiration
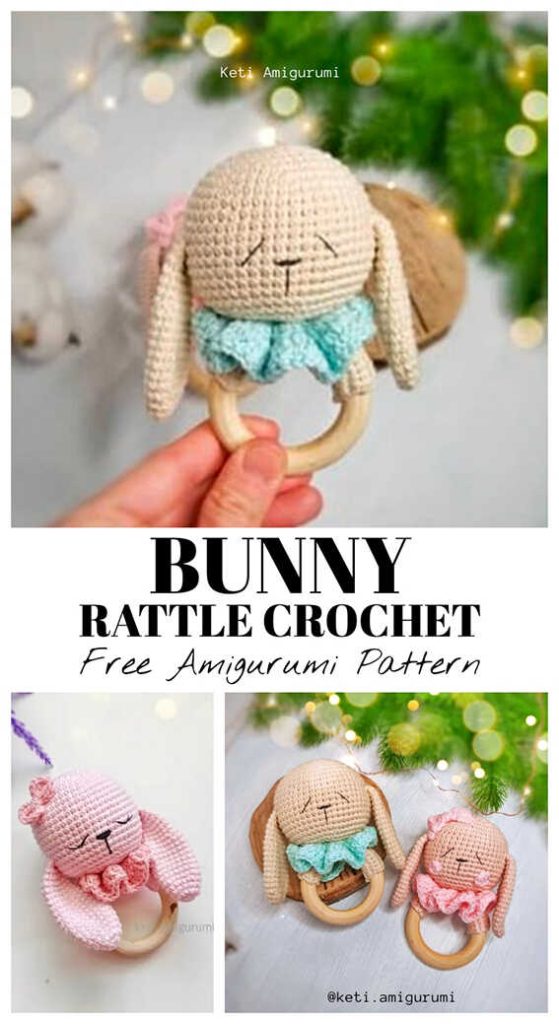
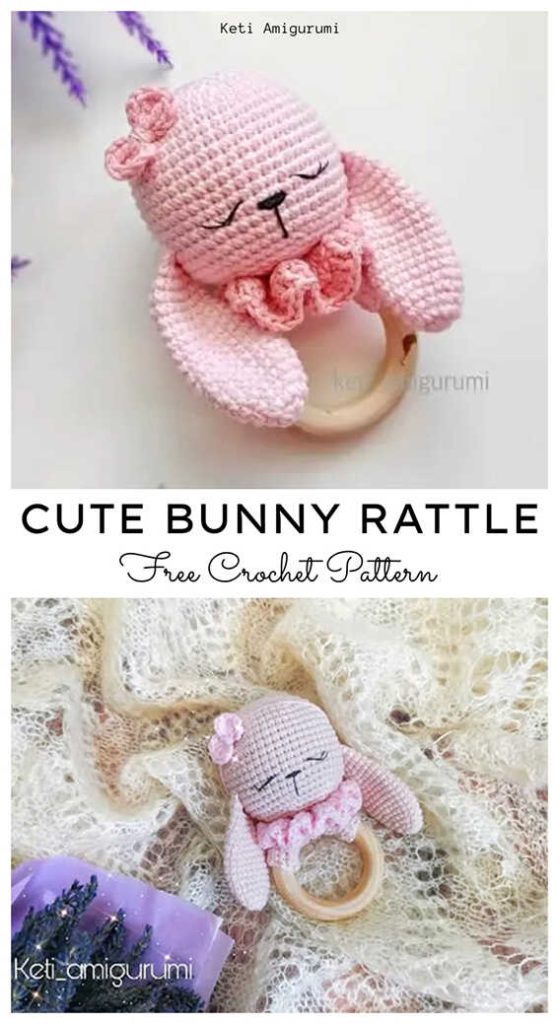
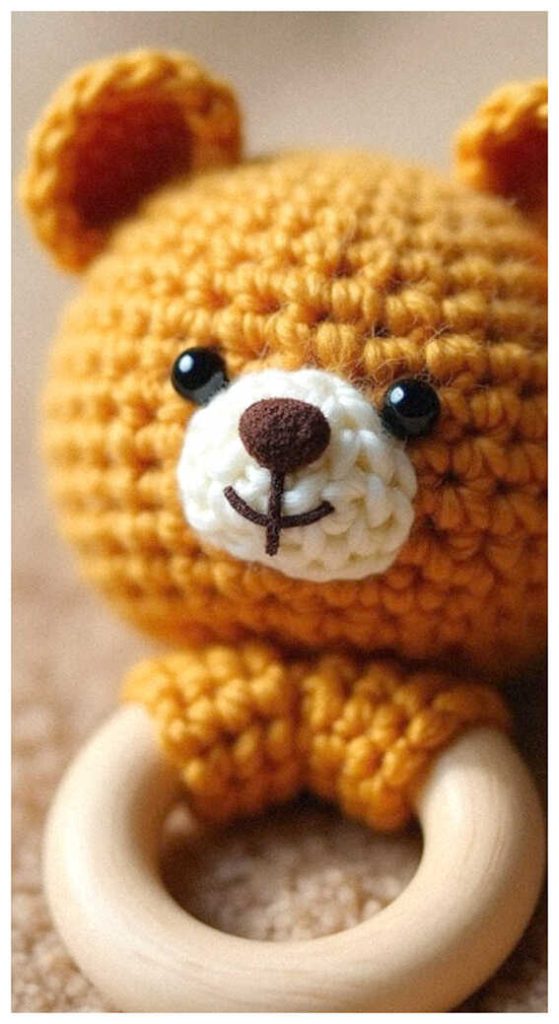
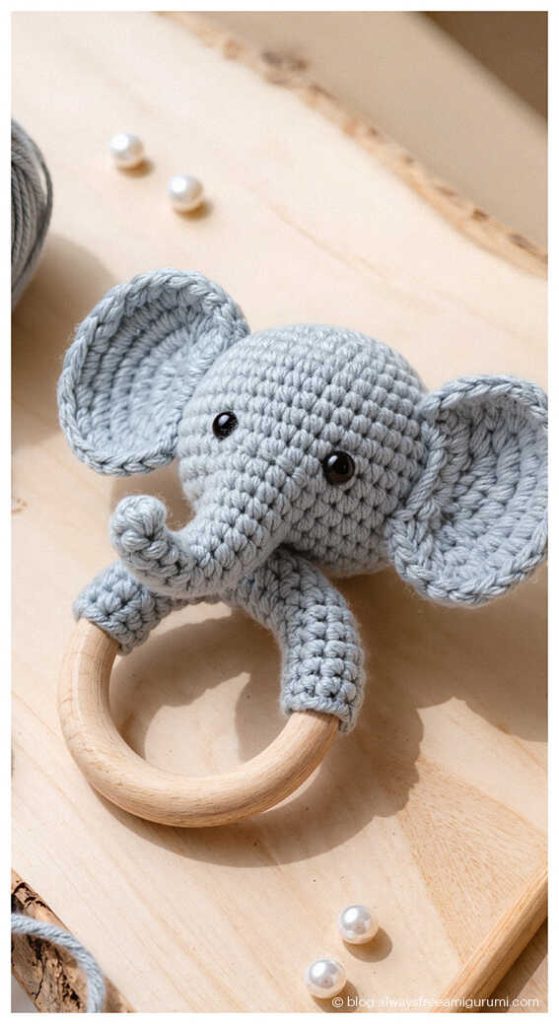
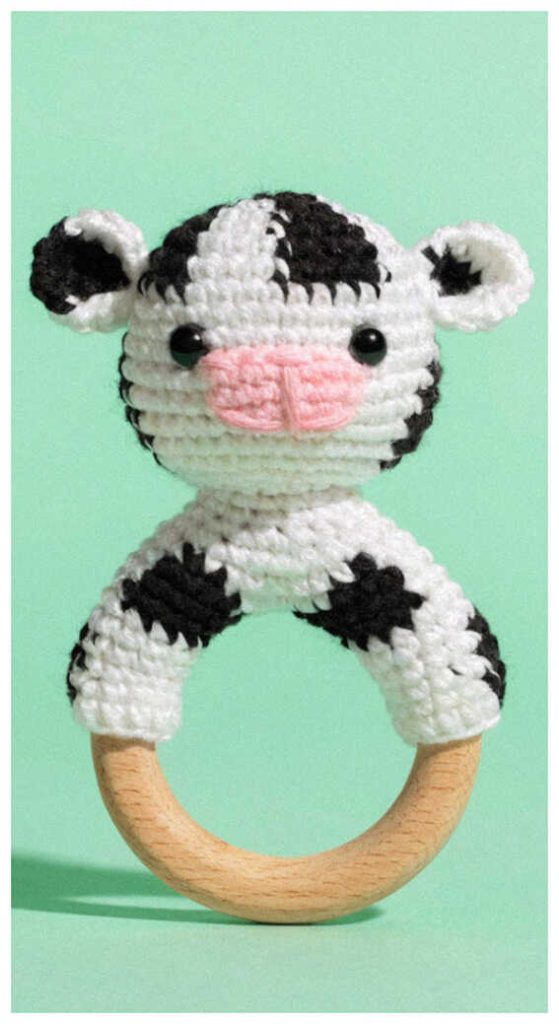
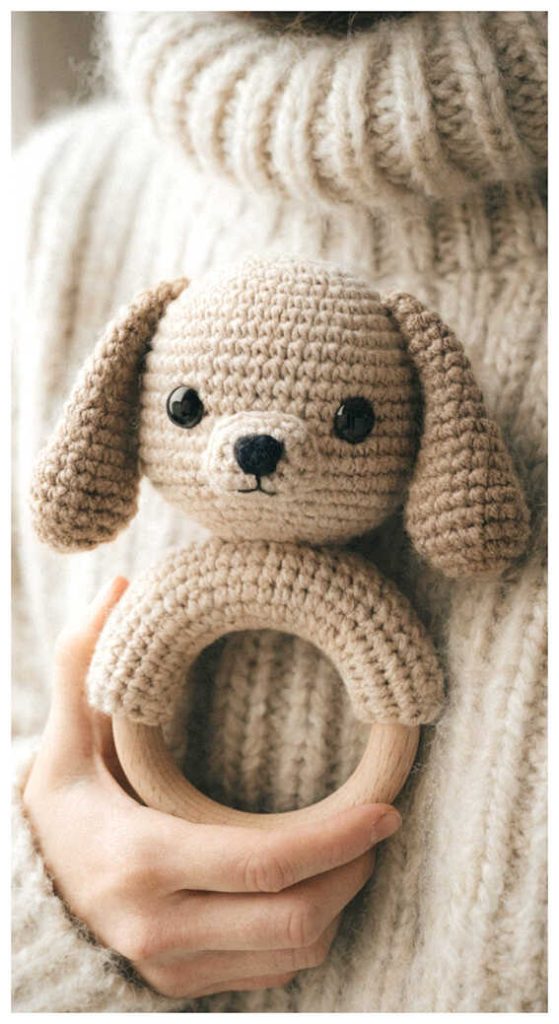
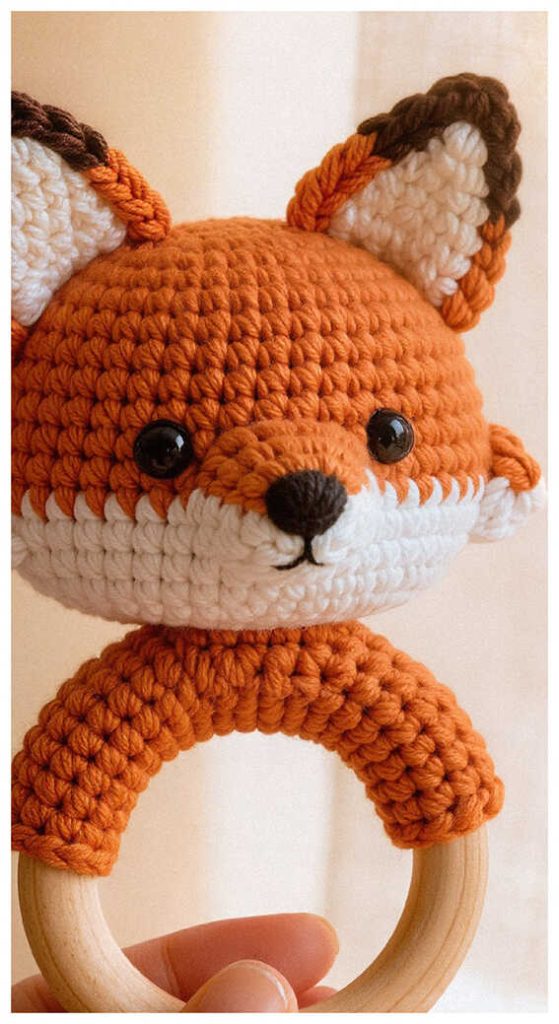
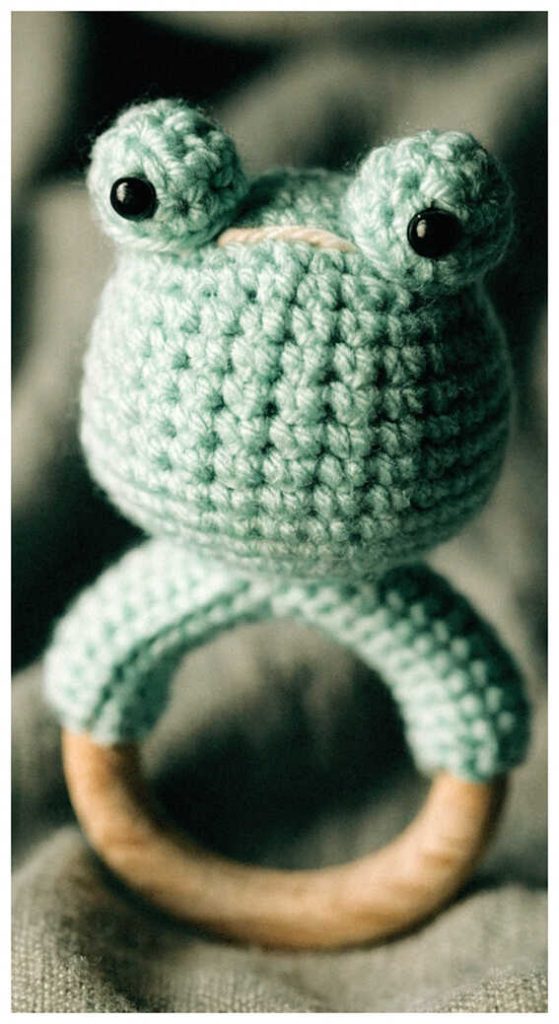
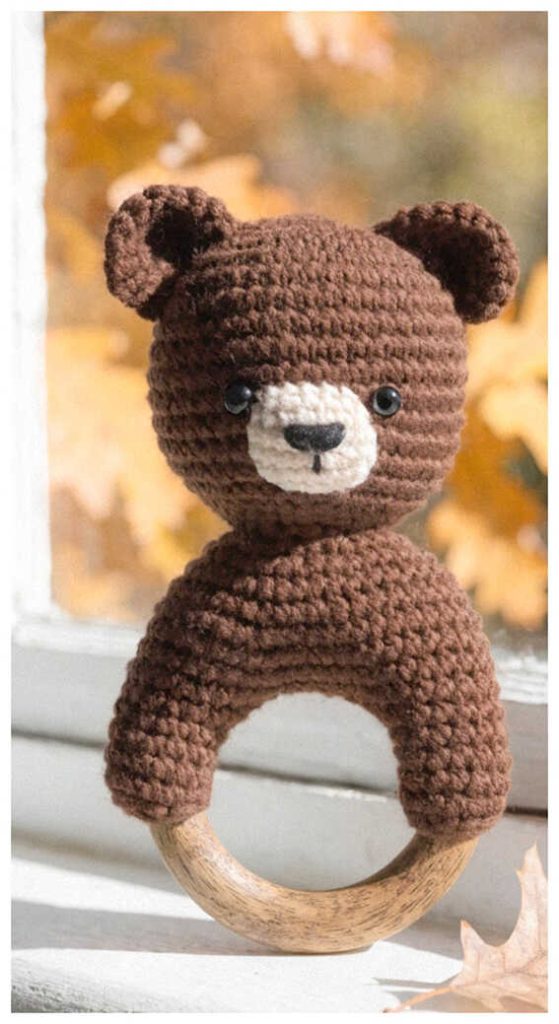
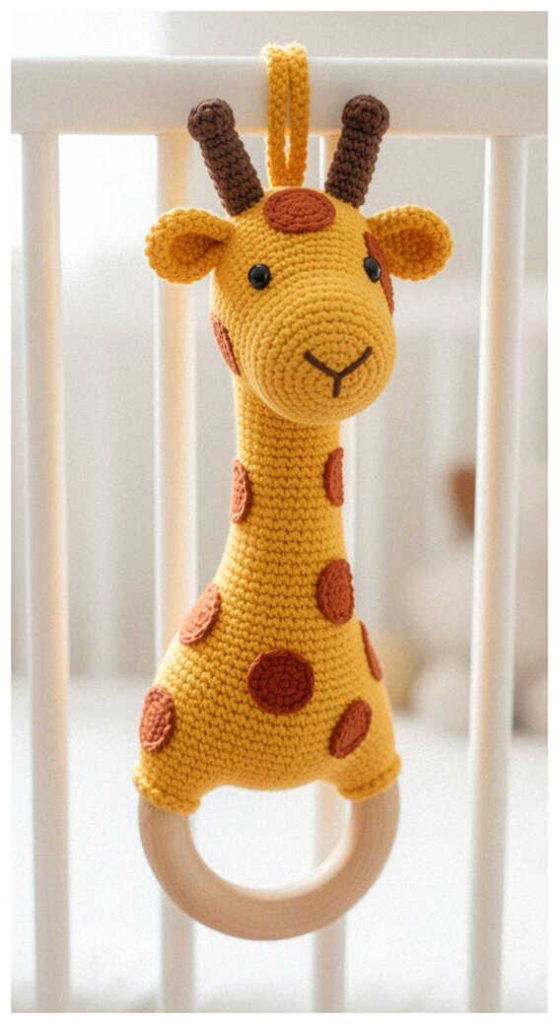
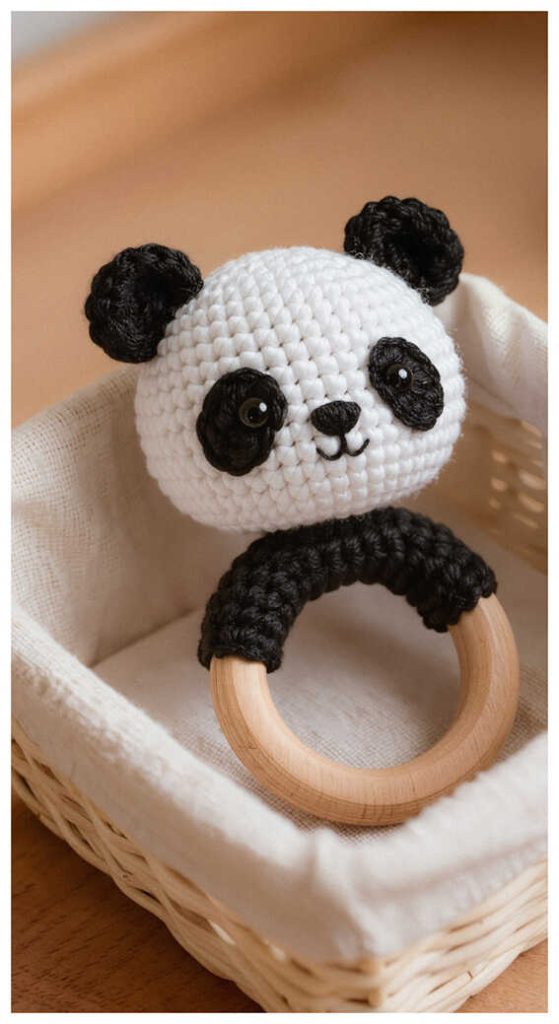
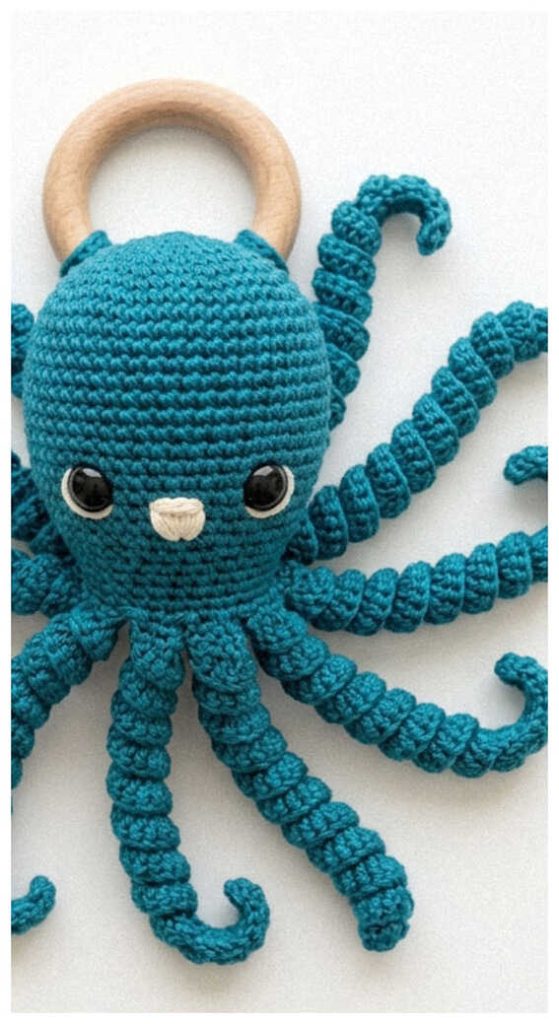
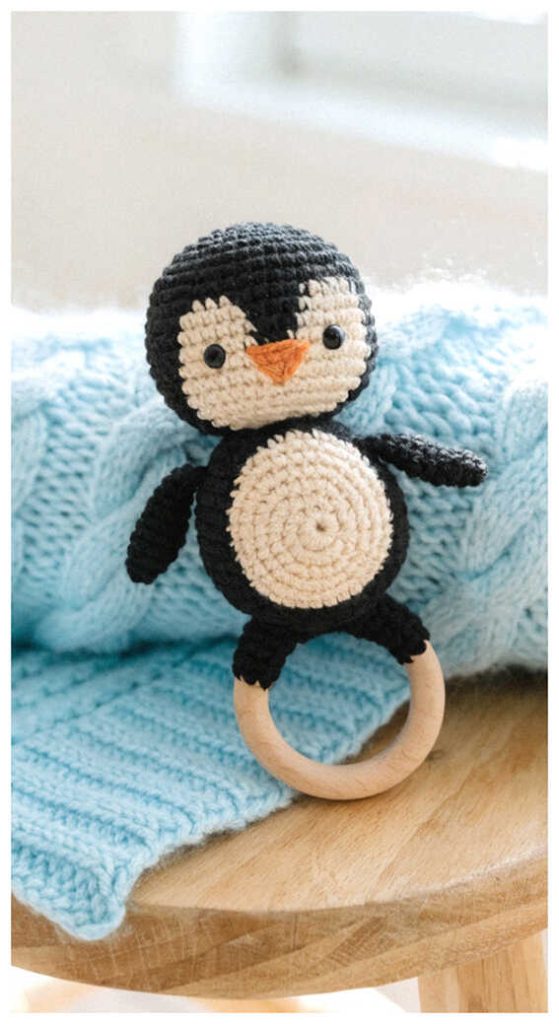
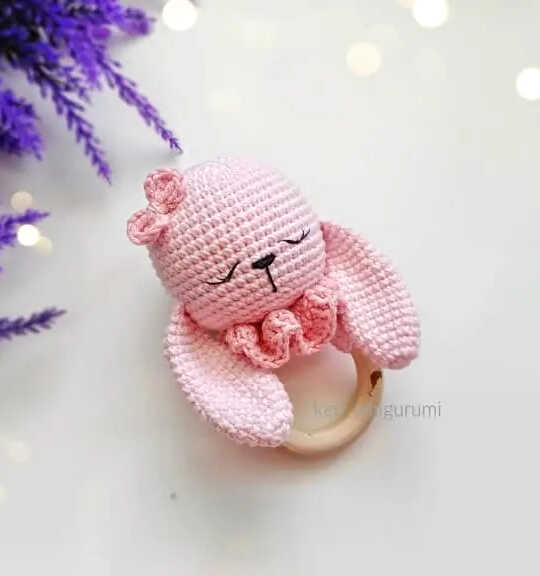
Soft crochet rattles are a favorite for handmade baby gifts thanks to their gentle textures and simple, charming shapes. Small details like secure wooden rings, soft yarn choices, and minimal stitching make these pieces both practical and adorable. Exploring different animal styles can help you create a unique rattle that feels personal and gift-ready.
Cute Crochet Baby Rattle Ideas You’ll Want to Make