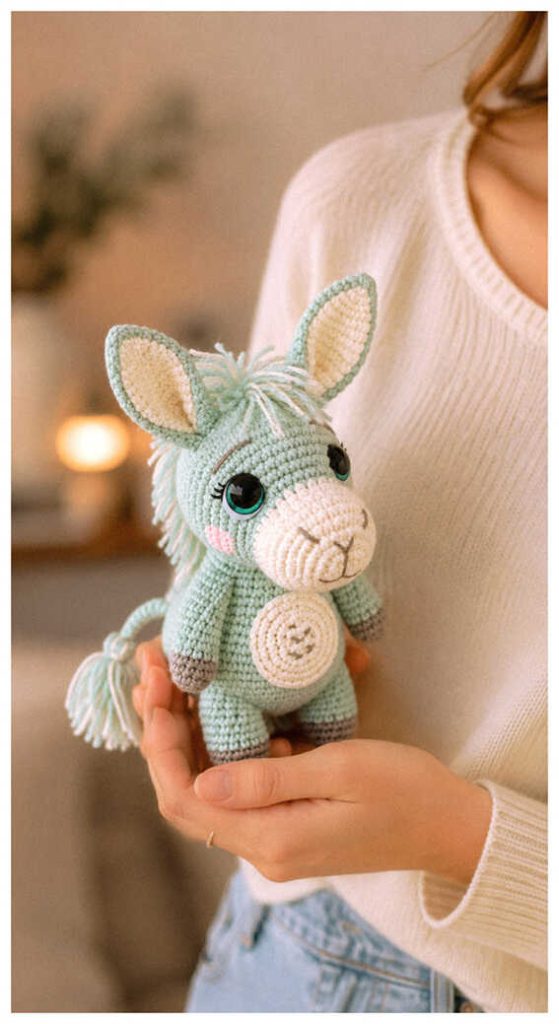
Free Donkey Amigurumi Pattern for Cute Crochet Gifts
Designer: Natalia Lobzova
VK: @natalialobzova
Difficulty Level: Intermediate
A lovable character project to bring a soft handmade touch to your crochet time
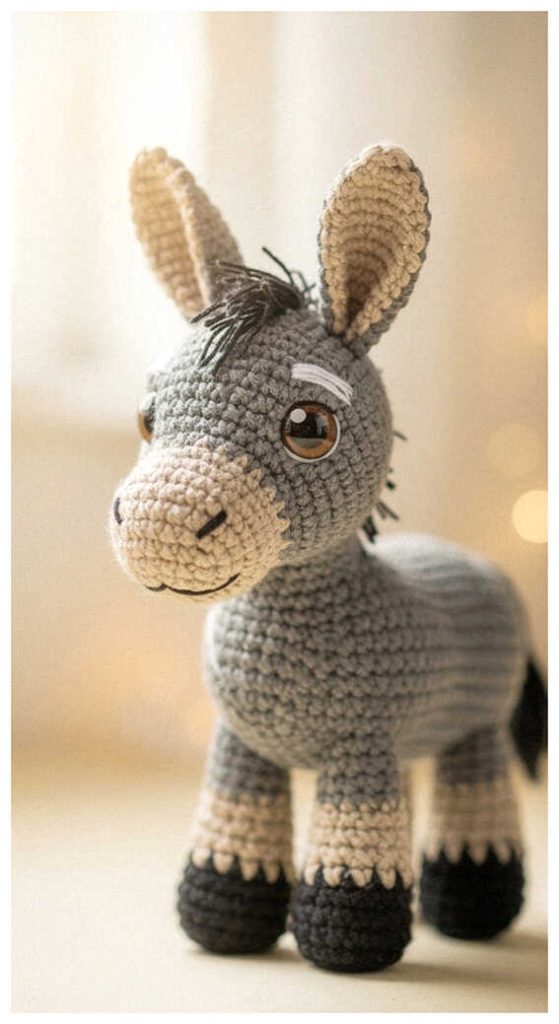
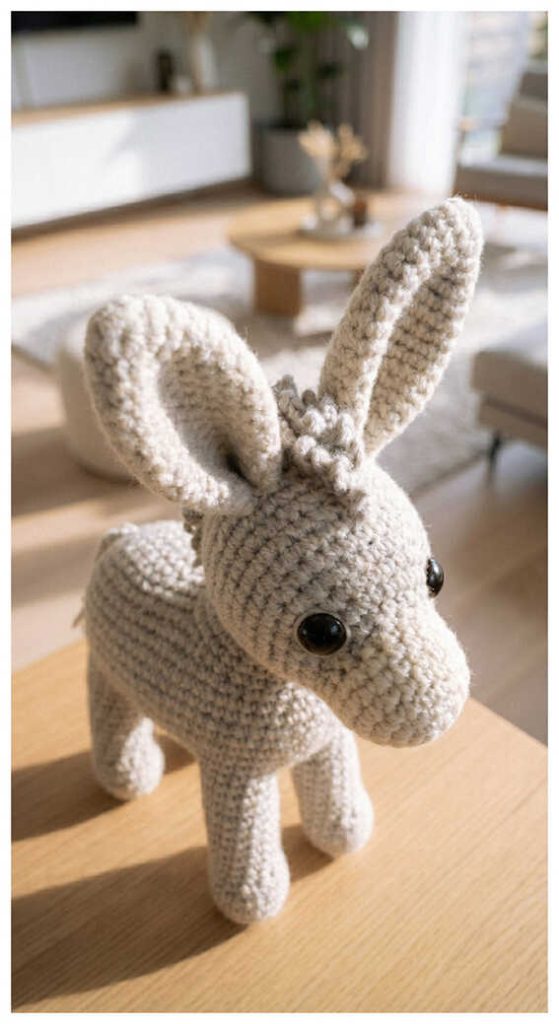
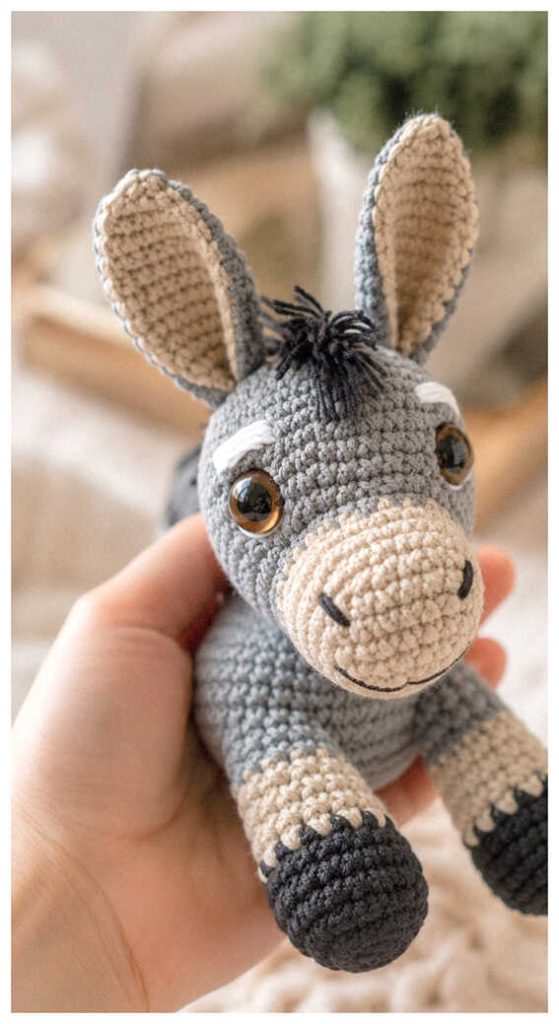
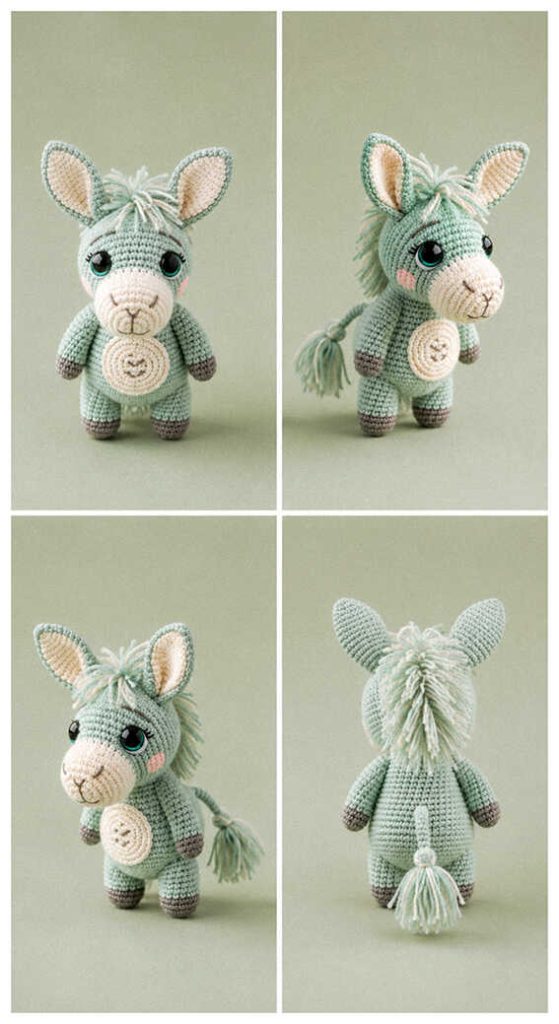
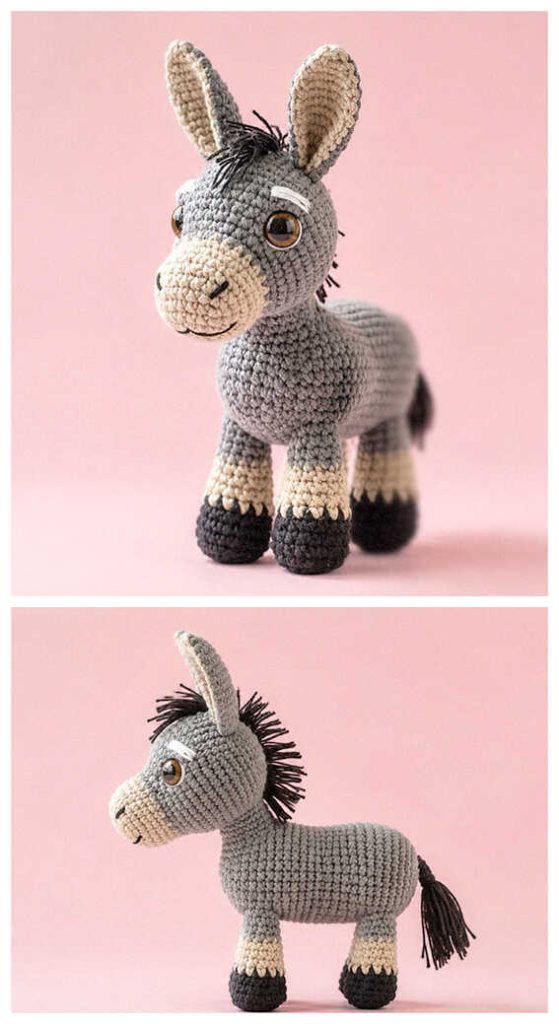
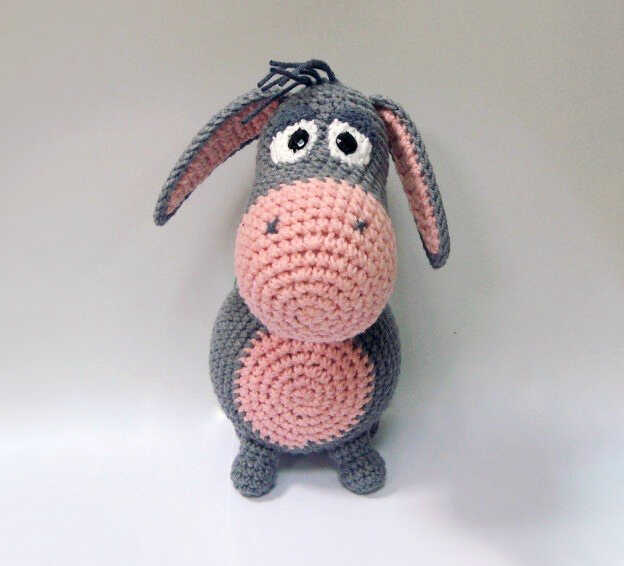
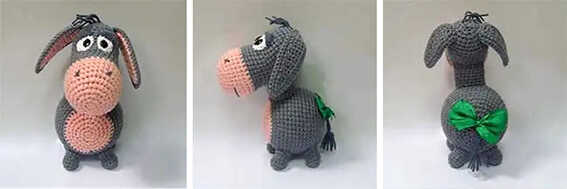
Create something adorable with this free Eeyore Donkey amigurumi pattern designed by Natalia Lobzova. With its gentle expression and nostalgic character-inspired details, this cute crochet animal makes a sweet handmade gift idea, nursery decor accent, or soft crochet toy. The compact 16 cm size makes it a charming collectible project, and we sincerely thank Natalia Lobzova for sharing this lovely design. You’ll also find more inspiring donkey amigurumi ideas waiting at the end of the pattern.
The original pattern is just below—scroll down whenever you’re ready to explore the details.
This is an intermediate amigurumi pattern with shaped facial details, separate parts, and careful assembly work. If you enjoy character projects, you might also love the mini beaver amigurumi from our other blog.
The design uses semi-cotton yarn for a crisp finish, while smaller hooks help create expressive shaping around the face and eyelids. You may also enjoy the dinosaur amigurumi as another playful crochet idea.
This donkey amigurumi pattern and even cuter donkey ideas are waiting below.
Materials and Tools
• Yarn:
▸ Alize Cotton Gold — gray
▸ Alize Cotton Gold — dark gray
▸ Alize Cotton Gold — flesh or pink
▸ Vita Lira — white (for eyes)
• 2–2.5 mm crochet hook (main)
• 1.25–1.2 mm crochet hook (for eyelids)
• 8 × 10 mm toy eyes / oval rhinestones / plastic half beads
• Fiberfill stuffing
• Ribbon
• Needle for sewing parts
• Scissors
Abbreviations
MR — magic ring
ch — chain
sl st — slip stitch
sc — single crochet
inc — increase
dec — decrease
(…) x n — repeat n times
HOW TO MAKE A CUTE EEYORE DONKEY AMIGURUMI YOU’LL WANT TO MAKE
Head
Start with flesh-colored yarn.
R1: 6 sc in MR
R2: 6 inc (12)
R3: (inc, 1 sc) x 6 (18)
R4: (2 sc, inc) x 6 (24)
R5: (inc, 3 sc) x 6 (30)
R6: (3 sc, inc, 1 sc) x 6 (36)
R7–R10: 36 sc
R11: (dec, 10 sc) x 3 (33)
On the last stitch of the round, change to gray yarn.
R12: 33 sc
R13: (5 sc, dec, 4 sc) x 3 (30)
R14–R16: 30 sc
R17: ch 12, skip 9 stitches, starting from the 10th stitch crochet 21 sc (33)
In this round, crochet the chain stitches through the back loop only. The front loops will be used later for the neck.
R18: (5 sc, dec, 4 sc) x 3 (30)
R19–R23: 30 sc
R24: (dec, 8 sc) x 3 (27)
R25: (4 sc, dec, 3 sc) x 3 (24)
R26: (dec, 6 sc) x 3 (21)
R27: (3 sc, dec, 2 sc) x 3 (18)
R28: (1 sc, dec) x 6 (12)
R29: 6 dec (6)
Cut yarn, thread the end through all remaining stitches, and pull closed.
Neck
Gray yarn.
R1: Work 23 sc around the opening.
Attach the yarn anywhere on the muzzle side, make 1 ch (to raise the stitch so it does not disappear), crochet to the end of the lower section, make 1 sc into the gap between the upper and lower sections, crochet 12 sc along the upper section, make 1 sc into the gap on the other side, and finish the lower section until the round closes (23).
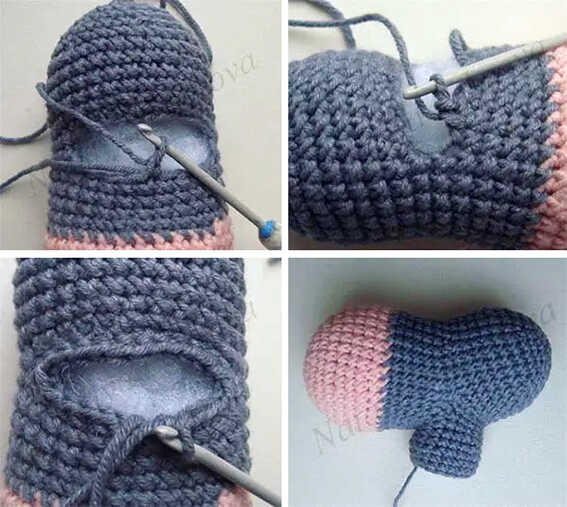
Gaps in similar constructions are usually quite large. To avoid holes, it is better to catch the yarn in two places, but make only one sc. Since this section is between rows, there is no exact insertion point — insert the hook wherever it naturally fits.
R2: Make 1 dec on each side where the gaps were joined, and 1 dec somewhere in the middle of the lower section (where the round begins) (20)
R3–R8: 20 sc
Make 1 sl st, cut yarn leaving a tail for sewing, and fasten off.
Body
Start with flesh-colored yarn.
R1: 6 sc in MR
R2: 6 inc (12)
R3: (inc, 1 sc) x 6 (18)
R4: (2 sc, inc) x 6 (24)
R5: (inc, 3 sc) x 6 (30)
R6: (3 sc, inc, 1 sc) x 6 (36)
On the last stitch of the round, change to gray yarn.
R7: (inc, 5 sc) x 6 (42)
R8: (4 sc, inc, 2 sc) x 6 (48)
R9–R19: 48 sc
R20: (dec, 6 sc) x 6 (42)
R21: (3 sc, dec, 2 sc) x 6 (36)
R22: (dec, 4 sc) x 6 (30)
R23: (2 sc, dec, 1 sc) x 6 (24)
R24: (dec, 2 sc) x 6 (18)
Stuff the body.
R25: (1 sc, dec) x 6 (12)
R26: 6 dec (6)
Make 1 sl st, finish stuffing, cut yarn, and pull the opening closed.
Legs (Make 4)
Gray yarn.
R1: 6 sc in MR
R2: 6 inc (12)
R3–R4: 12 sc
R5: 3 dec, 6 sc (9)
R6: (1 sc, inc, 1 sc) x 3 (12)
R7: 12 sc
Make 1 sl st, cut yarn leaving a tail for sewing, and fasten off.
Stuff the legs and sew them on with the hoof pointing forward, slightly angled outward if desired. Do not sew completely closed at first — when a small opening remains, add more stuffing, then finish sewing.
The front and back legs should not be placed too close together, otherwise the large head may cause the donkey to fall over.
Stuff the head and sew it on starting from the light belly area and working toward the back. Do not sew completely closed at first — when a small opening remains, stuff more firmly, then finish sewing.
Eyes (Make 2)
White yarn.
Ch 4 (loop on hook does not count). Make 1 sl st, cut yarn leaving a tail for sewing, and fasten off.
R1: Starting in the 2nd chain from hook: 2 sc, 3 sc in one stitch (last chain), continue around: 1 sc, 2 sc in one stitch (the chain stitch where the round began) (8)
R2: inc, 1 sc, 3 inc, 1 sc, 2 inc (14)
Sew the eyes approximately 4 rounds above the light muzzle area. Distance between the eyes should be approximately 1 stitch.
Ears (Make 2)
The ears are worked in rows, turning back and forth. At the end of each row, make 1 ch and turn. Start each new row in the 2nd chain from hook (loop on hook does not count). Work with flesh-colored yarn.
R1: 2 sc in MR, do not close the ring
R2–R3: 2 sc
R4: inc, 1 sc (3)
R5–R6: 3 sc
R7: 1 sc, inc, 1 sc (4)
R8–R14: 4 sc
R15: 2 dec (2)
R16: 2 sc
Crochet around the finished piece.
In the last worked stitch, make another inc, resulting in a 3 sc increase in one stitch. Also make a 3 sc increase in one stitch at the corner of the piece. Crochet all remaining stitches as sc. At the end, make 1 inc and 1 sl st into the first stitch of the round.
Cut yarn and fasten off.
Make the exact same piece in gray yarn, but do not cut the yarn, as both pieces will be joined together.
Place both pieces with wrong sides facing each other, with the working yarn between them. Hide all yarn ends inside the ear while joining.
Hold the flesh-colored piece facing you.
Insert the hook into the 2nd stitch from the yarn tail on the flesh-colored piece.
On the gray piece, insert the hook into the 2nd stitch from the hook (loop on hook does not count).
Crochet a row of sc through both layers at the same time.
At the ear corner, make a 3 sc increase in one stitch.
At the end, make 1 sl st.
The base of the ear remains unjoined.
Cut yarn, leaving a tail for sewing, and fasten off.
Make the second ear the same way.
Sew the ears to the sides of the head, 2–3 rounds away from the back of the head (the closing point). Where the pieces remain unjoined, catch both edges while sewing.
Eyelids (Make 2)
Dark gray yarn. Use a thin crochet hook. Split the yarn strand (made of four plies) lengthwise in half. The eyelids are worked in rows, turning back and forth. At the end of each row, make 1 ch and turn. Start each new row in the 2nd chain from hook (loop on hook does not count).
R1: 5 sc in MR, do not close the ring
R2: inc, 3 sc, inc (7)
R3: 3 sc, inc, 3 sc (8)
Cut yarn, leaving a tail for sewing, and fasten off.
Place the eyelids at the top of the eyes, slightly lowering the outer corners downward. Hide the starting yarn end inside the head and sew in place.
Face Details
Sew the rhinestone pupils closer to the inner side of each eye. Attach them with two stitches using doubled sewing thread. After each stitch, pull the thread carefully but firmly so the rhinestone sits tightly against the surface. Secure the thread end somewhere under the ear.
Using dark gray yarn, embroider the nostrils with cross stitches. Using the same dark gray yarn, embroider the mouth with one long stitch. You may secure it in the center.
Cut 3 dark gray yarn strands, each approximately 14 cm long. Insert them into the head folded in half, then trim as desired.
Tail
Dark gray yarn.
Cut 6 strands, each approximately 40 cm long. Insert them into the back in groups of 2–3 strands so the ends are even. Braid approximately 2 cm. Use one of the strands to secure the braid. Trim the remaining ends to create a tassel.
Tie a bow at the top of the tail.
Do not tie the ribbon around the tail itself. Instead, pass it through the back just above the tail and tie it there — this gives a much better appearance.
Copyright & Credits
This pattern belongs to the original designer. The pattern itself may not be redistributed, copied, or republished without permission. You may sell finished toys made from this pattern, provided proper credit is given to the original designer.
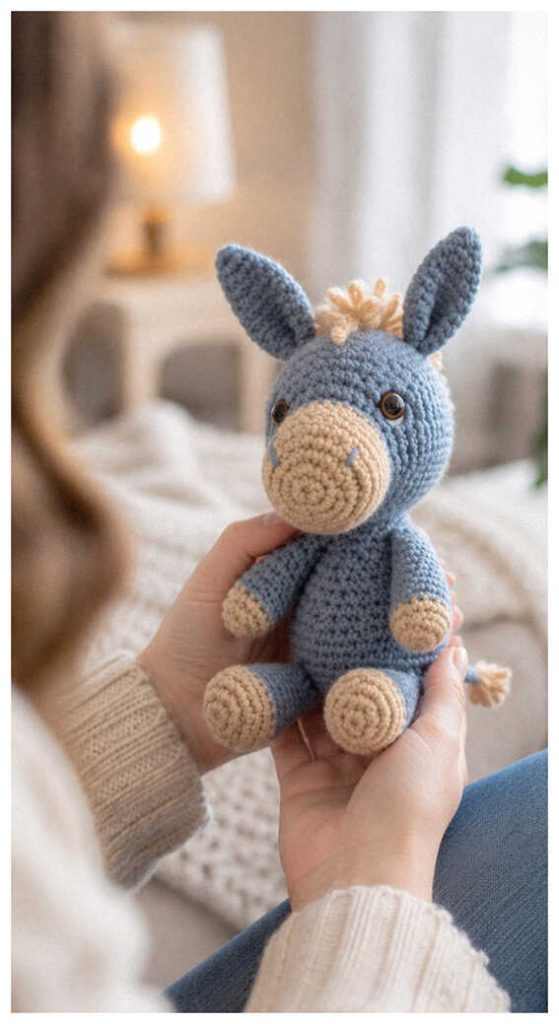
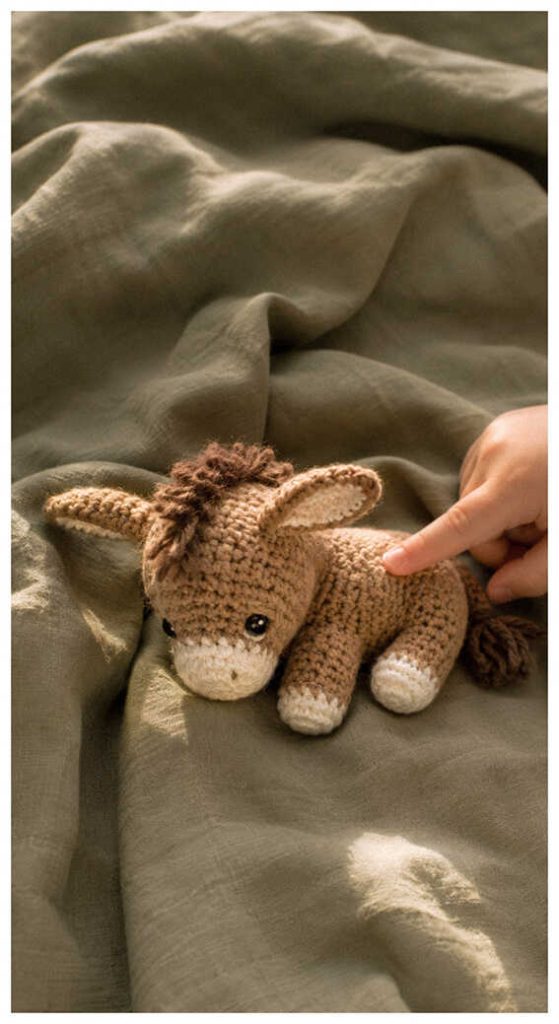
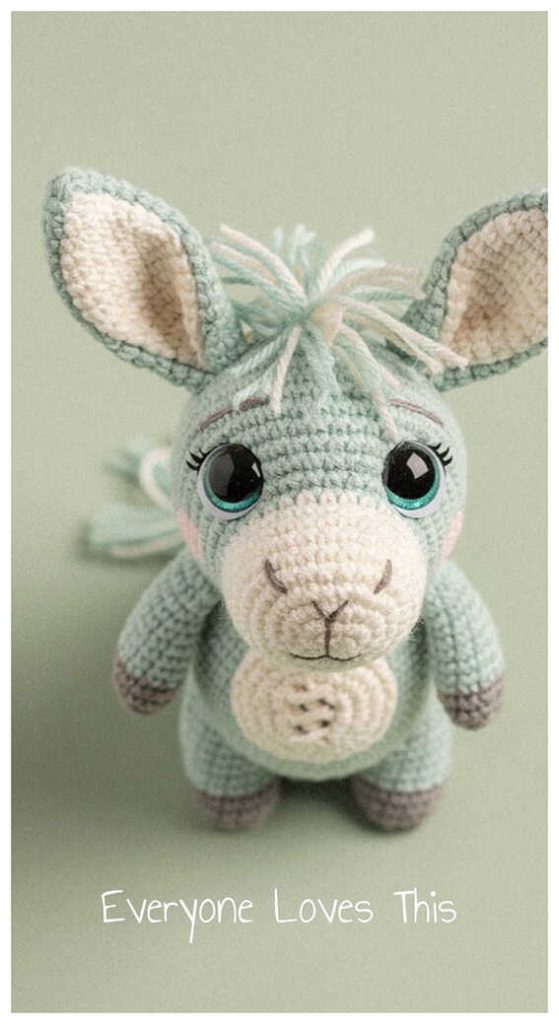
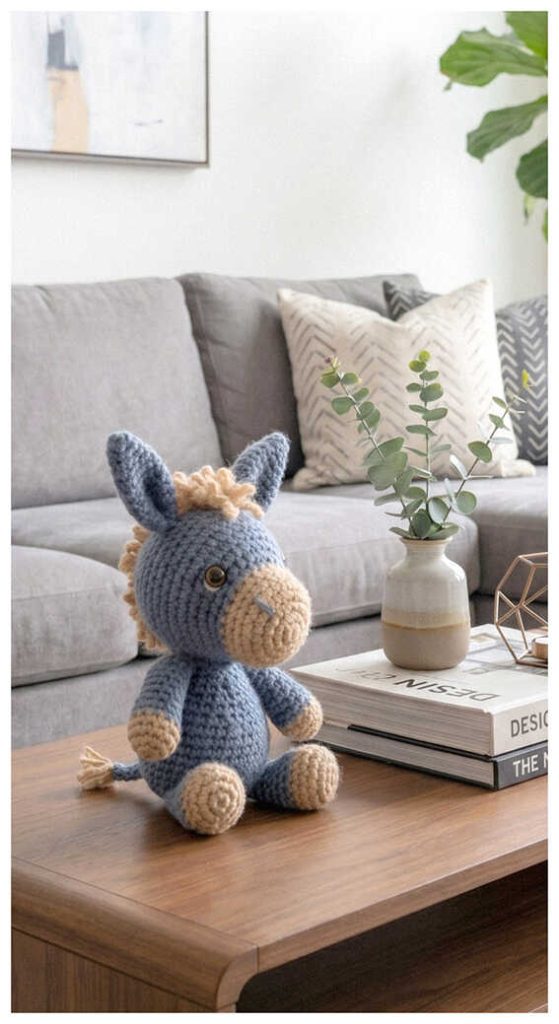
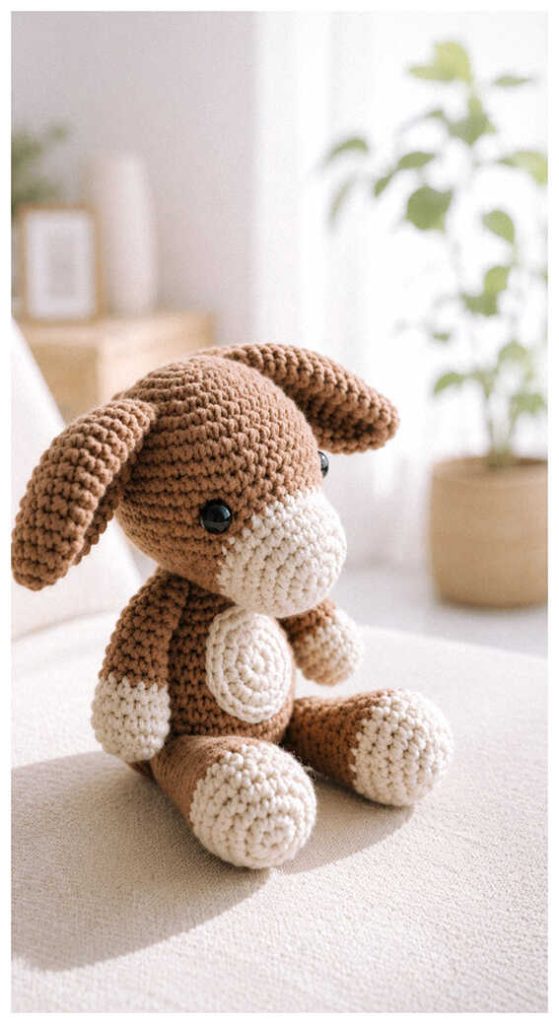
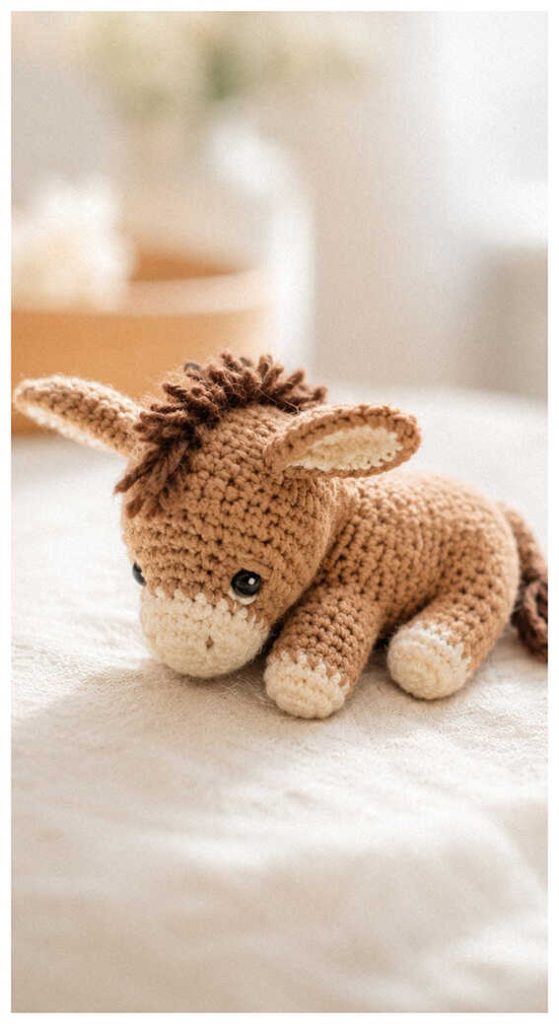
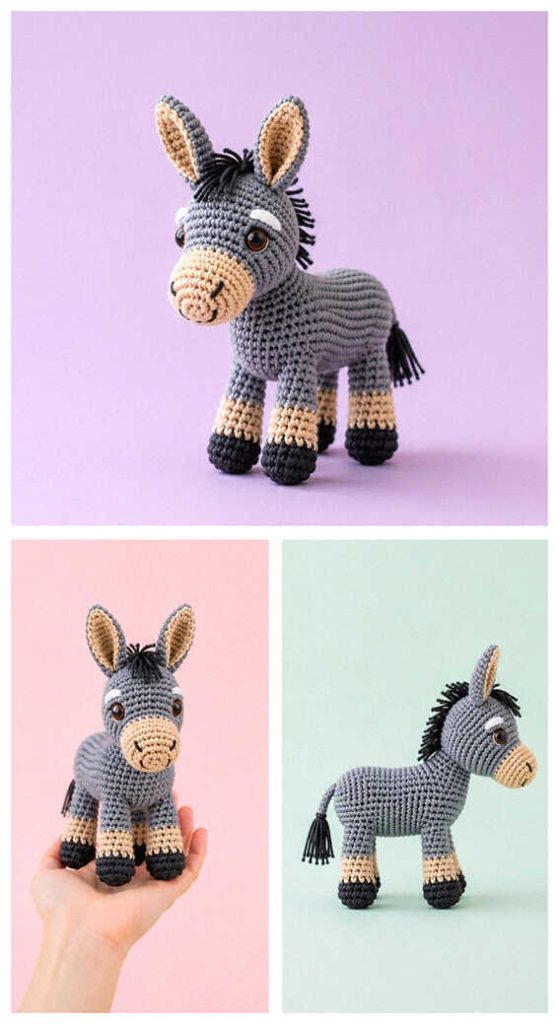
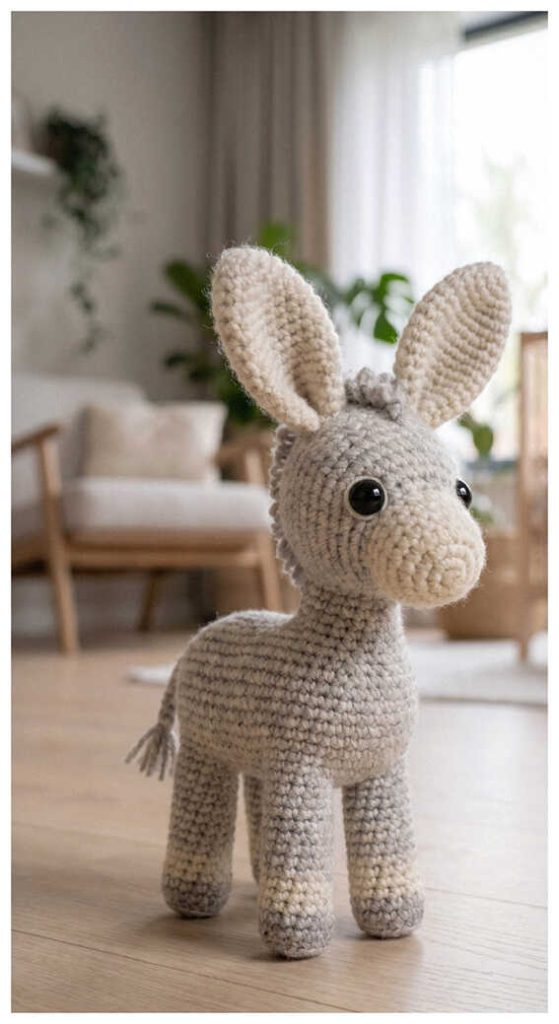
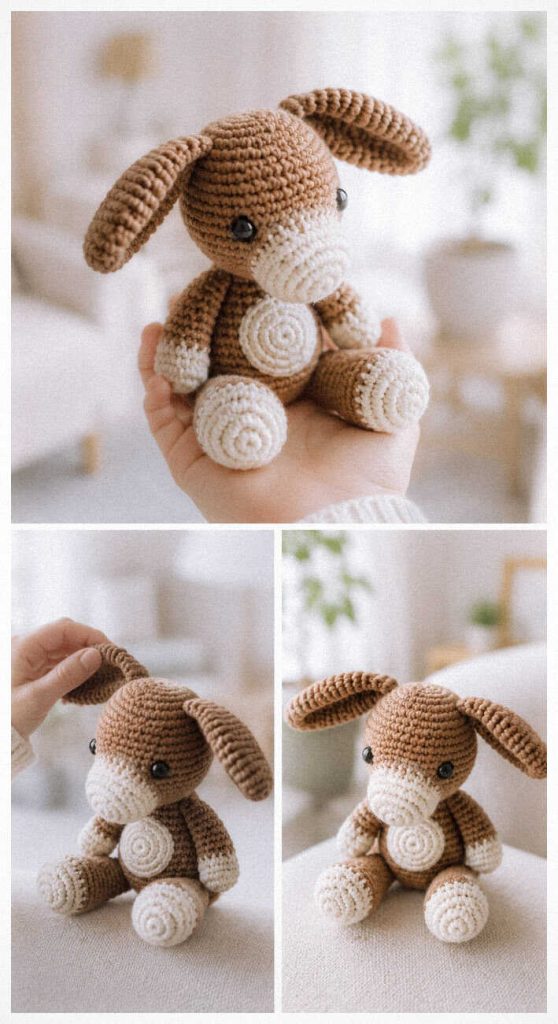
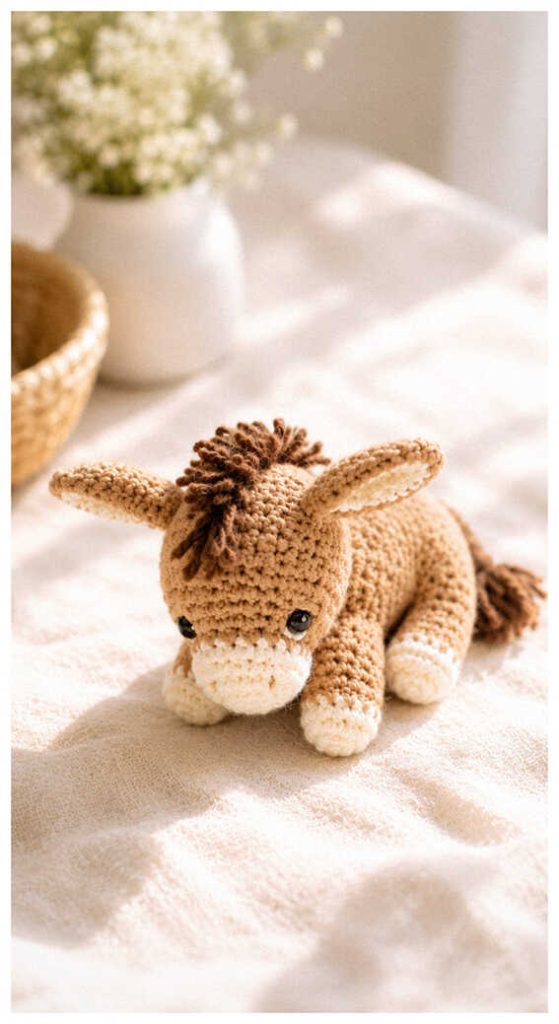
Cute and playful, amigurumi donkey designs make a charming handmade gift idea for animal lovers and cozy toy collectors. If you’re wondering who is this for, these adorable donkeys are a perfect gift for kids, nursery decor, or thoughtful handmade surprises. It’s easy to see why people love this style—soft textures, sweet expressions, and a lovable farm animal look that always stands out.
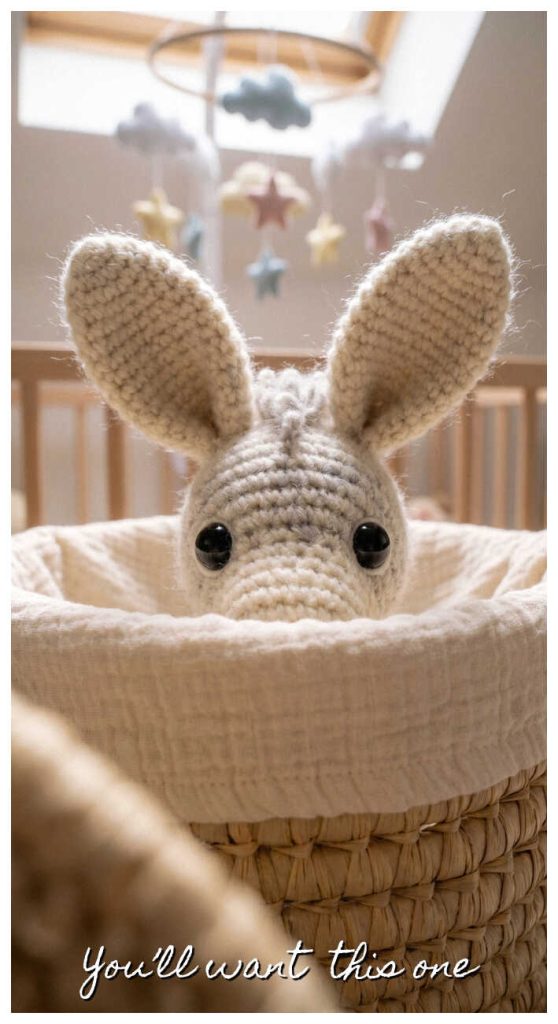
Cute Amigurumi Donkey You’ll Want to Make