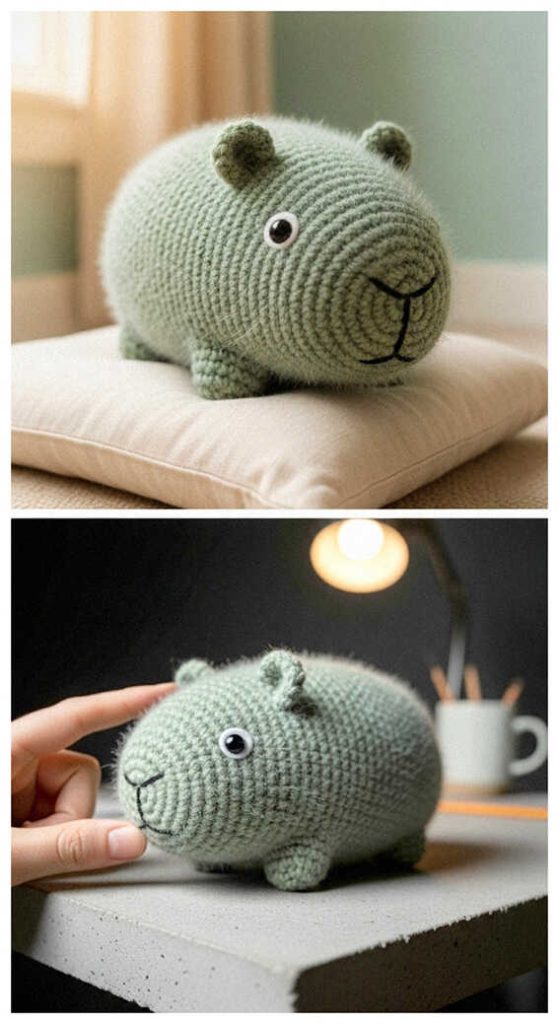
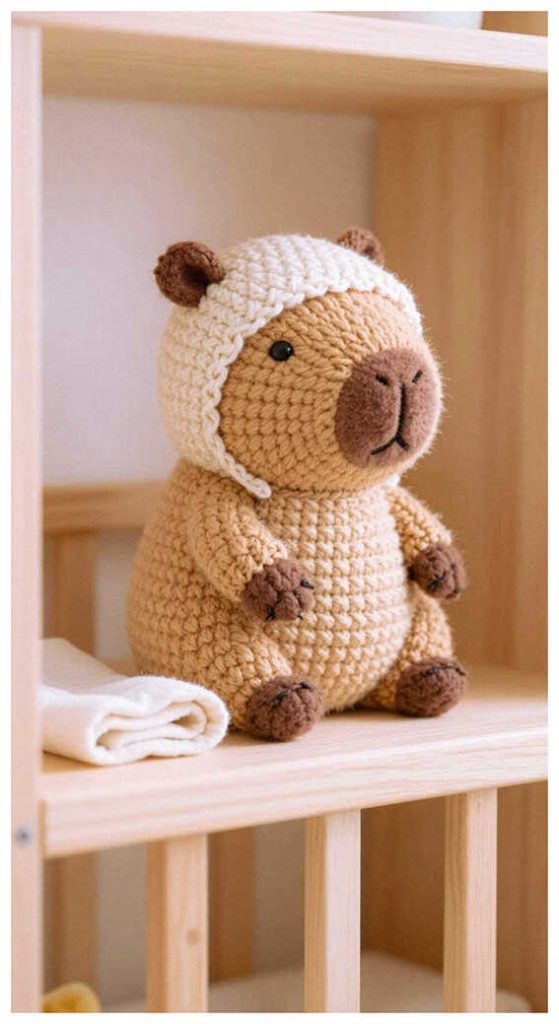
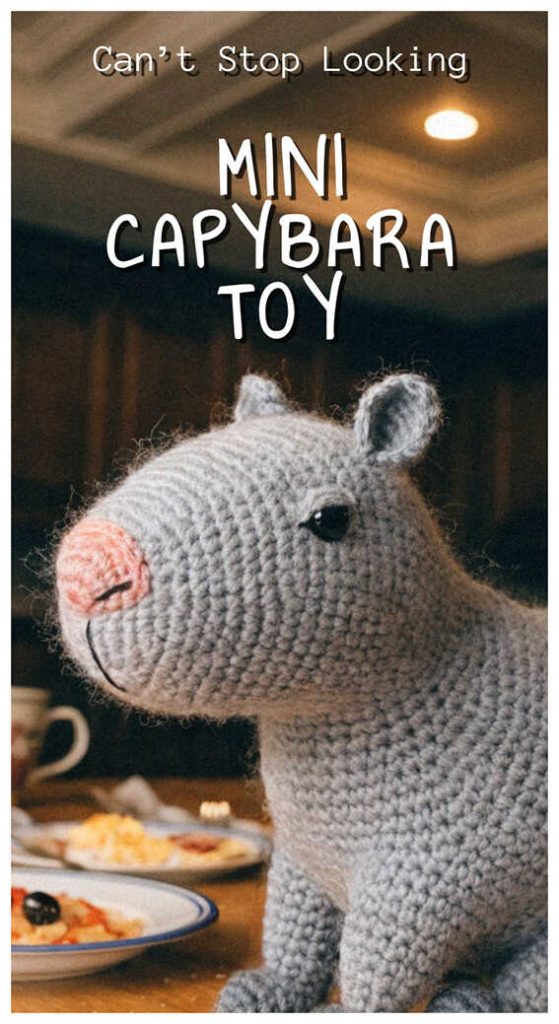
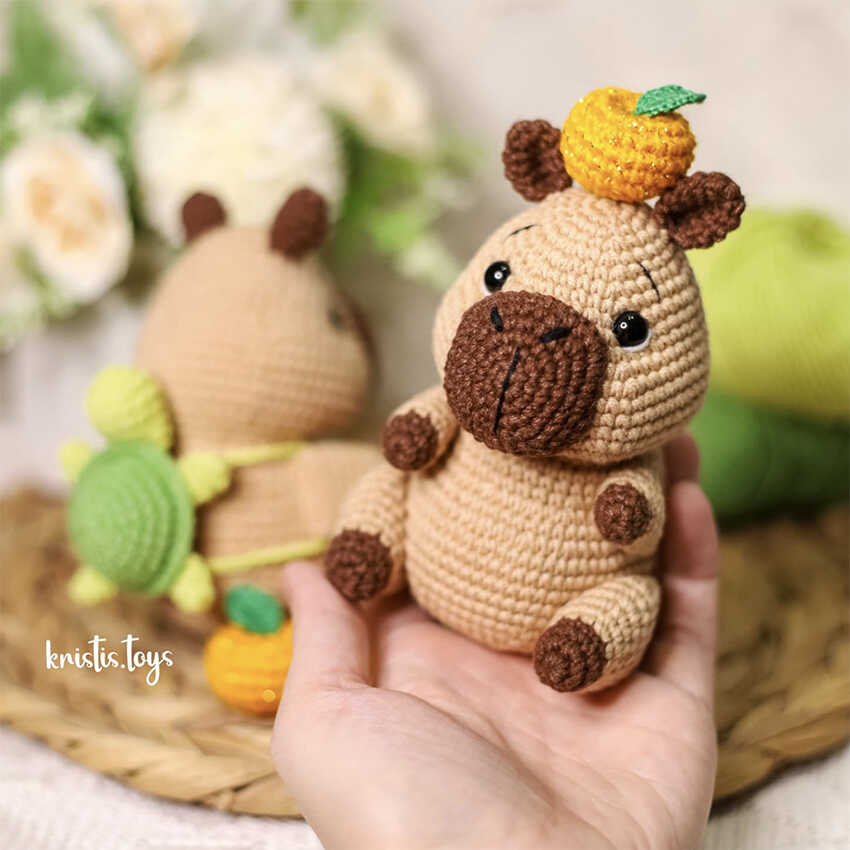
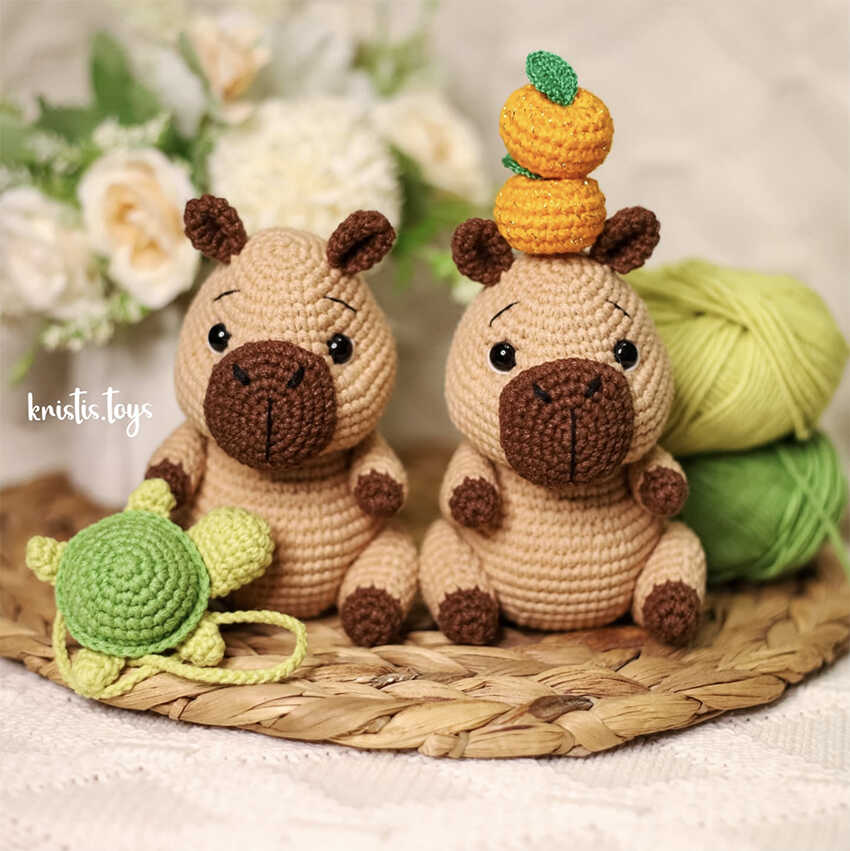
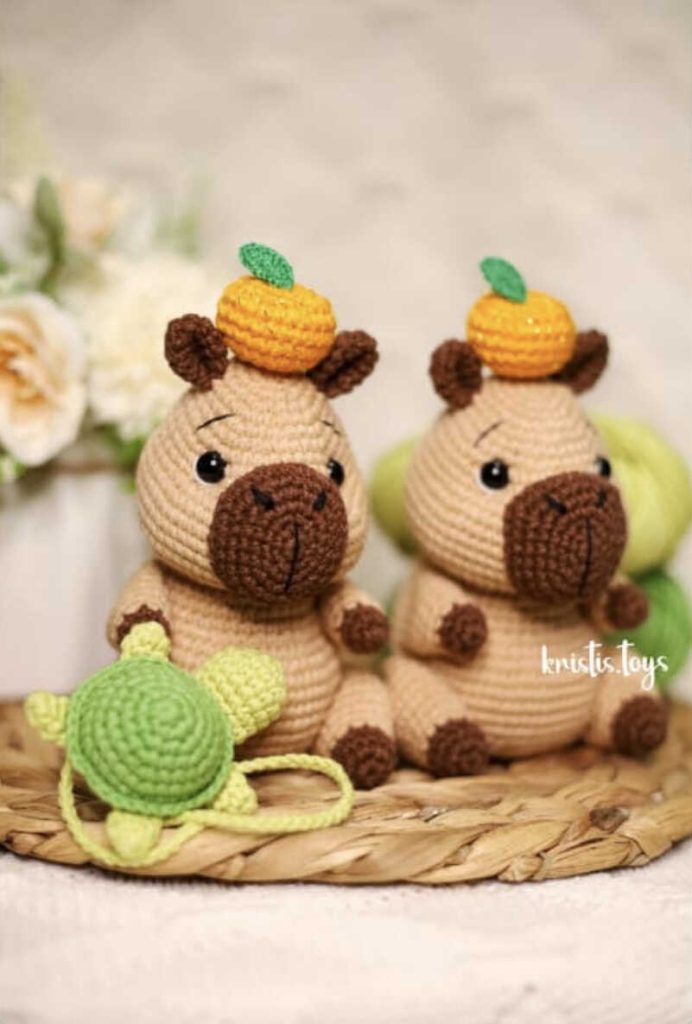
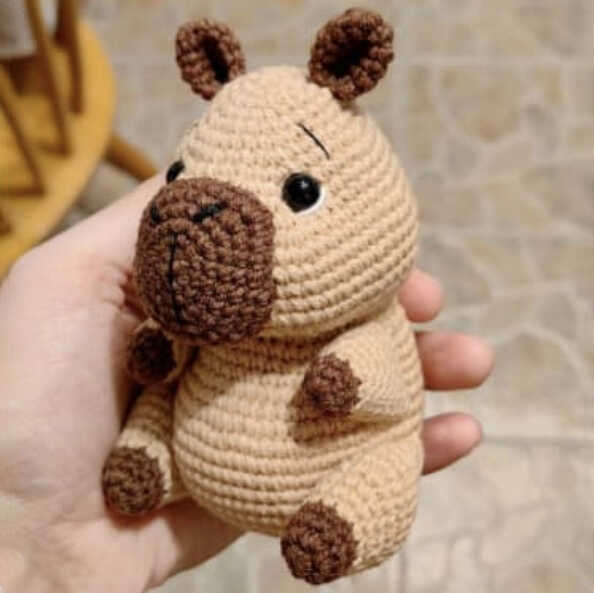
Capybara with Tangerines and Turtle Backpack Amigurumi
Designer: Kristina Kuznetsova
Instagram: @kristis.toys
Difficulty Level: Intermediate
A cozy project inspired by playful details and cheerful accessories
Designed by Kristis Toys, this Capybara Amigurumi With Accessories Free Crochet Pattern reflects the calm nature of capybaras and the joy of playful accessories. It fits perfectly into nursery décor, desk companions, and DIY Crochet Gift Ideas. Also, it works well for Easy Crochet Projects and Low Sew or No Sew Amigurumi Patterns. At the end of the pattern, you will find extra amigurumi capybara ideas to inspire new variations. Thank you to Kristis Toys for sharing this creative design.
A beginner amigurumi capybara pattern with a charming story.
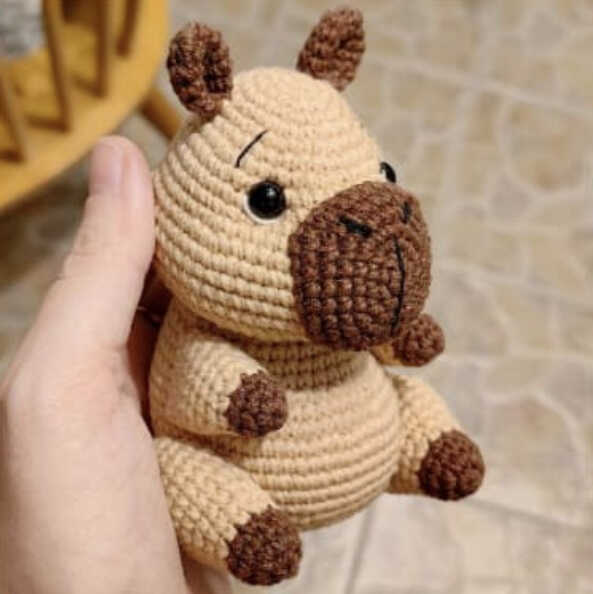
This pattern is suitable for confident beginners and intermediate crocheters. The Difficulty Level is medium, yet the structure stays clear and step by step. If you have been wondering how to crochet an amigurumi animal that looks adorable and remains beginner friendly, this pattern is a strong starting point. Because the instructions are well balanced, it also feels like a Quick to Make Amigurumi. The finished capybara measures approximately 12 cm, making it ideal for gifting.
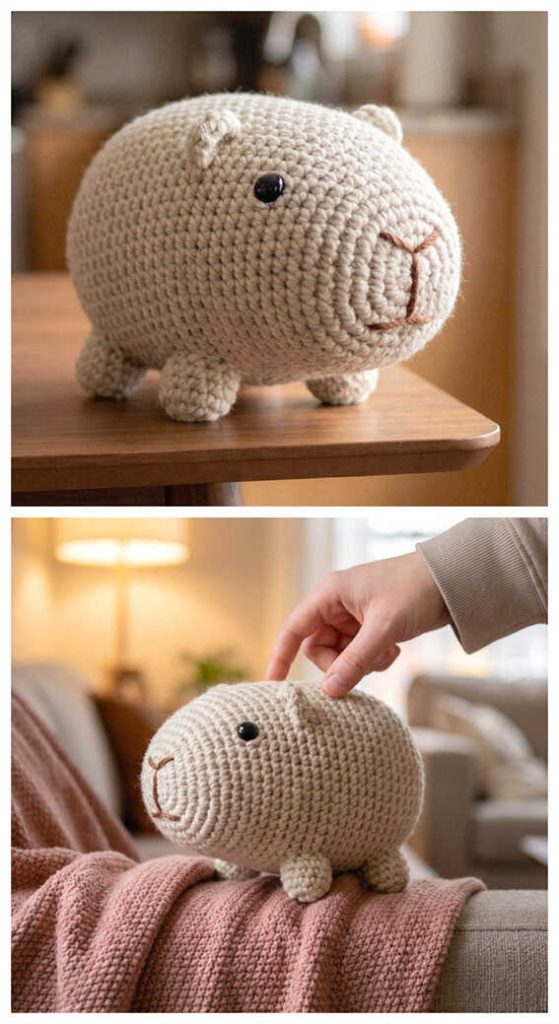
The design is mainly crocheted with YarnArt Jeans cotton yarn and a 2 mm crochet hook. Simple color changes, safety eyes, and polyester fiberfill are used throughout the process. While cotton yarn gives a crisp and neat result, velvet yarn can be used for a softer plush effect. However, using velvet will make the final toy much larger. For another animal-inspired project, you can also explore this sweet fox amigurumi.

Materials and Tools
• YarnArt Jeans yarn:
07 – Beige
70 – Dark Brown
40 – Brown
• Kamteks Prazdnichnaya yarn with lurex (50 g / 160 m): Orange
• Gamma Iris yarn: 0014 – Bright Green
• 2 mm crochet hook (main)
• 0.5 mm crochet hook (for the leaf)
• 6 mm safety eyes
• Polyester fiberfill
• Stitch markers
• Pins
• Yarn needle for sewing parts
• Scissors
Abbreviations
MR – magic ring
ch – chain
sl st – slip stitch
sc – single crochet
hdc – half double crochet
dc – double crochet
inc – increase
dec – decrease
(…) x n – repeat the instructions in parentheses n times
DETAILED CAPYBARA AMIGURUMI
Head and Body
R1: 6 sc in MR
R2: inc x 6 (12)
R3: (1 sc, inc) x 6 (18)
R4: (2 sc, inc) x 6 (24)
R5: 9 sc, (1 sc, inc) x 3, 9 sc (27)
R6: 9 sc, (2 sc, inc) x 3, 9 sc (30)
R7: (4 sc, inc) x 6 (36)
R8: (5 sc, inc) x 6 (42)
R9: 15 sc, (1 sc, inc) x 6, 15 sc (48)
R10–R11: 48 sc (2 rounds)
R12: (7 sc, inc) x 6 (54)
R13: (8 sc, inc) x 6 (60)
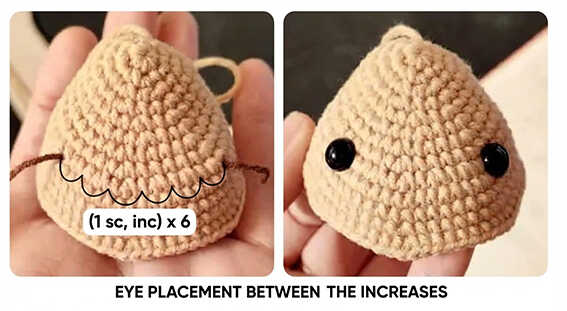
Insert the safety eyes between R9 and R10, placing them near the edges between the increases.
R14–R17: 60 sc (4 rounds)
R18: (8 sc, dec) x 6 (54)
R19: (7 sc, dec) x 6 (48)
R20: 15 sc, (1 sc, dec) x 6, 15 sc (42)
R21: (5 sc, dec) x 6 (36)
R22: (4 sc, dec) x 6 (30)
Begin stuffing the piece.
R23: (1 sc, inc) x 15 (45)
R24–R25: 45 sc (2 rounds)
R26: (14 sc, inc) x 3 (48)
R27: Mark the front center with stitch markers. This area will be used for belly increases. Use the eye placement as a guide so the belly is centered between the eyes.
Example: 19 sc, (1 sc, inc) x 6, 17 sc (54)
R28: 54 sc
R29: 19 sc, (2 sc, inc) x 6, 17 sc (60)
Crochet the same number of stitches before and after the increases as in R27.
R30–R34: 60 sc (5 rounds)
R35: (8 sc, dec) x 6 (54)
R36: (7 sc, dec) x 6 (48)
R37: (6 sc, dec) x 6 (42)
R38: (5 sc, dec) x 6 (36)
R39: (4 sc, dec) x 6 (30)
R40: (3 sc, dec) x 6 (24)
Finish stuffing, shaping the belly carefully.
R41: (2 sc, dec) x 6 (18)
R42: (1 sc, dec) x 6 (12)
R43: dec x 6, fasten off, hide yarn tail.
Snout
R1: 6 sc in MR
R2: 3 sc in one stitch, 2 sc, 3 sc in one stitch, 2 sc (10)
R3: inc x 3, 2 sc, inc x 3, 2 sc (16)
R4: (1 sc, inc) x 3, 2 sc, (1 sc, inc) x 3, 2 sc (22)
R5: (2 sc, inc) x 3, 2 sc, (2 sc, inc) x 3, 2 sc (28)
R6: 3 sc, 3 sc in one stitch, 7 sc, 3 sc in one stitch, 16 sc (32)
R7: 4 sc, inc, 9 sc, inc, 17 sc (34)
Leave a long tail for sewing.
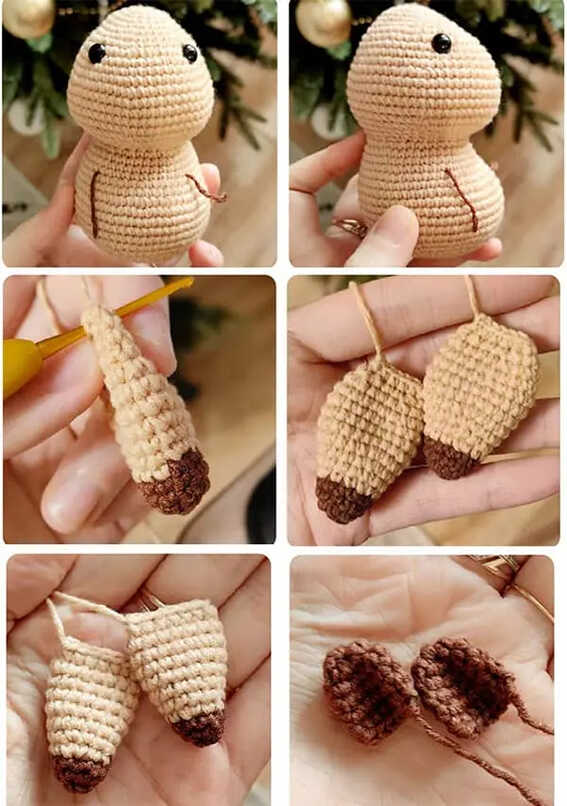
Legs (2 pcs)
Stuff lightly at the beginning and to the middle.
Start with dark brown yarn.
R1: 6 sc in MR
R2: inc x 6 (12)
R3–R4: 12 sc (2 rounds), change to beige on the last stitch
R5: (2 sc, inc) x 4 (16)
R6: 16 sc
R7: (3 sc, inc) x 4 (20)
R8: (4 sc, inc) x 4 (24)
R9–R10: 24 sc (2 rounds)
R11: (4 sc, dec) x 4 (20)
R12: 20 sc
R13: (3 sc, dec) x 4 (16)
R14: (2 sc, dec) x 4 (12)
Work 2 offset stitches so the leg faces forward. Leave a long tail.
Arms (2 pcs)
Stuff lightly.
Start with dark brown yarn.
R1: 6 sc in MR
R2: (1 sc, inc) x 3 (9)
R3: 9 sc, change to beige on the last stitch
R4: (2 sc, inc) x 3 (12)
R5: 12 sc
R6: (5 sc, inc) x 2 (14)
R7–R10: 14 sc (4 rounds)
Work 1 offset stitch. Leave a long tail.
Ears (2 pcs)
R1: 6 sc in MR
R2: inc x 6 (12)
R3–R5: 12 sc (3 rounds)
Flatten and crochet 6 sc through both layers. Leave a long tail.
Assembly
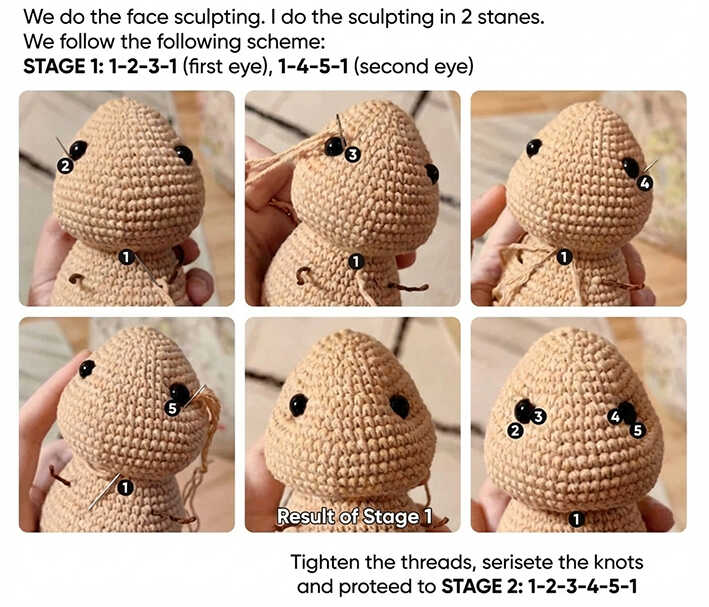
• Embroider the whites of the eyes with white yarn. Lightly stuff and pin the snout in place, then sew it on.
• Sew the ears between R5 and R6, folding them in half. Adjust position before sewing.
• Attach the arms 1 round below the head, symmetrically.
• Attach the legs 2 sc below the lower edge of the arms.
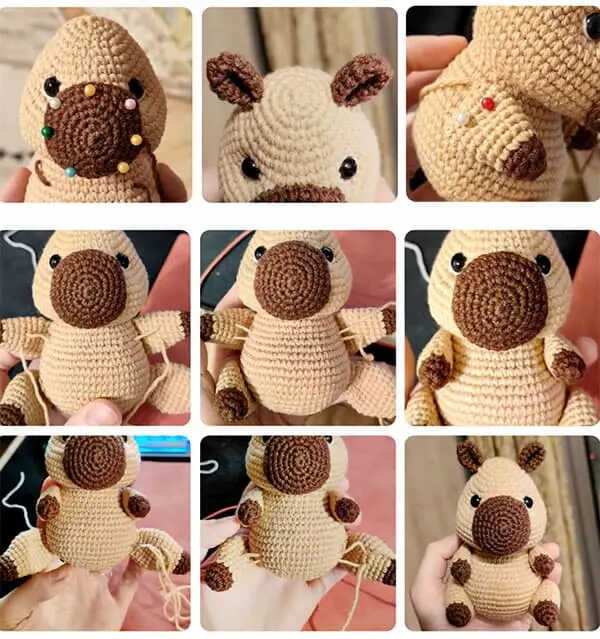
• Embroider nostrils, a stripe, and eyebrows using doubled black sewing thread. Use 4–5 stitches for the nostrils and 1 stitch for each detail.
Turtle Backpack Amigurumi Pattern
Shell
R1: 6 sc in MR
R2: inc x 6 (12)
R3: (1 sc, inc) x 6 (18)
R4: (2 sc, inc) x 6 (24)
R5: (3 sc, inc) x 6 (30)
R6: (4 sc, inc) x 6 (36)
R7: 36 sc, change to light green on last stitch
R8: 36 sc in back loops only
R9: (1 sc, dec) x 12 (24)
R10: dec x 12 (12), stuff
R11: dec x 6, fasten off
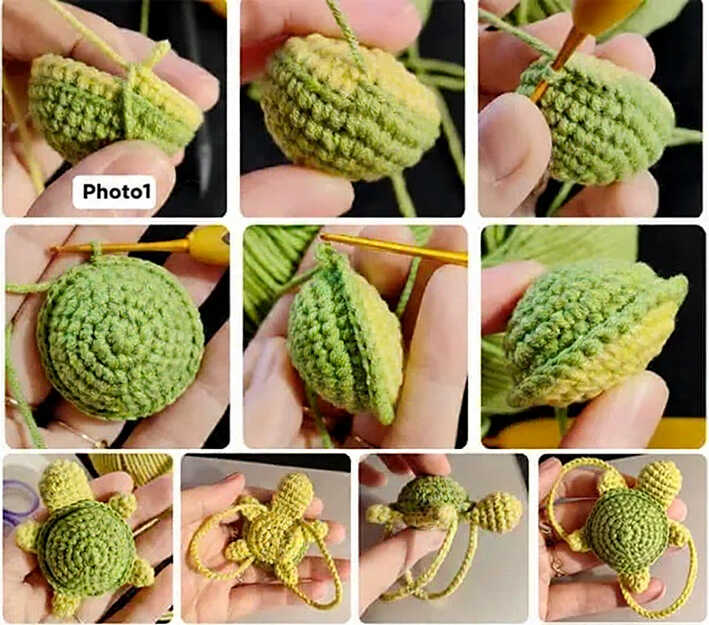
Single crochet around the back-loop edge using green yarn.
Fins
R1: 6 sc in MR
R2–R3: 6 sc (2 rounds)
Do not stuff. Flatten and crochet 3 sc through both layers. Leave tail.
Head
R1: 6 sc in MR
R2: inc x 6 (12)
R3: (3 sc, inc) x 3 (15)
R4–R5: 15 sc
R6: (3 sc, dec) x 3 (12)
R7: 12 sc
Lightly stuff, fold flat, crochet 5 sc through both layers.
Backpack Straps (2 pcs)
Ch 36.
Leave yarn tails at both ends for attaching.
Tangerine Amigurumi Pattern
R1: 6 sc in MR
R2: inc x 6 (12)
R3: (1 sc, inc) x 6 (18)
R4: (2 sc, inc) x 6 (24)
R5–R7: 24 sc (3 rounds)
R8: (2 sc, dec) x 6 (18)
R9: (1 sc, dec) x 6 (12)
R10: dec x 6
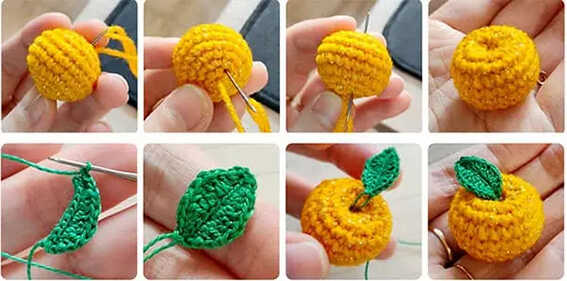
Create indentation by pulling the yarn through the center twice. Hide yarn tail.
Leaf
Ch 10.
9 sl st, ch 1.
Opposite side: 1 sc, 1 hdc, 1 dc, inc dc, 2 tr, inc dc, 1 dc, 1 hdc, 1 sc, sl st, ch 1.
Other side: 1 sc, 1 hdc, 1 dc, inc dc, 2 tr, inc dc, 1 dc, 1 hdc, 1 sc, sl st.
Leave a long tail.
Copyright & Credits
This pattern is designed by kristis.toys; you may sell finished toys made from this pattern, but please credit the designer by tagging @kristis.toys and linking to their social media when sharing your work.
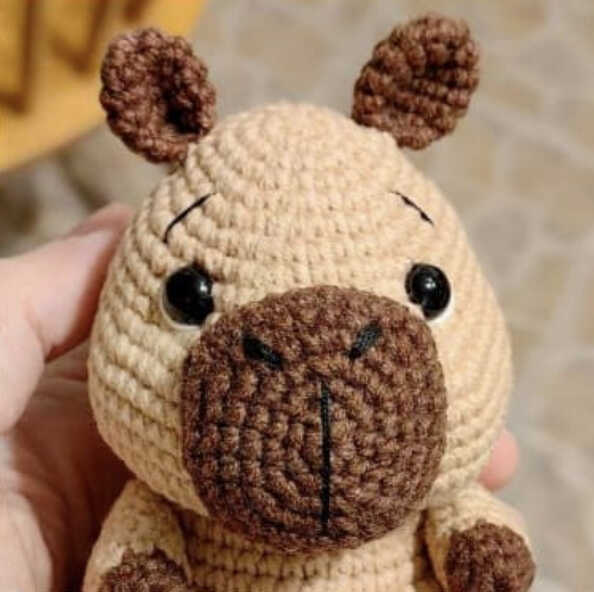
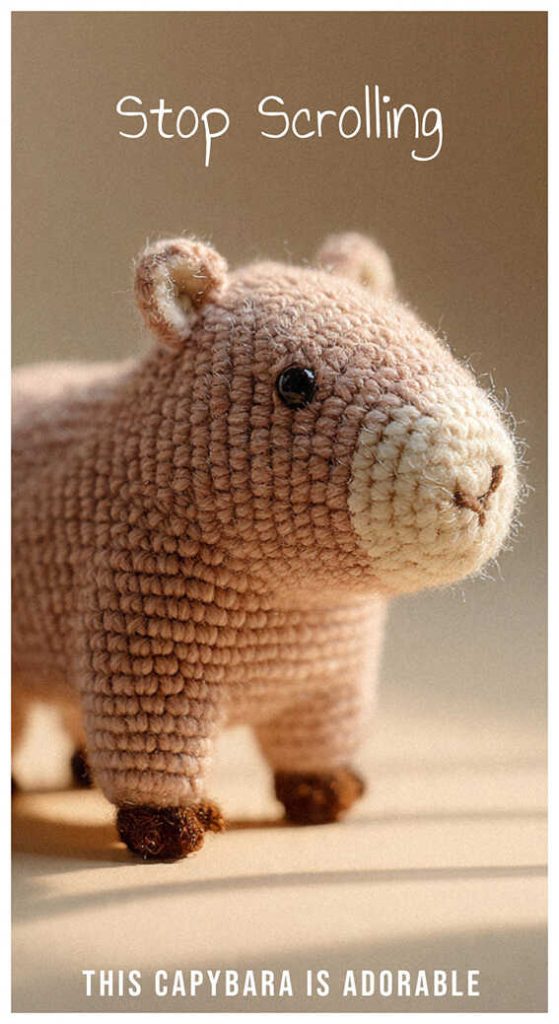
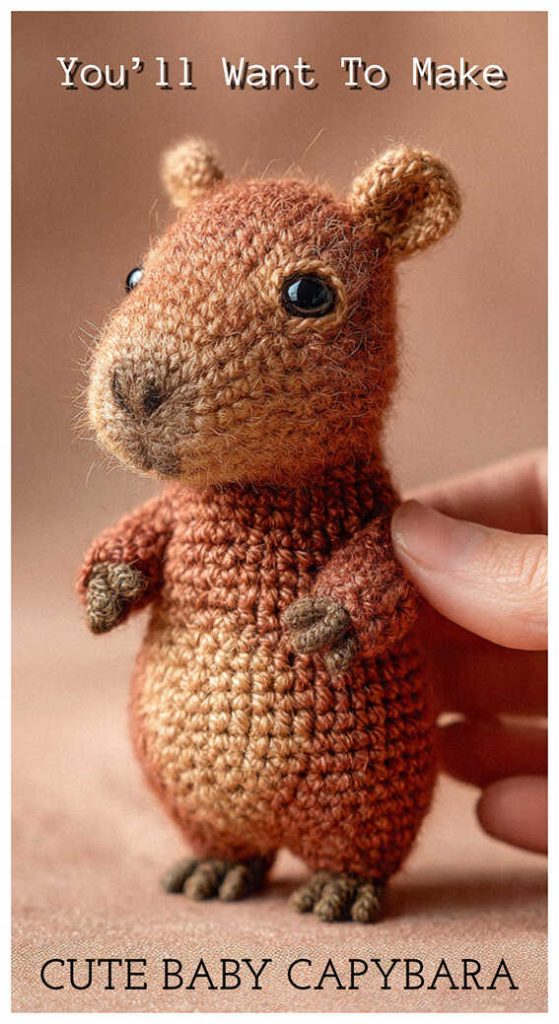
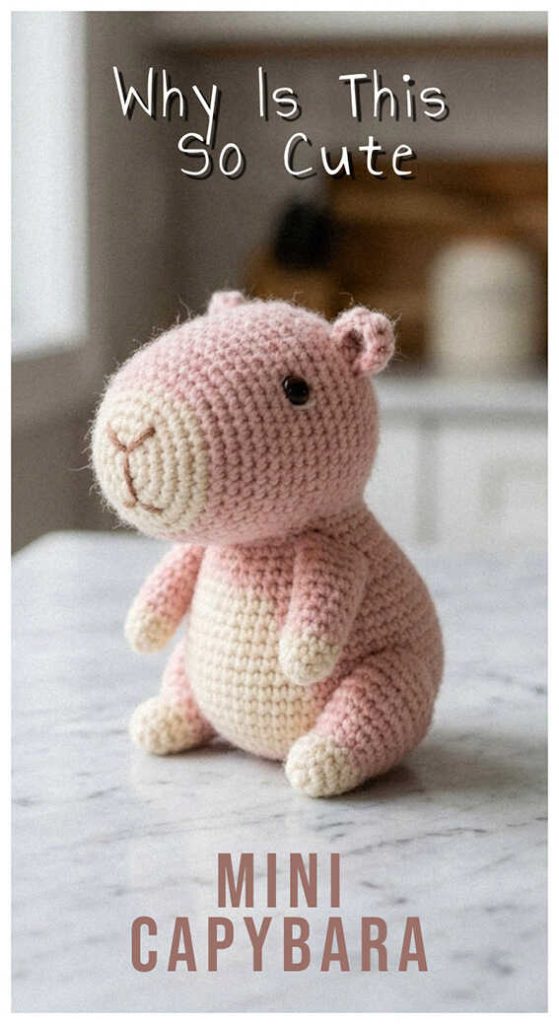
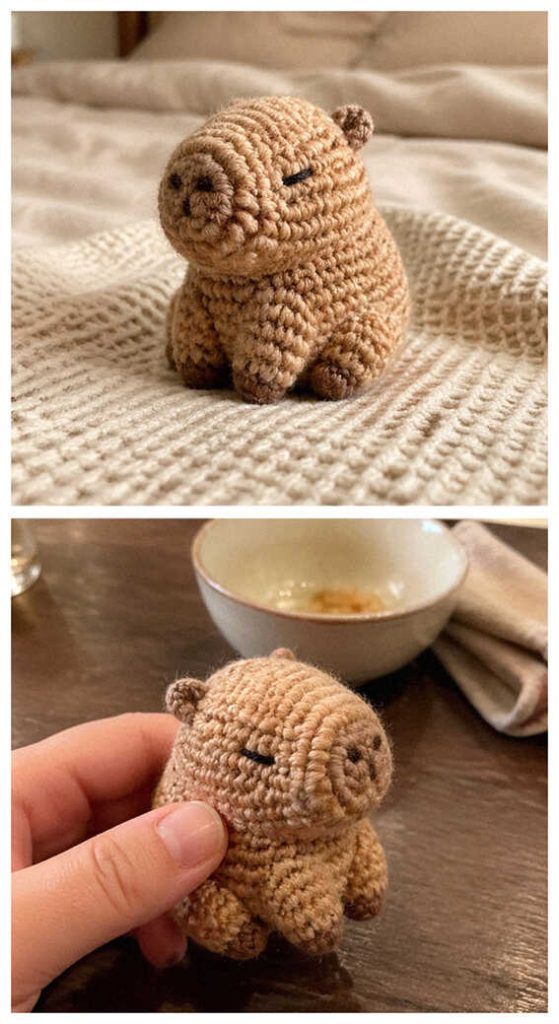
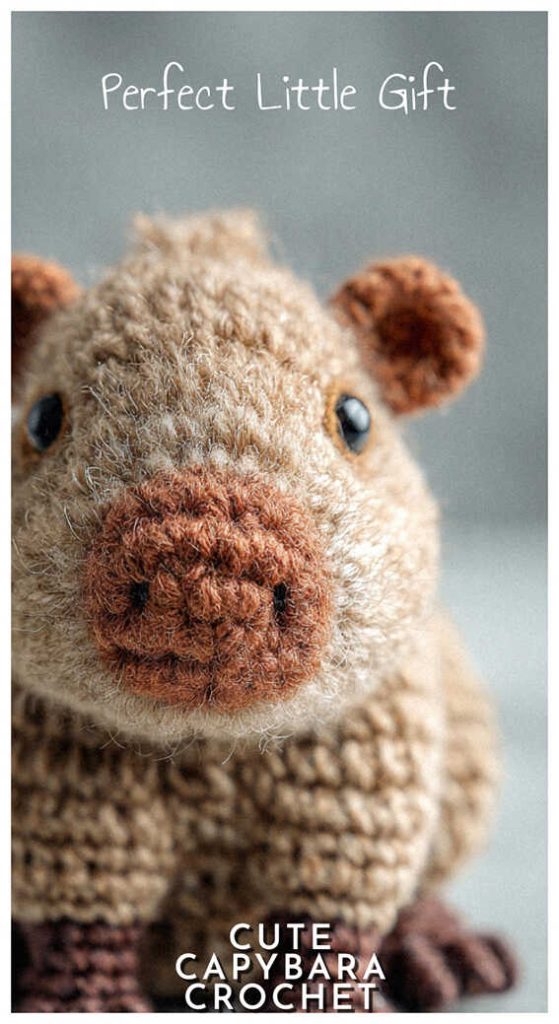
Soft and calming, amigurumi capybara designs have become a popular choice for handmade projects. Their simple shapes and gentle look make them especially appealing for animal lovers and anyone who enjoys cozy, nature-inspired decor. The small size makes them easy to display, gift, or add to a cute handmade collection.
What makes this design stand out is its soft texture, minimal style, and relaxing appearance. It’s a great option if you want something cute, simple, and easy to personalize with different yarn colors.
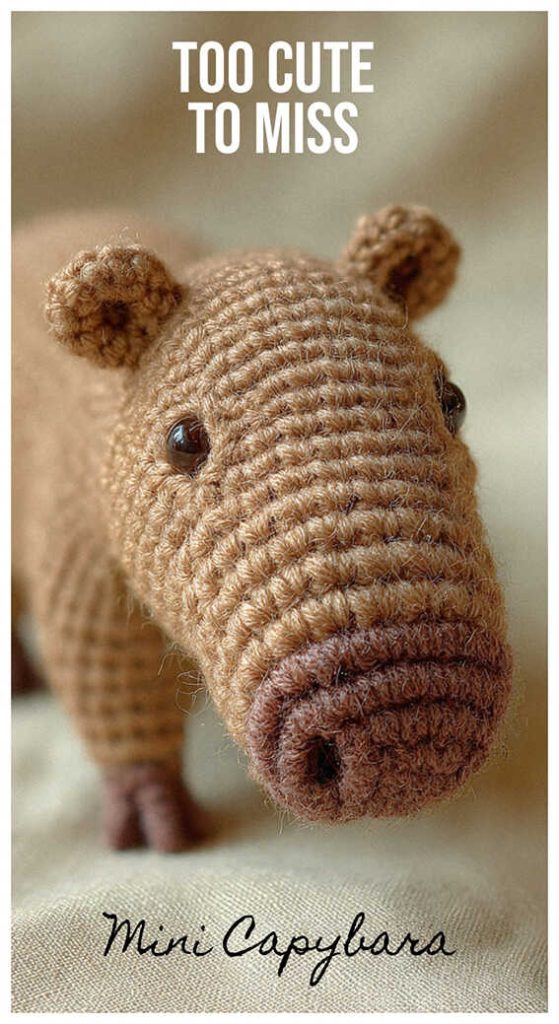
Cute Amigurumi Capybara You’ll Want to Make