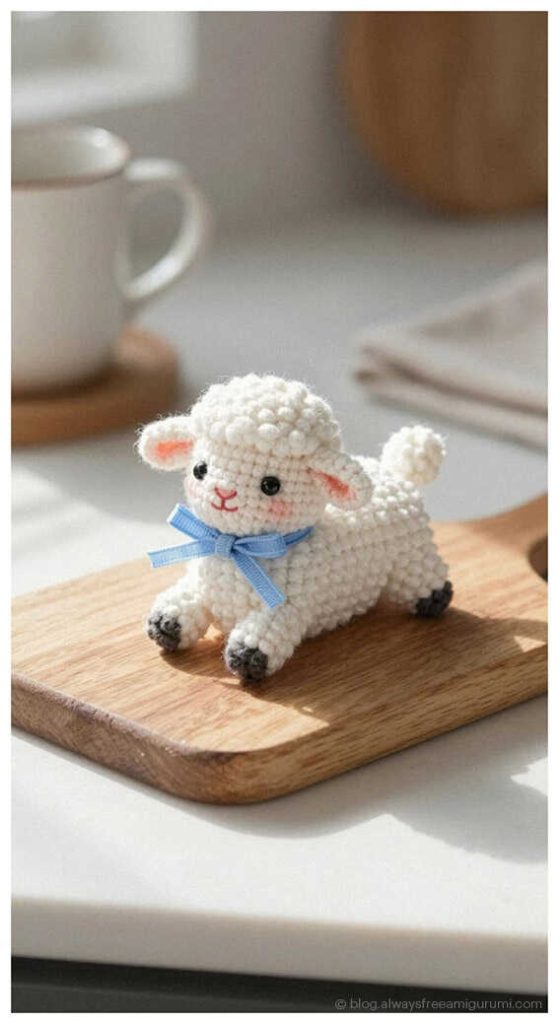
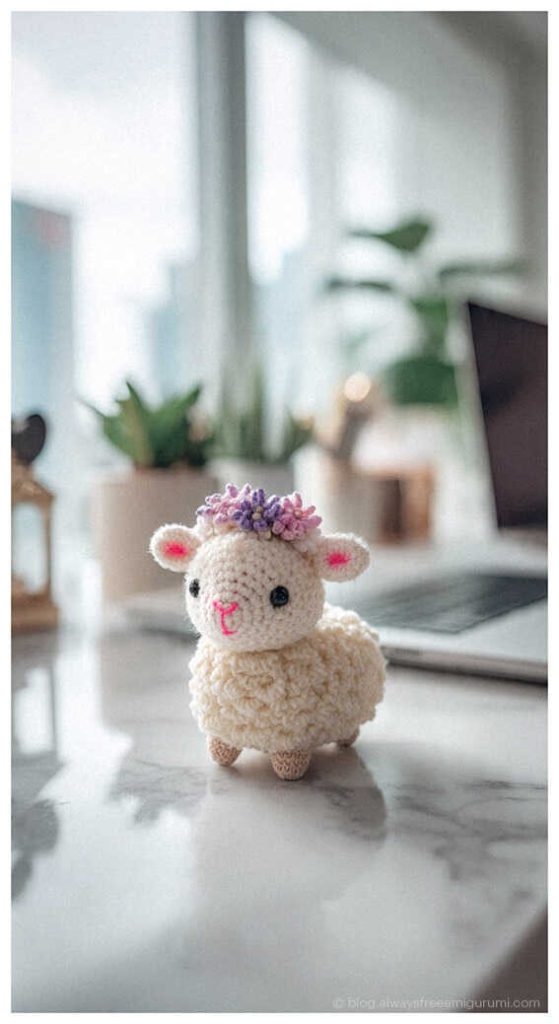
Free Sun Lamb Amigurumi Pattern: The Cutest Fluffy Plush Project
Designer: Lu4ik Toys
Instagram: @lu4ik_toys
Tiny stitches, big cuteness — this pattern is sure to make you smile…
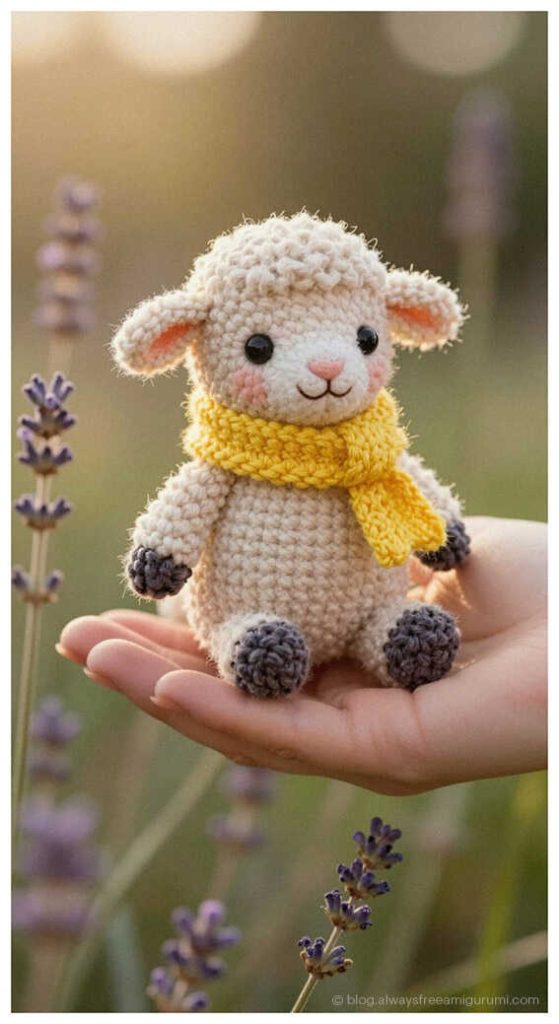
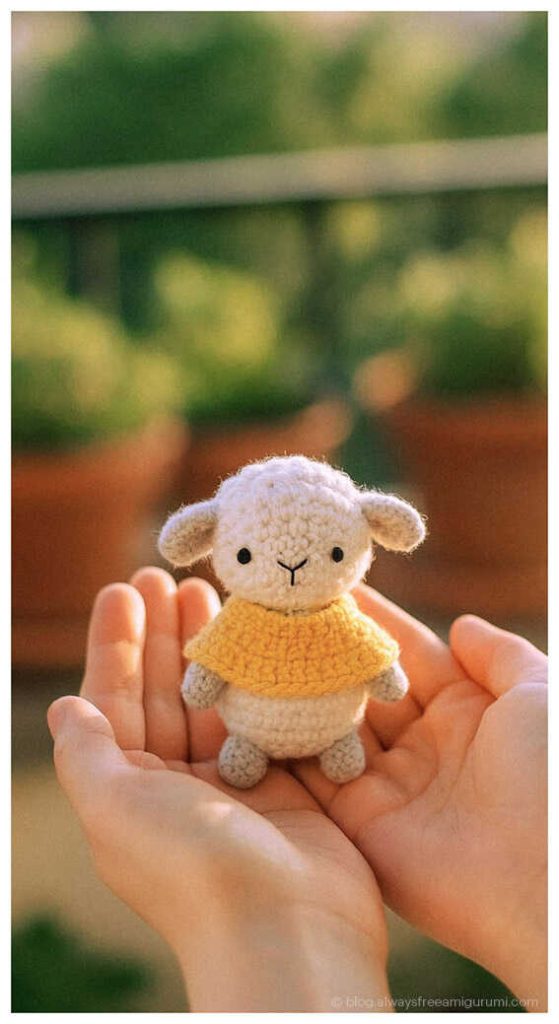
Brighten your nursery decor with this Adorable Sun Lamb: Free Step-by-Step Amigurumi Guide for Beginners, a radiant project designed to bring warmth and cheer to any handmade collection. Inspired by the golden glow of a summer afternoon, Alina Luchik created this sun-kissed lamb to be a cozy “sunshine friend” for children or a bright accent piece for farmhouse-style interiors. As you look for unique DIY Crochet Gift Ideas, this cheerful character stands out as a top-tier choice among Easy Crochet Projects that delight both the maker and the receiver. It is also a fantastic addition to your library of Low Sew Amigurumi Patterns, allowing you to focus more on the rhythm of your stitches and less on complex assembly. At the end of this tutorial, you will discover a curated list of more amigurumi lamb ideas to keep your creative momentum going. A heartfelt thank you to Alina Luchik from Lu4ik Toys for sharing this glowing design! If you have been searching for a stress-free way to learn how to crochet amigurumi that results in a boutique-quality plushie, this sunshine lamb is the perfect project to brighten your day.
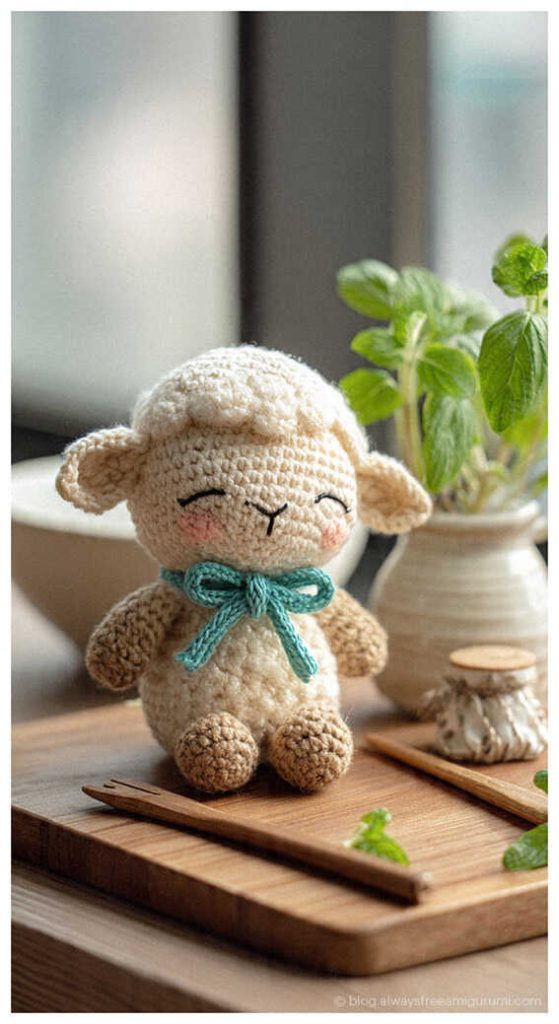
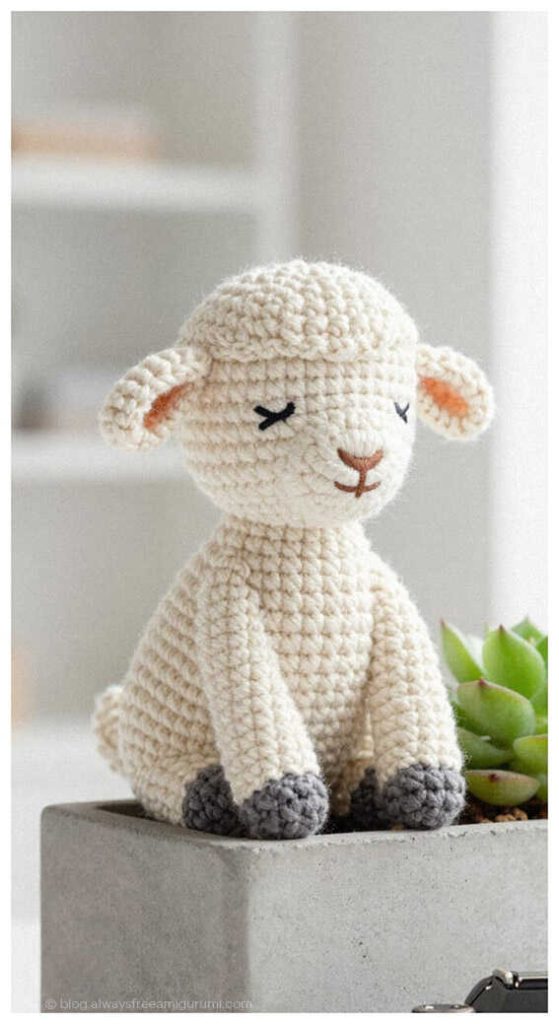
This step by step guide is intentionally beginner friendly, serving as a fantastic beginner amigurumi lamb pattern for those who want to work with textured fibers. The beauty of this design lies in its soft, rounded shapes and intuitive construction, which help build confidence in shaping and limb placement. Whether you are picking up a hook for the first time or you are a seasoned artist looking for a relaxing, high-impact project, you will appreciate how the proportions come together to create a sturdy and lovable companion. This lamb is more than just a toy; it is a rewarding lesson in texture and form, proving that professional results are achievable even for those at the start of their crochet journey.
To bring this little beam of sunshine to life, you will need plush or velvet yarn in a main body color and a contrasting yarn for the face, hands, feet, and ears. The process also requires a crochet hook suitable for your chosen yarn, fiberfill stuffing for a squishy finish, a yarn needle, scissors, and a stitch marker to keep your rounds perfectly aligned. While the original pattern shines in plush textures for a super-soft feel, you can also adapt this design using Cotton Yarn for a more defined, vintage look—just be aware that swapping to a thinner fiber will result in a much smaller and more compact finished lamb! Mastering how to crochet amigurumi details like the ears and muzzle is a joyful experience that sharpens your creative skills. Simply gather your tools and follow the flow of the instructions to create a handmade treasure that will be cherished for years. Happy crocheting!

Materials and Tools
• Plush / velvet yarn in main body color
• Contrasting yarn for face, hands, feet, and ears
• Crochet hook suitable for your yarn
• Fiberfill stuffing
• Yarn needle
• Scissors
• Stitch marker
Abbreviations
ch – chain
sl st – slip stitch
sc – single crochet
inc – increase
dec – decrease
dc – double crochet
hdc – half double crochet
hdc + sl st – half double crochet and slip stitch in the same stitch
(…) x n – repeat the instructions in parentheses n times
HOW TO CROCHET A SUNNY LAMB: FREE PLUSH AMIGURUMI GIFT IDEA
Head
R1: 6 sc in MR (6)
R2: inc x 6 (12)
R3: (1 sc, inc) x 6 (18)
R4: (2 sc, inc) x 6 (24)
R5: (3 sc, inc) x 6 (30)
R6: (4 sc, inc) x 6 (36)
R7–R11: 36 sc (5 rounds)
Insert safety eyes between R8–R9 with approximately 6 stitches between them.
R12: (4 sc, dec) x 6 (30)
R13: (3 sc, dec) x 6 (24)
R14: (2 sc, dec) x 6 (18)
Stuff the head firmly.
R15: (1 sc, dec) x 6 (12)
R16: dec x 6 (6)
Fasten off and close.
Body
R1: 6 sc in MR (6)
R2: inc x 6 (12)
R3: (1 sc, inc) x 6 (18)
R4: (2 sc, inc) x 6 (24)
R5: (3 sc, inc) x 6 (30)
R6: (4 sc, inc) x 6 (36)
R7–R14: 36 sc (8 rounds)
Stuff as you go.
R15: (4 sc, dec) x 6 (30)
R16: (3 sc, dec) x 6 (24)
R17: (2 sc, dec) x 6 (18)
R18: (1 sc, dec) x 6 (12)
R19: dec x 6 (6)
Fasten off and close.
Arms (make 2)
Start with hand color.
R1: 6 sc in MR (6)
R2: (1 sc, inc) x 3 (9)
R3–R5: 9 sc (3 rounds)
Change to body color.
R6–R13: 9 sc (8 rounds)
Lightly stuff.
Flatten and close with 4 sc through both layers.
Fasten off, leave a tail for sewing.
Legs (make 2)
Start with foot color.
R1: 6 sc in MR (6)
R2: (1 sc, inc) x 3 (9)
R3–R4: 9 sc (2 rounds)
Change to body color.
R5–R11: 9 sc (7 rounds)
Stuff firmly.
Fasten off, leave a tail for sewing.
Ears (make 2)
R1: 6 sc in MR (6)
R2: (1 sc, inc) x 3 (9)
R3: (2 sc, inc) x 3 (12)
R4–R5: 12 sc (2 rounds)
Flatten slightly.
Fasten off, leave a tail for sewing.
Assembly and Finishing
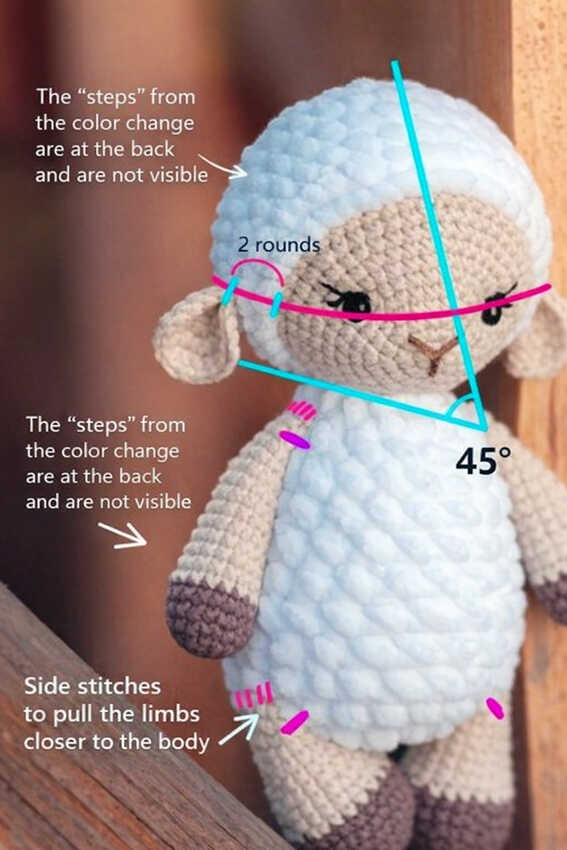
Sew the head to the body at a slight forward angle (approximately 45°).
Attach arms and legs symmetrically.
Sew ears to the head about 2 rounds below the top.
Embroider the nose and mouth.
Optional: add blush or decorative stitches if desired.
You may also like: Crochet Cute Cow Amigurumi Free Pattern (Beginner-Friendly & Step-by-Step)
Chic amigurumi lamb ideas you’ll love: