
Koala Stefanie Amigurumi Free Crochet Pattern
Designer: @aylii_toys
Instagram: @aylii_toys
Difficulty Level: Easy
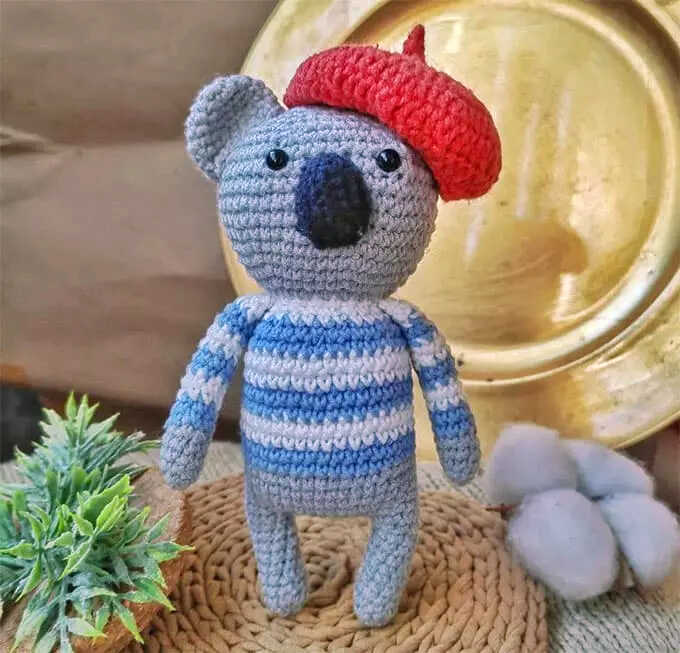
A sweet and expressive koala amigurumi project for animal lovers.
This free amigurumi koala pattern features Koala Stefanie, a charming design by Aylii Toys with lovely outfit details like a removable beret and a striped sweater. Using this pattern, you can crochet a koala with a soft character and balanced proportions, perfect for handmade gifts, nursery decor, or collectible animal amigurumi displays. The design feels calm and timeless, fitting naturally into Animal Amigurumi Projects and curated crochet collections. We sincerely thank Aylii Toys (@aylii_toys) for sharing this beautifully styled koala pattern with the crochet community.
This koala amigurumi crochet pattern is suitable for confident beginners who are comfortable working in the round. All parts are crocheted in a spiral unless otherwise noted, with the legs, body, and head worked as one continuous piece for a clean finish. The beret is removable but can be sewn on if desired, while the nose is crocheted and the eyes are plastic safety eyes with screw fastening. Difficulty Level: Beginner-Friendly, and it also works well as a Quick to Make Amigurumi when crocheted at a relaxed pace.
The pattern is designed using semi-cotton YarnArt Jeans yarn in several colors, paired with a 2 mm crochet hook to achieve neat stitch definition. You will also need 6 mm safety eyes, toy stuffing, stitch markers, pins, a yarn needle for sewing parts, and scissors. The finished koala amigurumi measures approximately 15–17 cm in height. At the end of the pattern, you will also find related amigurumi ideas shared for extra inspiration. If you enjoy animal designs like this, you may also like the cute fox amigurumi, another charming project shared on our blog.
Materials and Tools
• YarnArt Jeans yarn:
- 15 – Blue
- 62 – White
- 46 – Dark Gray
- 53 – Black
- 26 – Red
• 2 mm crochet hook
• 6 mm safety eyes
• Toy stuffing
• Stitch markers
• Pins
• Yarn needle for sewing parts
• Scissors
Abbreviations
MR – magic ring
sl st – slip stitch
ch – chain
sc – single crochet
dc – double crochet
inc – increase
dec – decrease
(…) x n – repeat the instructions in parentheses n times
KOALA STEFANIE AMIGURUMI FREE CROCHET PATTERN

Arms (2 pcs)
Crochet with gray yarn.
R1: 6 sc in MR
R2: (1 sc, inc) x 3 (9)
R3–R17: 9 sc (15 rounds)
Crochet in gray until R5. From R6 to R17, change yarn color every 2 rounds, alternating between blue and white.
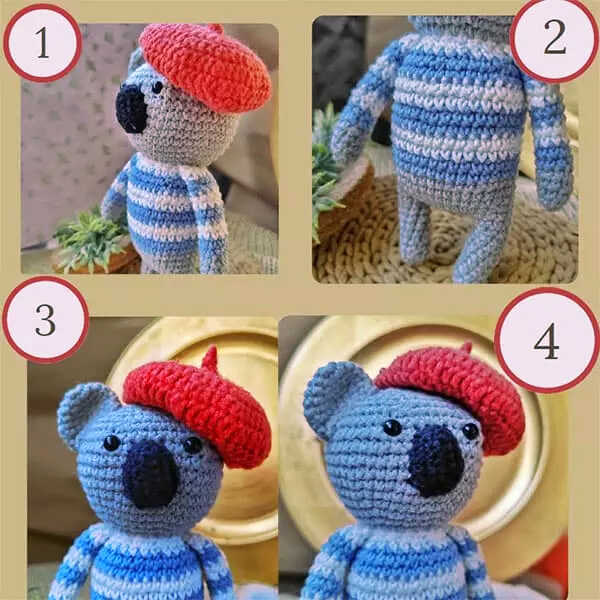
Fasten off and cut the yarn. See photo 1.
Legs (2 pcs)
R1: 6 sc in MR
R2: (1 sc, inc) x 3 (9)
R3–R10: 9 sc (7 rounds)
On the first leg, fasten off and cut the yarn. On the second leg, do not cut the yarn; continue crocheting the body.
Body
R11: Ch 10 on the second leg, 9 sc around the first leg, 10 sc along the chain, 9 sc around the second leg, 10 sc along the chain (38)
Place a stitch marker here — this is the new beginning of the round.
R12–R17: 38 sc (6 rounds)
R18–R26: 38 sc; change yarn color every 2 rounds, alternating between blue and white
R27: (4 sc, dec) x 6, 2 sc (32)
R28: (3 sc, dec) x 6, 2 sc (26)
R29: (2 sc, dec) x 6, 2 sc (20)
R30: Crochet the arms into the body:
2 sc, 4 sc together with the first arm, 6 sc,
4 sc together with the second arm, 4 sc (20)
See photo 2.
Head
Continue crocheting the head.
R31: inc x 20 (40)
R32: (5 sc, inc) x 6, 4 sc (46)
R33: (6 sc, inc) x 6, 4 sc (52)
R34–R41: 52 sc (8 rounds)
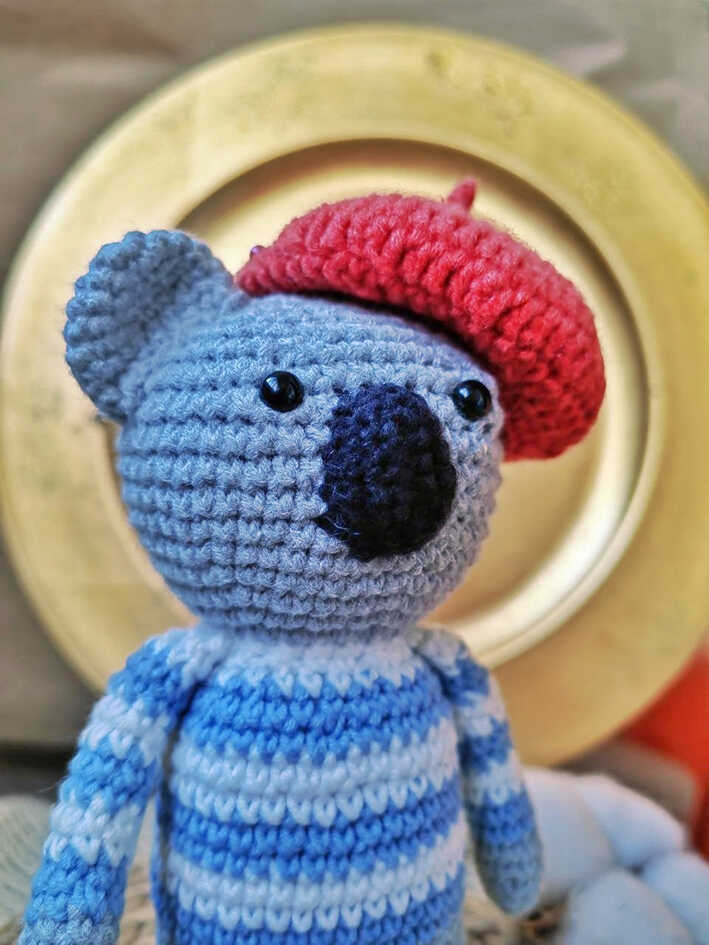
Insert the safety eyes between R40 and R41.
The distance between the eyes should be 7–8 sc.
R42: (6 sc, dec) x 6, 4 sc (46)
R43: (5 sc, dec) x 6, 4 sc (40)
R44: (4 sc, dec) x 6, 4 sc (34)
R45: (3 sc, dec) x 6, 4 sc (28)
R46: (2 sc, dec) x 6, 4 sc (22)
R47: (1 sc, dec) x 6, 4 sc (16)
R48: dec x 8
Close the opening using a needle through the half loops.
Hide the yarn tail. See photo 3.
Ears (2 pcs)
R1: 6 sc in MR
R2: inc x 6 (12)
R3: (1 sc, inc) x 6 (18)
R4: 18 sc
R5: (2 sc, inc) x 6 (24)
R6: (2 sc, dec) x 6 (18)
R7: 18 sc
Fold in half and crochet 9 sc through both layers.
Fasten off, leaving a long tail for sewing.
Sew the ears to the head.
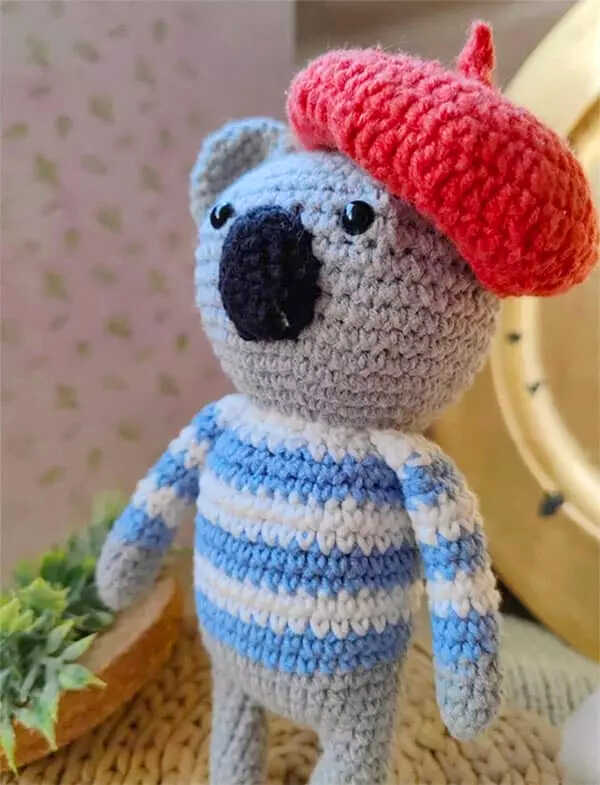
Nose
R1: Ch 5 + ch 1 for lifting
R2: Starting from the second chain from the hook: inc, 3 sc, 3 sc in one stitch,
3 sc along the opposite side (14)
R3: 14 sc, sl st
Fasten off, leaving a long tail for sewing.
Sew the nose to the head. See photo 4.
Beret
R1: 12 dc in MR
R2: inc x 12 (dc) (24)
R3: (1 dc, inc) x 12 (36)
R4: (2 dc, inc) x 12 (48)
R5: (3 dc, inc) x 12 (60)
R6: (3 dc, dec) x 12 (48)
R7: (6 dc, dec) x 6 (42)
R8: (5 sc, dec) x 6 (42)
R9: 36 sc

Fasten off and hide the yarn tail. See photo 5.
Beret Tail
R1: Ch 5 + ch 1 for lifting
R2: Starting from the second chain from the hook: 5 sc, ch 1, turn
R3: 5 sc, ch 1
Fasten off, leaving a yarn tail.
Fold in half and sew together.
Sew the tail to the beret.
Copyright & Credits
This pattern is designed by Olga Govorukhina (@aylii_toys).
The pattern itself may not be redistributed, copied, translated, or republished in any form without the designer’s permission.
You may sell finished toys made from this pattern, provided the designer is clearly credited and tagged on social media.