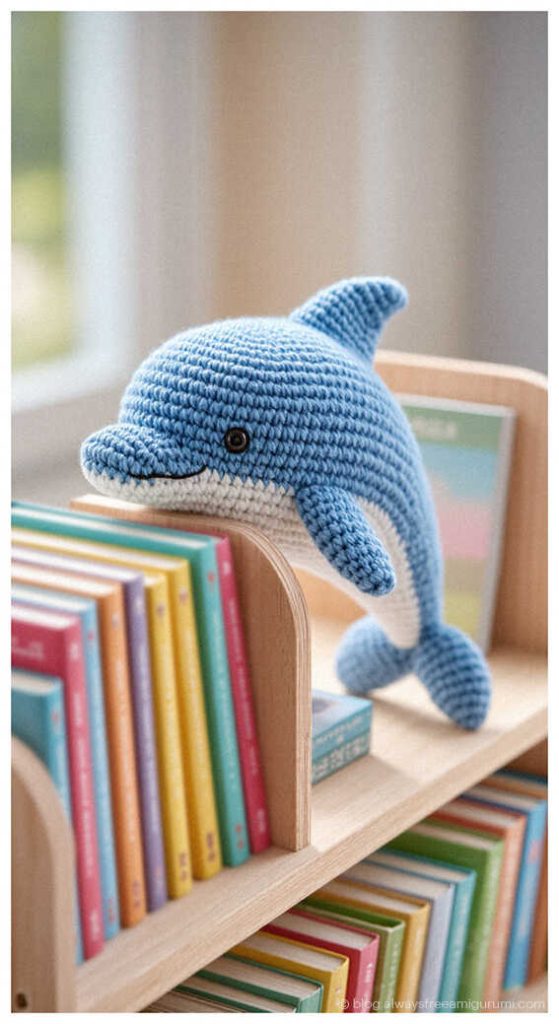
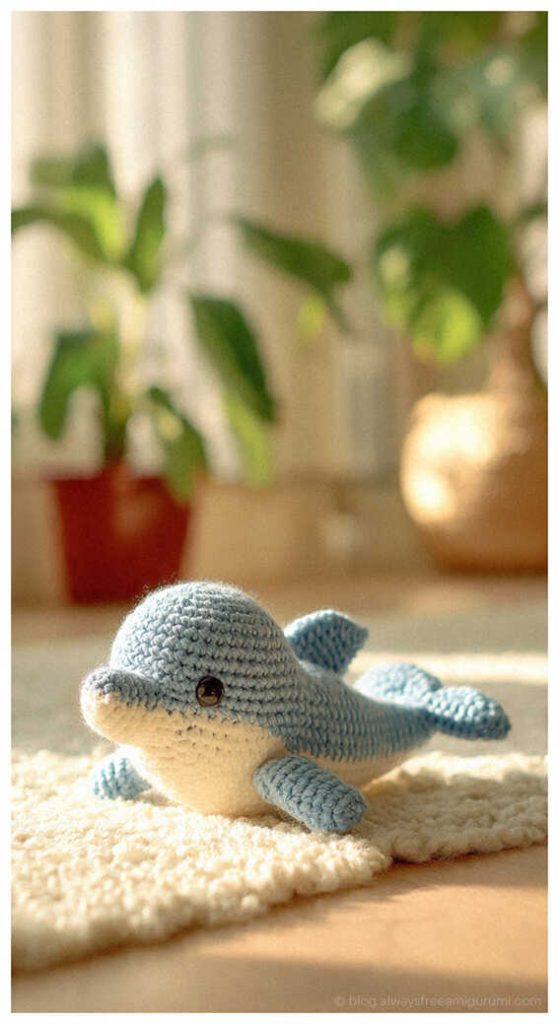
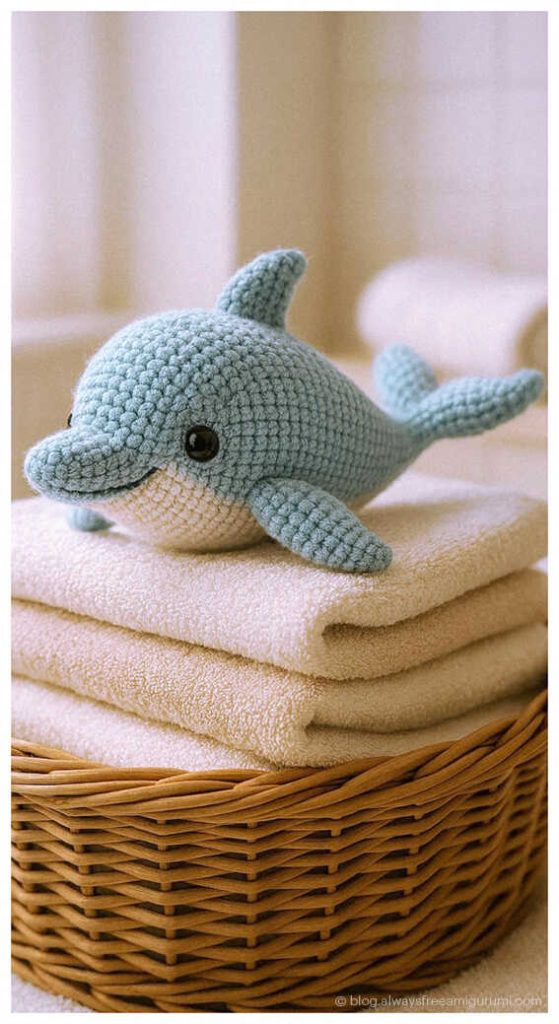
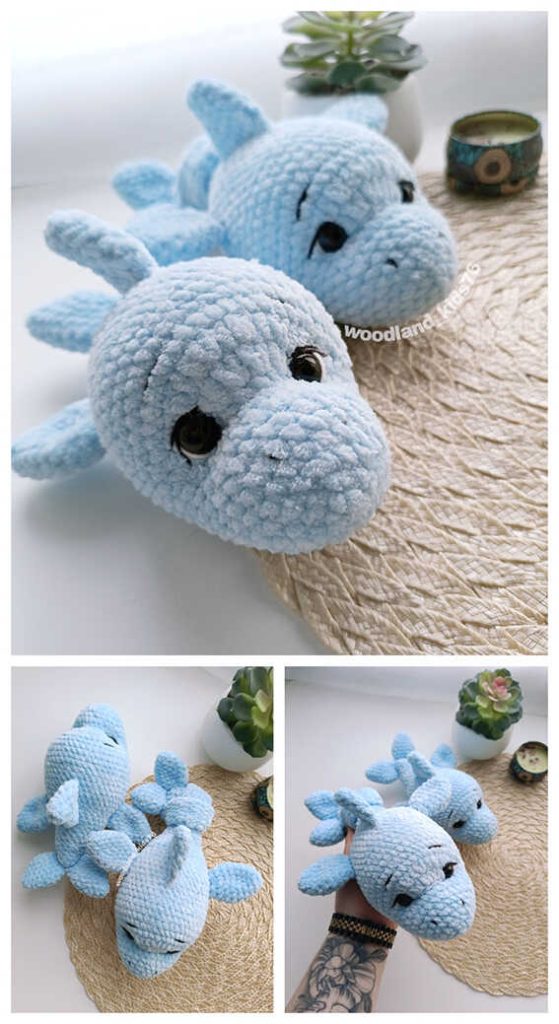
Baby Dolphin Amigurumi Free Crochet Pattern
Designer: Ksenia Kostyuk
VK: @woodland_kids76
Difficulty Level: Easy
A soft ocean-inspired amigurumi project to bring a calm handmade vibe to your crochet time.
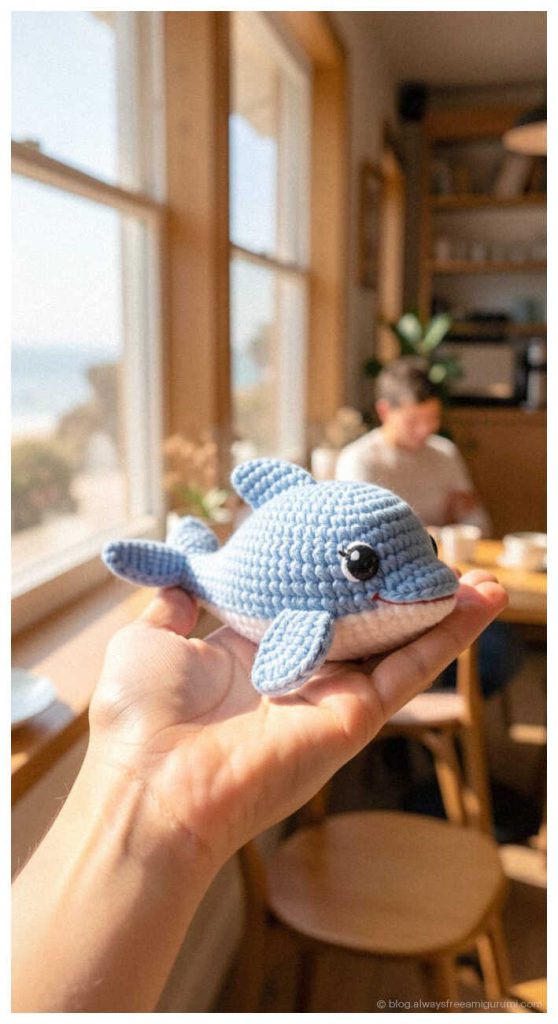
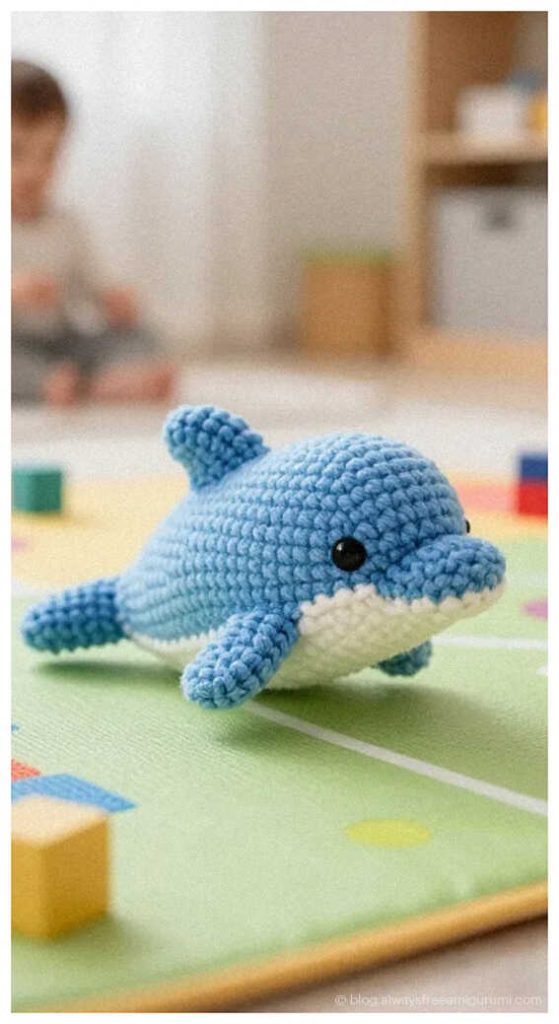
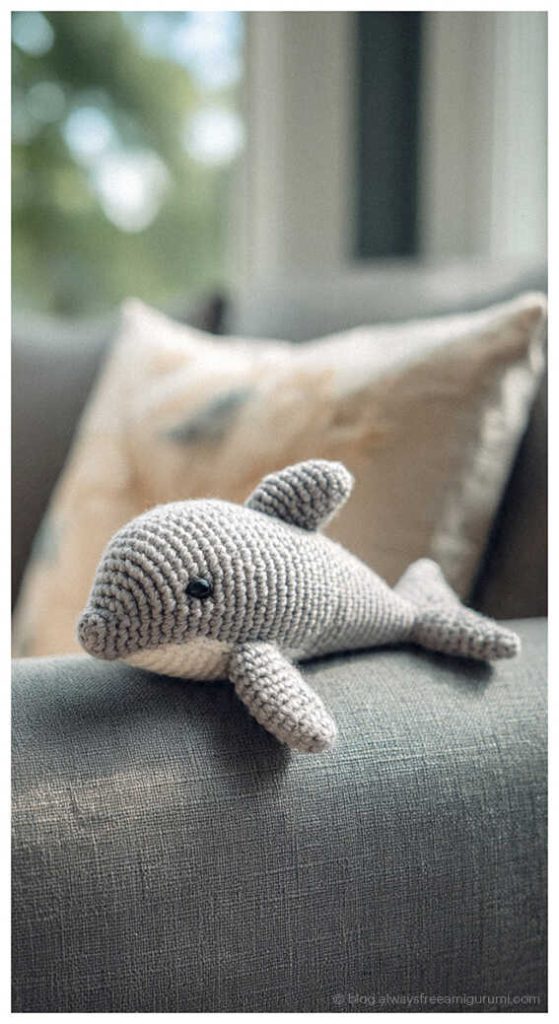
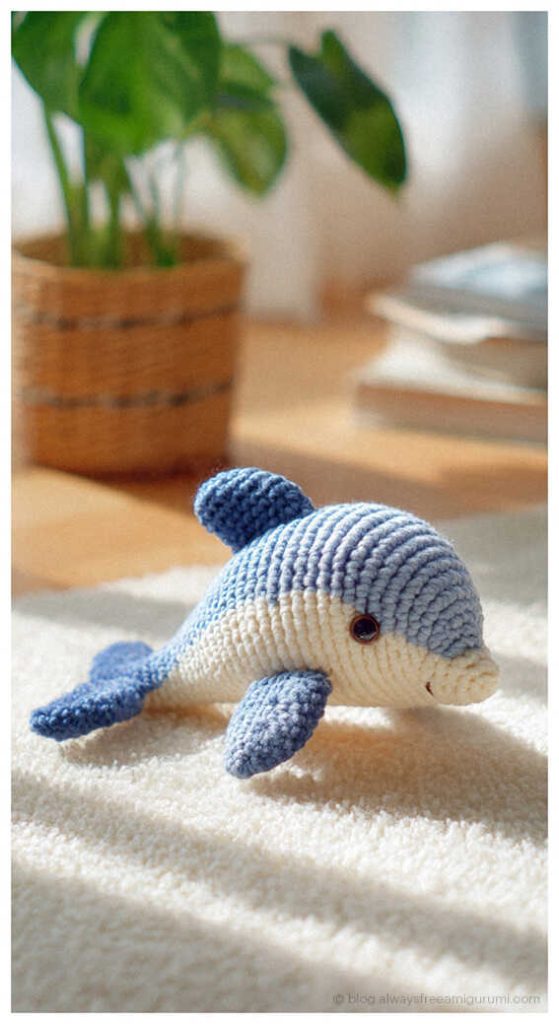
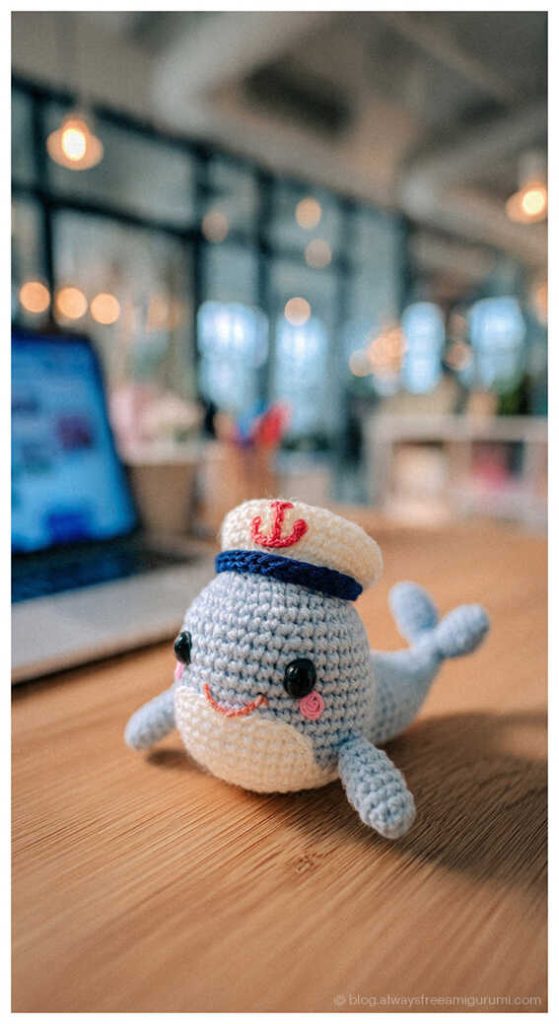
This free Baby Dolphin Amigurumi pattern is designed by Ksenia Kostyuk (@woodland_kids76) and features a plush, rounded dolphin with a gentle expression. Crocheted in a spiral without turning chains, the design assumes basic skills and offers clear shaping for confident beginners. Made with LaVita Yarn Velur plush yarn and detailed using YarnArt Jeans, this dolphin is perfect for nursery decor, ocean-themed gifts, or cozy handmade toys. We sincerely thank Ksenia Kostyuk for sharing this adorable dolphin design with the crochet community. If you enjoy sea animals, you may also like the baby whale amigurumi on our blog.
This amigurumi dolphin pattern is suitable for confident beginners who are comfortable with basic stitches and simple assembly. Safety eyes are secured with backs, and facial details are shaped using light blue and black yarn. Difficulty Level: Beginner-Friendly, and it also works well as a Quick to Make Amigurumi thanks to its soft plush texture and compact size. The final size may vary depending on yarn thickness, hook size, and stuffing density.
The pattern uses a 3.5 mm crochet hook, 14 mm safety eyes, toy stuffing, stitch markers, and basic tools such as scissors and a long needle. Parts can be sewn using the same yarn or semi-cotton yarn for neat finishing. At the end of the pattern, you will also find related amigurumi ideas shared for extra inspiration. For another small ocean project, don’t forget to explore the tiny bee amigurumi shared on our blog.
Important Information
• The provided material does not include crochet lessons and assumes basic crochet skills.
• The toy is crocheted in a spiral, without turning chains. If necessary, make offset stitches.
• If your magic ring does not tighten well, chain 2 and crochet the required number of stitches into the second chain from the hook.
• The final size of the toy depends on yarn thickness, hook size, and stuffing density. With tight stuffing, the yarn stretches and the size may change. Make sure each part keeps a beautiful, proper shape.
• Parts can be sewn either with the same yarn used for crocheting or with YarnArt Jeans. The designer uses semi-cotton yarn for sewing.
Materials and Tools
• Plush yarn LaVita Yarn Velur
5010 – light blue (main color, 1 skein)
• YarnArt Jeans for finishing
75 – light blue (for eye sculpting)
53 – black (for eyebrows and lashes)
• 14 mm black safety eyes
• 3.5 mm crochet hook
• Toy stuffing
• Scissors
• Long needle
• Lighter (to secure safety eye backs)
• Stitch markers or contrasting yarn to mark the beginning of the round
Abbreviations
MR – magic ring
ch – chain
sc – single crochet
inc – increase
dec – decrease
sl st – slip stitch
hdc – half double crochet
(…) x n – repeat the instructions in parentheses n times
CUTE BABY DOLPHIN AMIGURUMI FREE PATTERN
Head and Body – Option 1
R1: 6 sc in MR
R2: inc x 6 (12)
R3: (1 sc, inc) x 6 (18)
R4: 18 sc
R5: 1 sc, inc, (2 sc, inc) x 5, 1 sc (24)
R6: 24 sc
R7: (3 sc, inc) x 6 (30)
R8–R9: 30 sc (2 rounds)
R10: 11 sc, 1 hdc, 6 inc in hdc, 1 hdc, 11 sc (36)
R11: 11 sc, 1 hdc, (1 hdc, inc in hdc) x 6, 1 hdc, 11 sc (42)
R12: 3 sc, inc, (6 sc, inc) x 5, 3 sc (48)
R13–R17: 48 sc (5 rounds)
Insert the eyes in R10 between the increase and the hdc, at a distance of 8 stitches.
Begin stuffing as you crochet. Stuff the nose firmly and keep it rounded.
R18: (10 sc, dec) x 4 (44)
R19–R21: 44 sc (3 rounds)
R22: (9 sc, dec) x 4 (40)
R23–R24: 40 sc (2 rounds)
R25: 8 sc, (2 sc, dec) x 6, 8 sc (34)
R26: 11 sc, (1 sc, dec) x 4, 11 sc (30)
R27–R28: 30 sc (2 rounds)
R29: (3 sc, dec) x 6 (24)
R30: 1 sc, dec, (2 sc, dec) x 6, 1 sc (18)
R31–R33: 18 sc (3 rounds)
R34: dec, 3 sc, 5 sl st (not tight), 3 sc, dec, sc, dec (15)
R35: 15 sc
R36: dec, 4 sc, dec, 4 sc, dec, 1 sc (12)
R37–R38: 12 sc (2 rounds)
R40: dec x 6 (6)
Close the opening. Fasten off and hide the yarn.
Body – Option 2 (Knot Tail)
R1–R36: Crochet as in Option 1.
R37–R56: 12 hdc (20 rounds). Do not stuff here, as the hdc part will be tied into a knot.
R56–R57: 12 sc (2 rounds). Cut the yarn, leaving enough to finish. Tie a knot.
Stuff the sc part of the tail firmly.
R58: dec x 6. Tighten the opening. Fasten off and hide the yarn inside.
Lip
R1: 6 sc in MR
R2: inc x 6 (12)
Fasten off. Optionally leave a long tail for sewing.
Tail Fins (2 pcs)
Do not stuff.
R1: 6 sc in MR
R2: (1 sc, inc) x 3 (9)
R3: (2 sc, inc) x 3 (12)
R4: 12 sc
R5: (3 sc, inc) x 3 (15)
R6–R7: 15 sc (2 rounds)
R8: (3 sc, dec) x 3 (12)
R9: (2 sc, dec) x 3 (9)
Crochet 4 sc through both layers.
Fasten off and optionally leave a long tail for sewing.
Side Fins (2 pcs)
R1: 6 sc in MR
R2: (1 sc, inc) x 3 (9)
R3: (2 sc, inc) x 3 (12)
R4: 12 sc
R5: (3 sc, inc) x 3 (15)
R6: (4 sc, inc) x 3 (18)
R7: 18 sc
R8: (4 sc, dec) x 3 (15)
R9: (3 sc, dec) x 3 (12)
R10: (2 sc, dec) x 3 (9)
Crochet 4 sc through both layers.
Fasten off and optionally leave a long tail.
Top Fin
R1: 6 sc in MR
R2: (1 sc, inc) x 3 (9)
R3: 9 sc
R4: 2 inc, 5 sc, 2 inc (13)
R5: 13 sc
R6: 3 inc, 7 sc, 3 inc (19)
R7: 19 sc
Crochet 9 sc through both layers.
Fasten off and optionally leave a long tail.
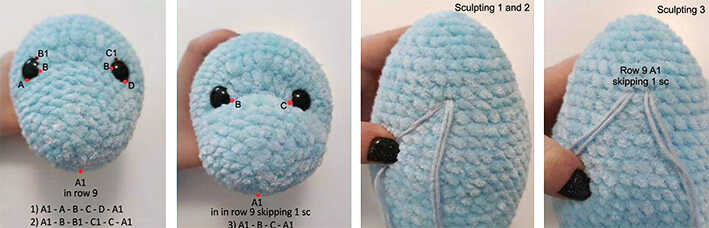
Eye Sculpting
Follow the stitching path shown in the photos below.
Work carefully and tighten gradually to achieve symmetrical indentations.
- Insert the needle in the center of R9 and follow the path A1 – A – B – V – G – A1. Tighten gently, make 3 knots, hide the yarn.
- Repeat using path A1 – B – B1 – V1 – V – A1. Tighten, make 3 knots.
- Insert the needle through A1 – B – V – A1 (skipping one stitch). Tighten and secure.
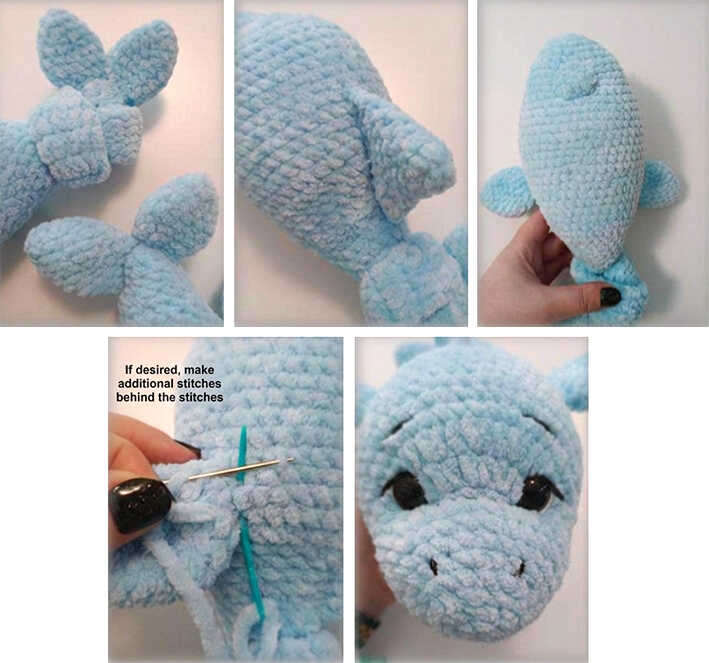
Assembly
- Sew the tail fins to the end of the tail and join the fin edges together above the tail.
- Sew the top fin between R20 and R30.
- Sew the side fins between R22 and R28, approximately 8 stitches away from the top fin.
- Sew the lip where the third eye indentation was made, hiding the sculpting stitches.
- Embroider the eye whites, eyebrows, and eyelashes.
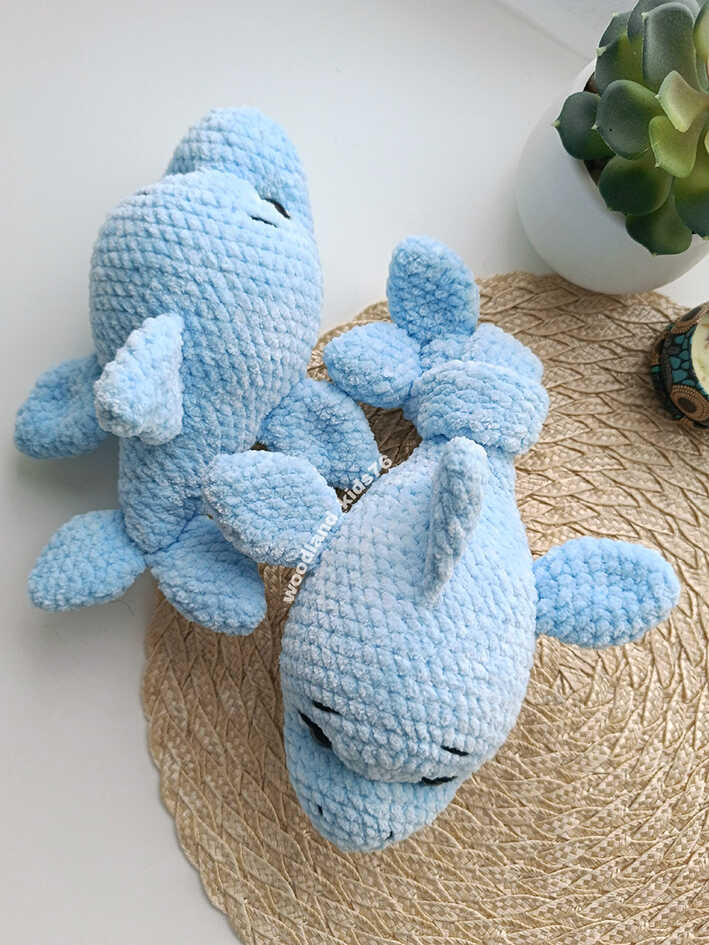
Congratulations!
Your Dolphin Marko is finished.
Copyright & Credits
This pattern is designed by Ksenia Kostyuk (@woodland_kids76).
The pattern itself may not be copied, redistributed, translated, republished, or shared in any format, including PDF, without the designer’s explicit permission.
You may sell finished toys made from this pattern, provided the designer is clearly credited and tagged when sharing your work.
Save This Free Baby Dolphin Crochet Pattern
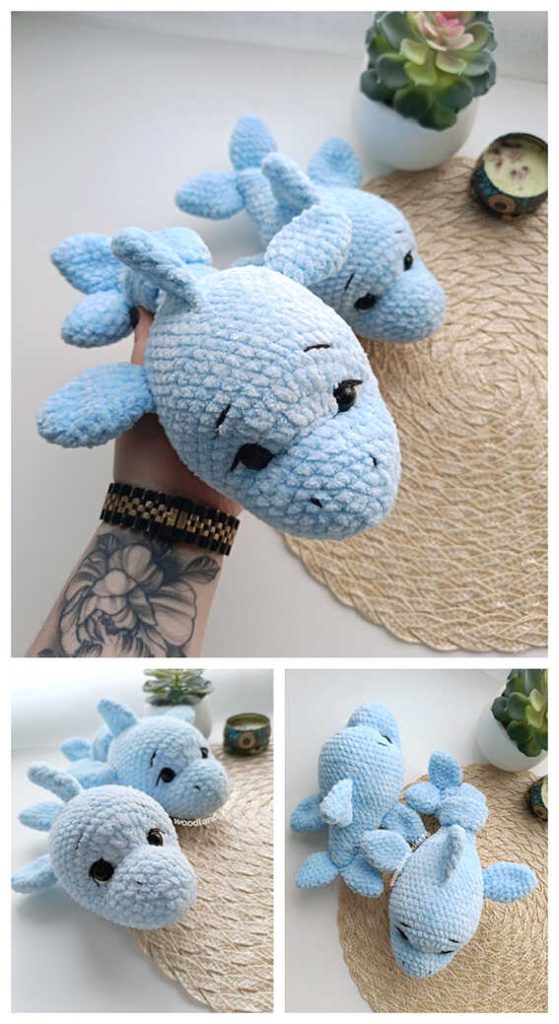
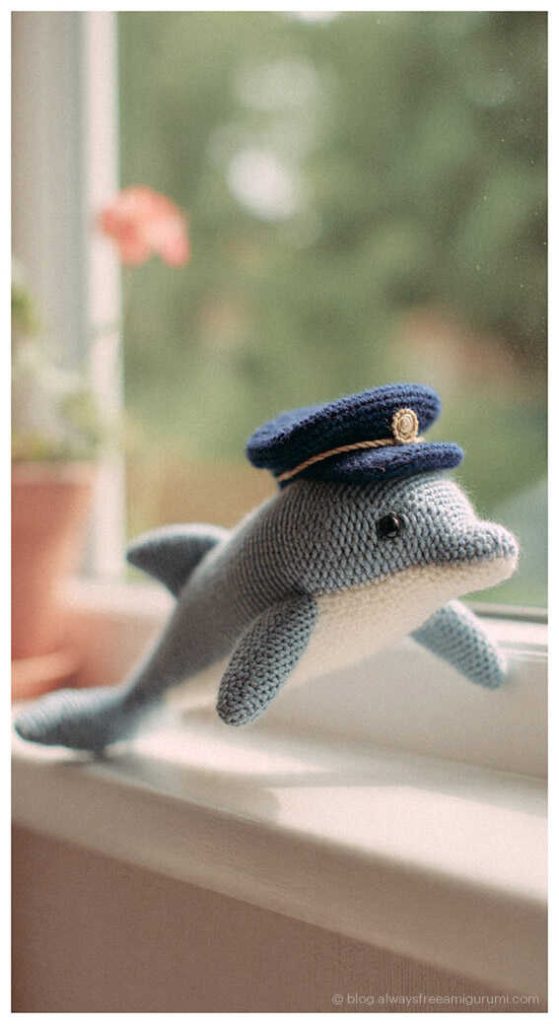
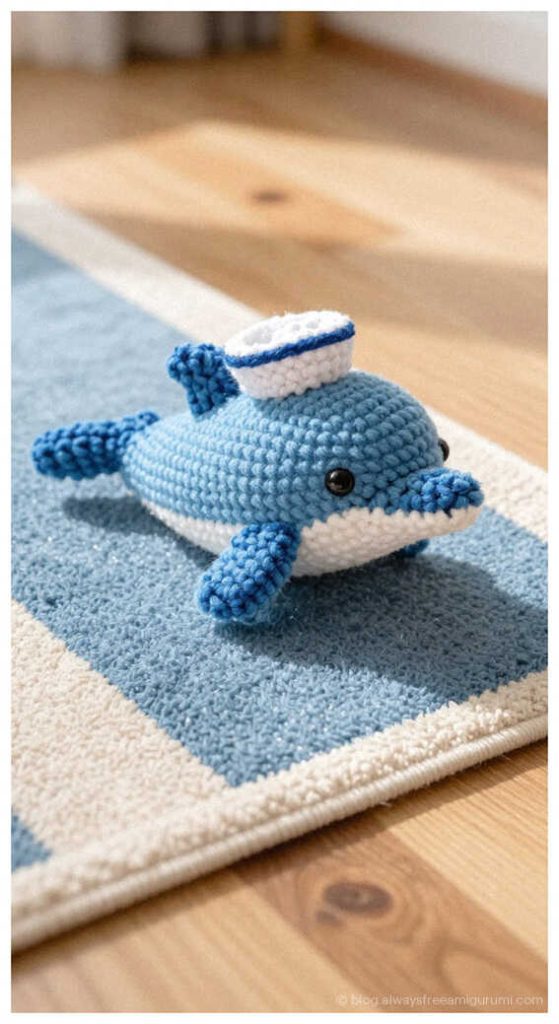
Dolphin Amigurumi Ideas