
Amigurumi Ladybug – Free Crochet Pattern Tutorial
Designer: Iskorka Toys
Instagram: @iskorka_toys
VK: @iskorka_toys
Here’s a new amigurumi pattern for you to enjoy…
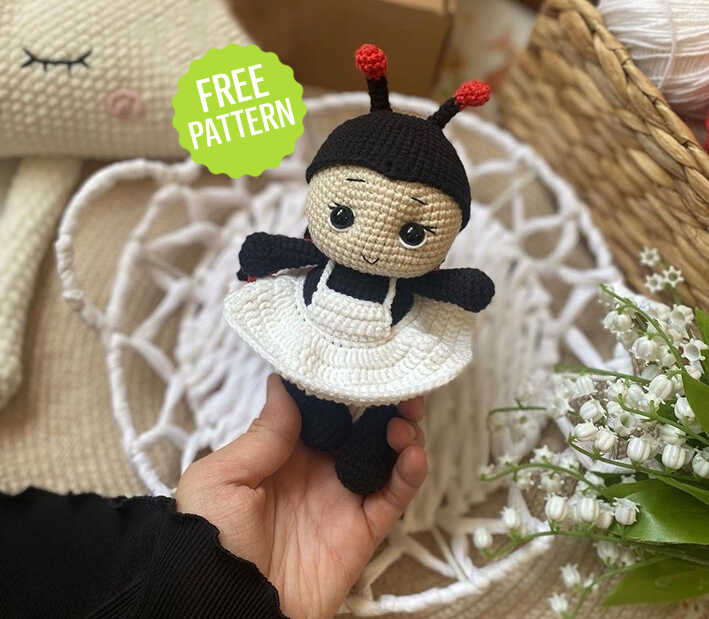
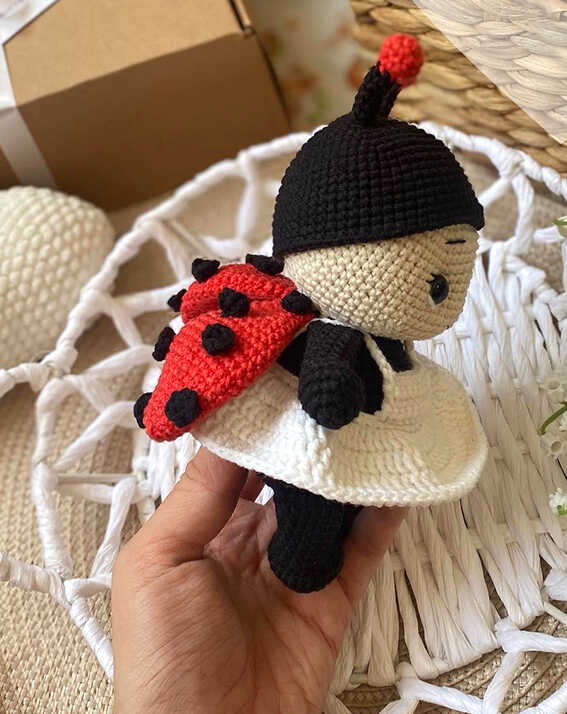
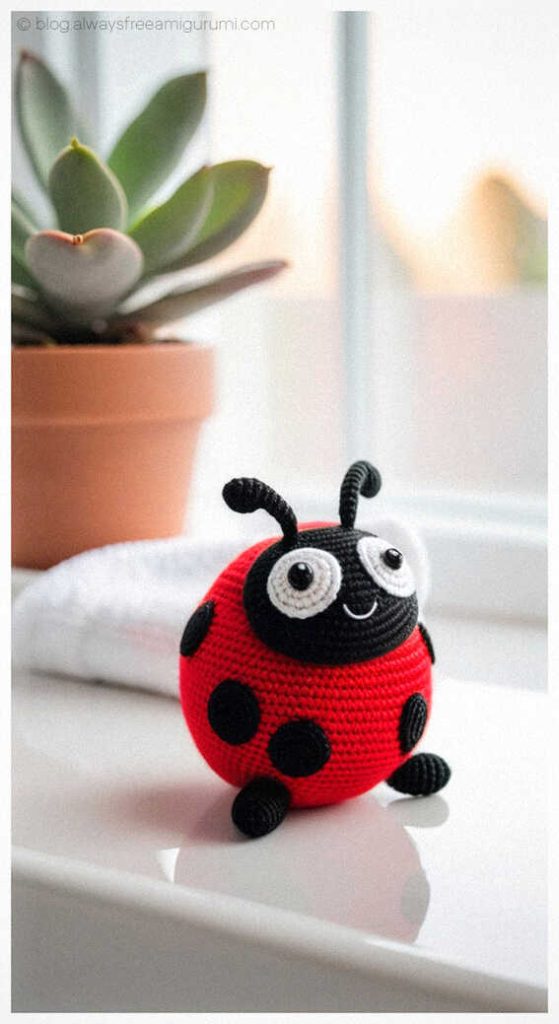
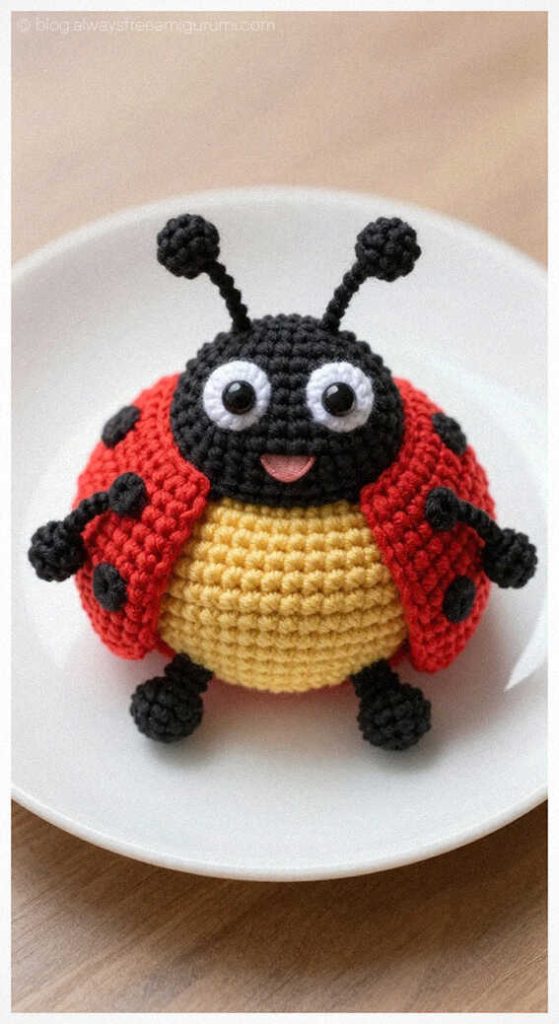
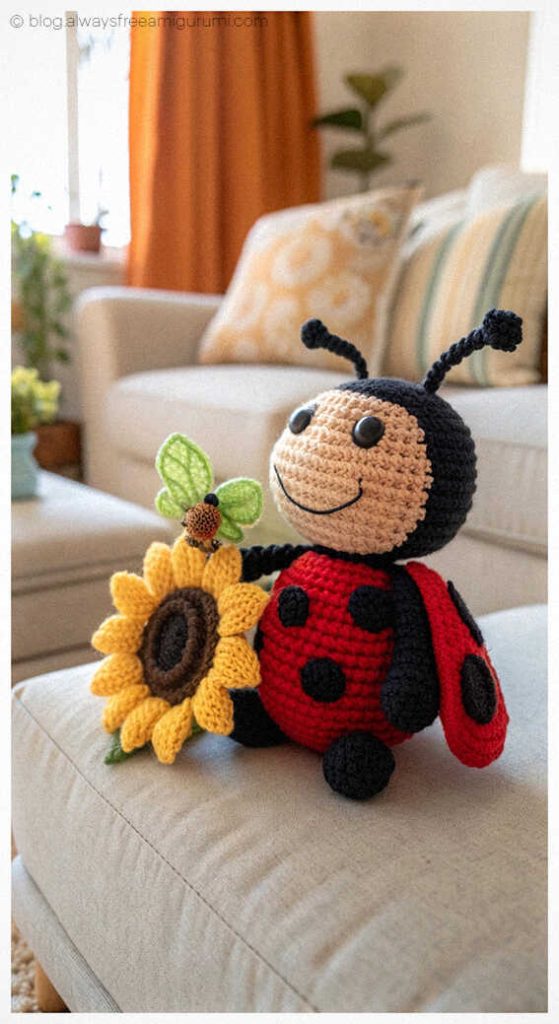
Explore this step by step Amigurumi Ladybug project, designed at a Difficulty: Intermediate level for crafters who enjoy thoughtful shaping and charming character details. The tutorial features a well-rounded materials list, including YarnArt Jeans (26 red, 05 linen, 01 white, 53 black), a 2 mm crochet hook, 10 mm safety eyes, toy stuffing, stitch markers, pins, wire for structure, a yarn needle, and scissors. The author does not provide a dress pattern, keeping the focus on the main ladybug design. At the end of the pattern, you’ll also find inspiring ladybug ideas to boost your creativity. A warm thank-you goes to the talented designer, dear Veronica, for this delightful creation.
This guide walks you through shaping the ladybug’s expressive face, rounded body, and iconic dotted wings with clear instructions suited to intermediate makers. With its vibrant colors, supportive internal wire, and polished handmade finish, this Amigurumi Ladybug becomes a standout addition to any crochet collection and a wonderfully fun project for anyone who enjoys creating detailed amigurumi characters.
Materials and Tools
YarnArt Jeans: 26-red, 05-flax, 01-white, 53-black
2 mm crochet hook
10 mm safety eyes
Polyester stuffing
Stitch markers
Pins
Wire
Tapestry needle
Scissors
Abbreviations
MR – magic ring
sl st – slip stitch
ch – chain
sc – single crochet
dc – double crochet
tr – treble crochet
hdc – half double crochet
inc – increase
dec – decrease
(…) × n – repeat n times
LADYBUG AMIGURUMI PATTERN
Head and Body
Start with color 05.
R1: 6 sc in MR
R2: 6 inc (12)
R3: (1 sc, inc) × 6 (18)
R4: (2 sc, inc) × 6 (24)
R5: (3 sc, inc) × 6 (30)
R6: (4 sc, inc) × 6 (36)
R7: (5 sc, inc) × 6 (42)
R8: (6 sc, inc) × 6 (48)
R9: (7 sc, inc) × 6 (54)
R10: (8 sc, inc) × 6 (60)
R11–R20: 60 sc
Insert 10 mm safety eyes between R15 and R16, spaced 10 stitches apart. Stuff the head and body as you go.
R21: (8 sc, dec) × 6 (54)
R22: (7 sc, dec) × 6 (48)
R23: (6 sc, dec) × 6 (42)
R24: (5 sc, dec) × 6 (36)
R25: (4 sc, dec) × 6 (30)
R26: (3 sc, dec) × 6 (24)
R27: (2 sc, dec) × 6 (18)
Change to black yarn and cut the light yarn.
R28: (2 sc, inc) × 6 (24)
R29: (2 sc, inc) × 8 (32)
R30: (7 sc, inc) × 4 (36)
R31: 36 sc
R32: (5 sc, inc) × 6 (42)
R33–R34: 42 sc
R35: (6 sc, inc) × 6 (54)
R36–R38: 54 sc
R39: (7 sc, inc) × 6 (54)
R40–R43: 54 sc
R44: (7 sc, dec) × 6 (48)
R45: (6 sc, dec) × 6 (42)
R46: (5 sc, dec) × 6 (36)
R47: (4 sc, dec) × 6 (30)
R48: (3 sc, dec) × 6 (24)
R49: (2 sc, dec) × 6 (18)
R50: (1 sc, dec) × 6 (12)
R51: 6 dec
Close the gap, fasten off and weave in the end.
Second Head Piece
R1: 6 sc in MR (6)
R2: 6 inc (12)
R3: (1 sc, inc) × 6 (18)
R4: (2 sc, inc) × 6 (24)
R5: (3 sc, inc) × 6 (30)
R6: (4 sc, inc) × 6 (36)
R7: (5 sc, inc) × 6 (42)
R8: (6 sc, inc) × 6 (48)
R9: (7 sc, inc) × 6 (54)
R10: (8 sc, inc) × 6 (60)
R11–R18: 60 sc
R19: 28 sc, 1 hdc, 1 dc, 1 tr, 1 dc, 1 hdc, 27 sc, sl st
You may either cut the yarn leaving a long tail for sewing or weave in the end and glue the piece later.
Upper Arms (2 pcs)
R1: 6 sc in MR (6)
R2: 6 inc (12)
R3: (1 sc, inc) × 6 (18)
R4: 18 sc
R5: (4 sc, dec) × 3 (15)
R6: 3 sc, 4 dec, 4 sc (11)
R7–R13: 11 sc
Make 1 shift stitch so the arms face forward. Fold in half and crochet both sides together with 5 sc. Leave a long tail for sewing.
Lower Legs (2 pcs)
R1: 6 sc in MR (6)
R2: 6 inc (12)
R3: (1 sc, inc) × 6 (18)
R4: (2 sc, inc) × 6 (24)
R5–R6: 24 sc
R7: 4 sc, 10 dec (14)
R8–R14: 14 sc
Work 1 shift stitch, fold in half, and close with 5 sc. Leave a tail for sewing.
Wings (2 pcs)
Use red yarn.
R1: 6 sc in MR (6)
R2: 6 inc (12)
R3: (1 sc, inc) × 6 (18)
R4: 18 sc
R5: (2 sc, inc) × 6 (24)
R6: 24 sc
R7: (3 sc, inc) × 6 (30)
R8: 30 sc
R9: (4 sc, inc) × 6 (36)
R10–R12: 36 sc
R13: (4 sc, dec) × 6 (30)
R14–R15: 30 sc
R16: (3 sc, dec) × 6 (24)
R17: 24 sc
R18: (2 sc, dec) × 6 (18)
R19: 18 sc
R20: (1 sc, dec) × 6 (12)
R21: 12 sc
Fold the wings and close with 6 sc. Leave a long tail for assembly.
Antennae (2 pcs)
Start with red yarn.
R1: 6 sc in MR
R2: 6 inc (12)
R3: 12 sc
R4: 6 dec (6)
Switch to black yarn, lightly stuff, and add wire if desired.
R5–R10: 6 sc
Fasten off, leaving a tail.
Assembly
Place the second head piece over the head and sew or glue into place.
Sew upper arms under the head between R29 and R30.
Sew lower legs directly above the arms between R43 and R44.
Sew antennae between R3 and R5.
Sew wings between R28 and R29.
Embroider eyebrows and eyelashes with single black thread.
Add white highlights on the eyes.
Sew spots onto the wings.
The author does not provide a dress pattern, but you may choose any dress you like from your favorite sources.
Your ladybug amigurumi is ready!
Please credit the designer on social media: @iskorka_toys
Stitch Terminology Note
Some abbreviations in the original pattern do not appear in standard English amigurumi terminology. For clarity and ease of use, these terms have been adapted to standard American crochet terminology.
You may also like Amigurumi Bee Crochet Free Pattern
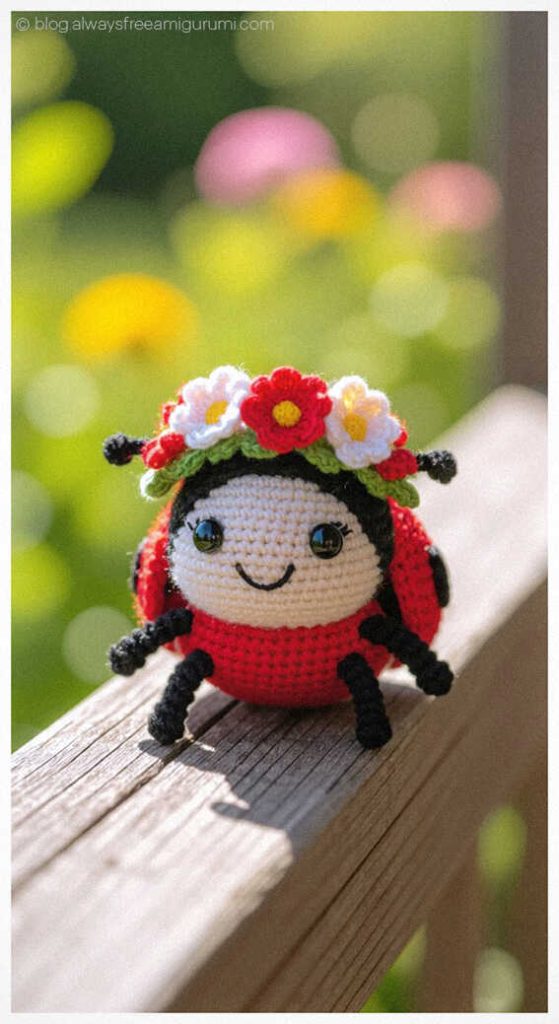
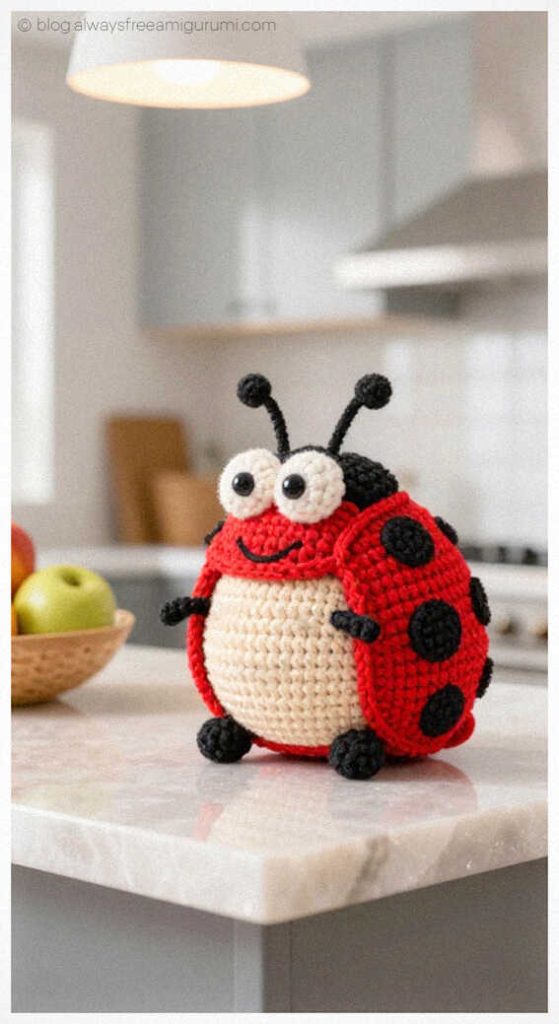
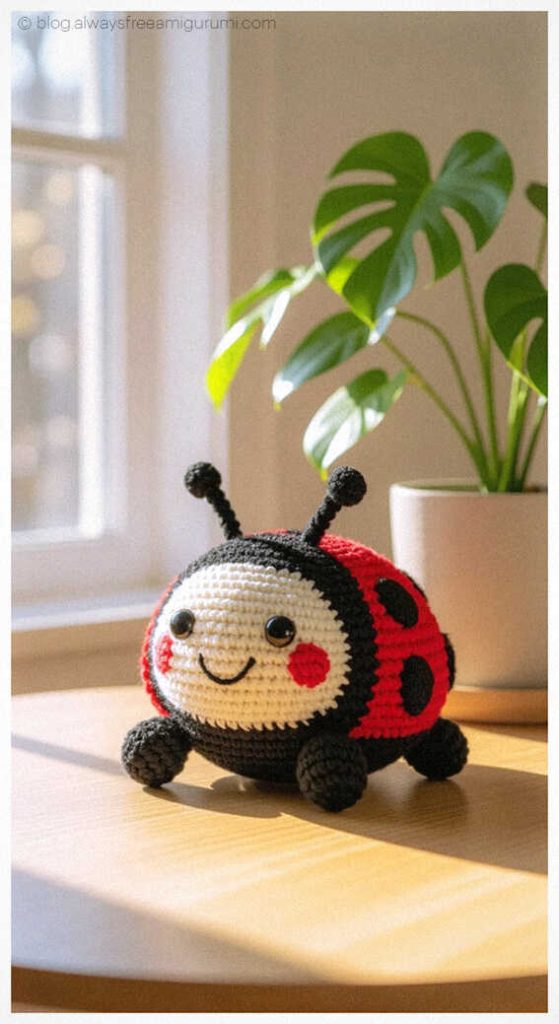
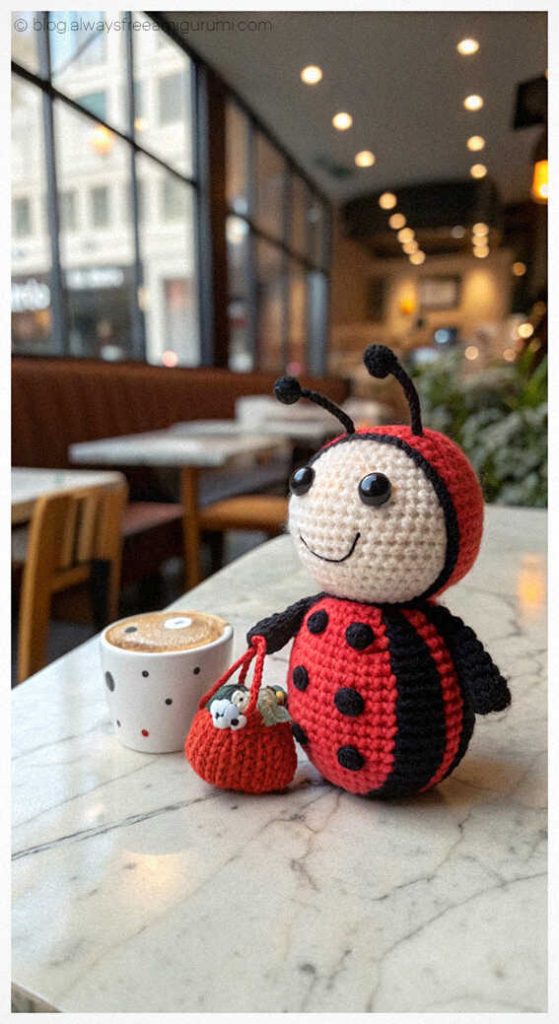
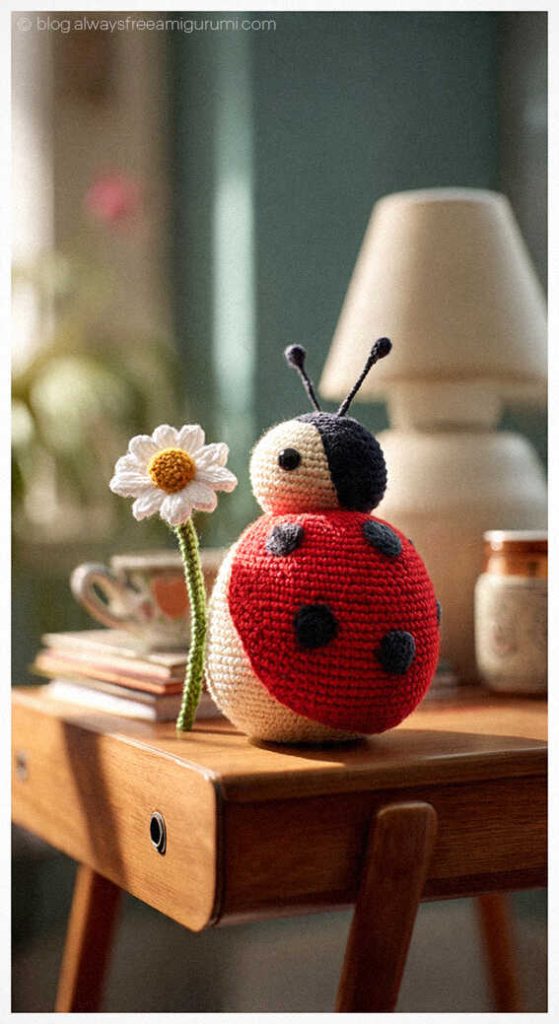
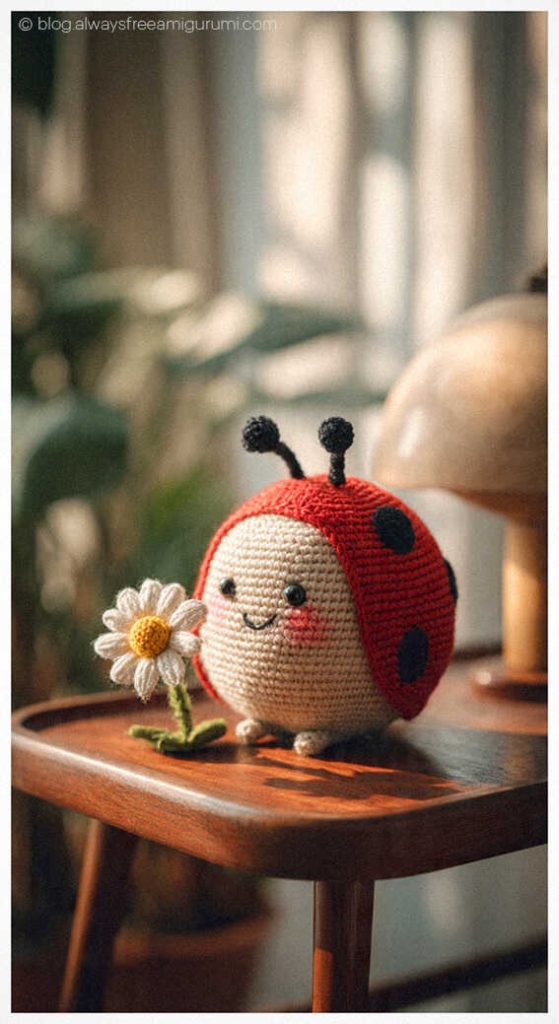
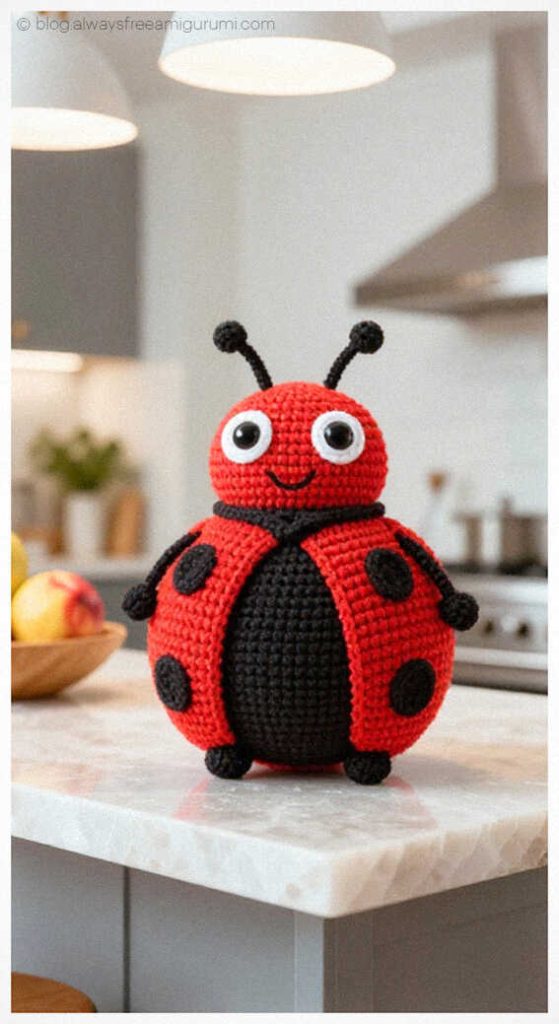
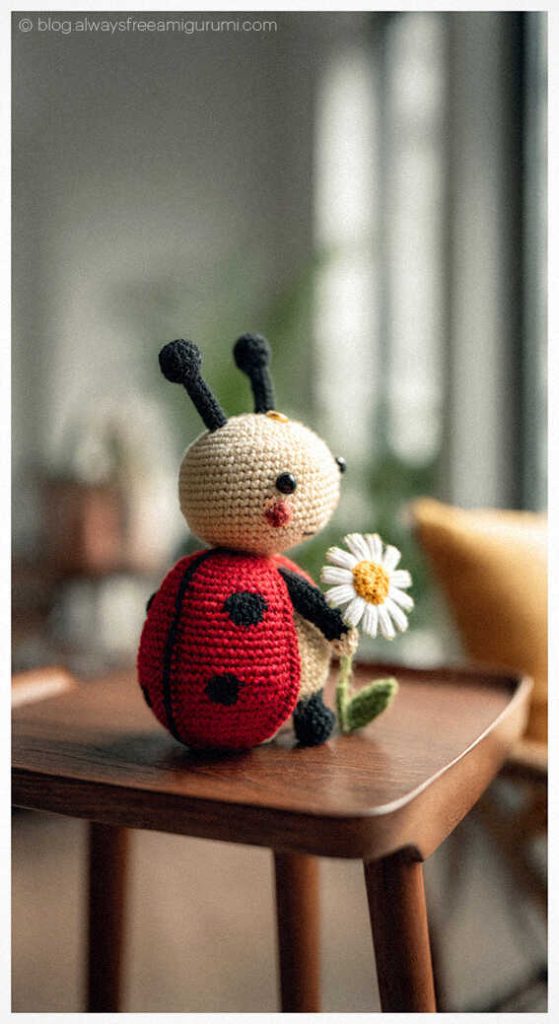
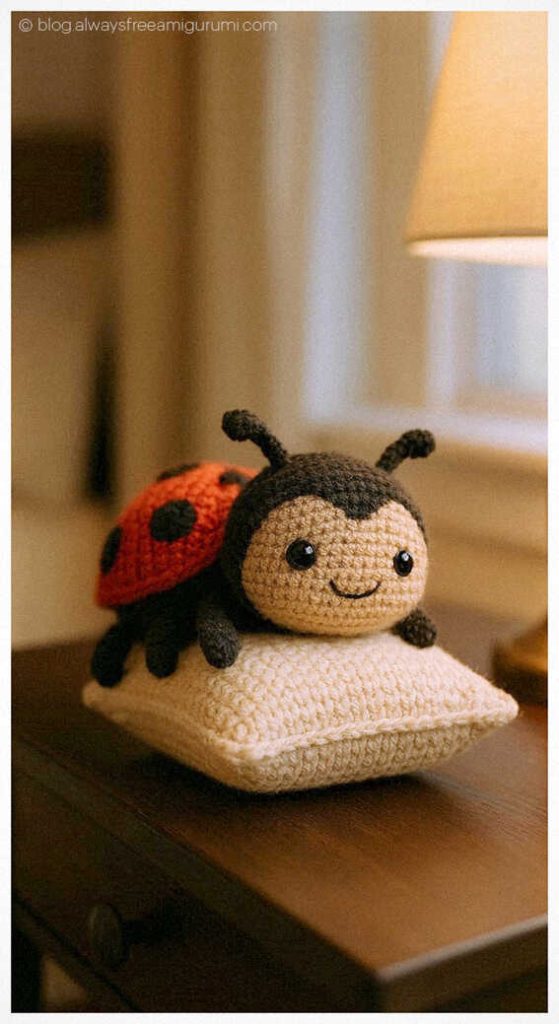
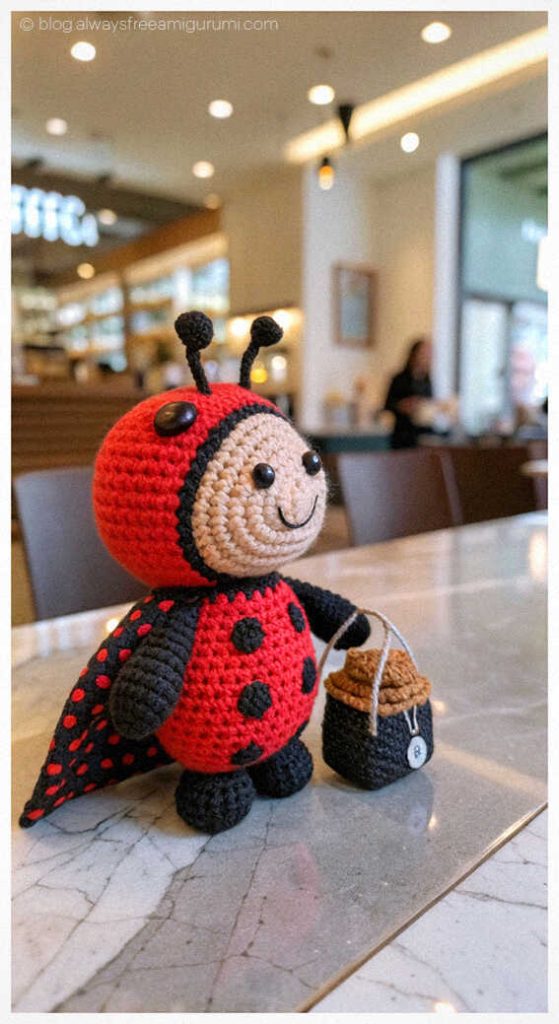
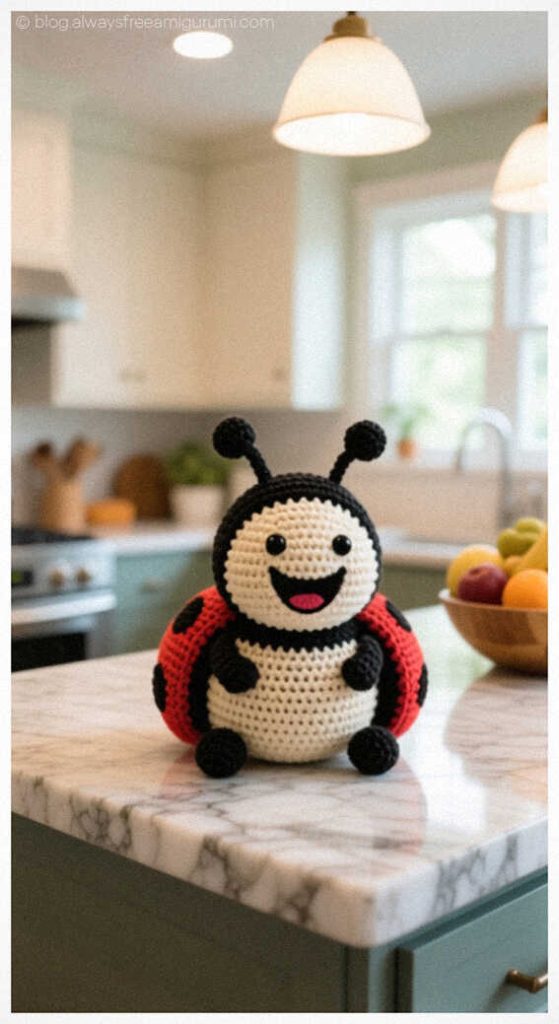
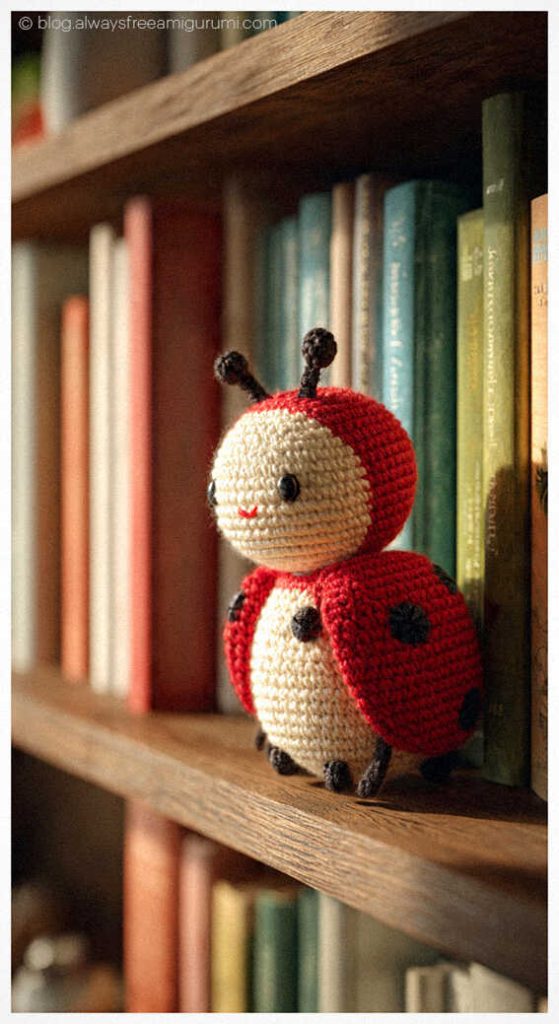
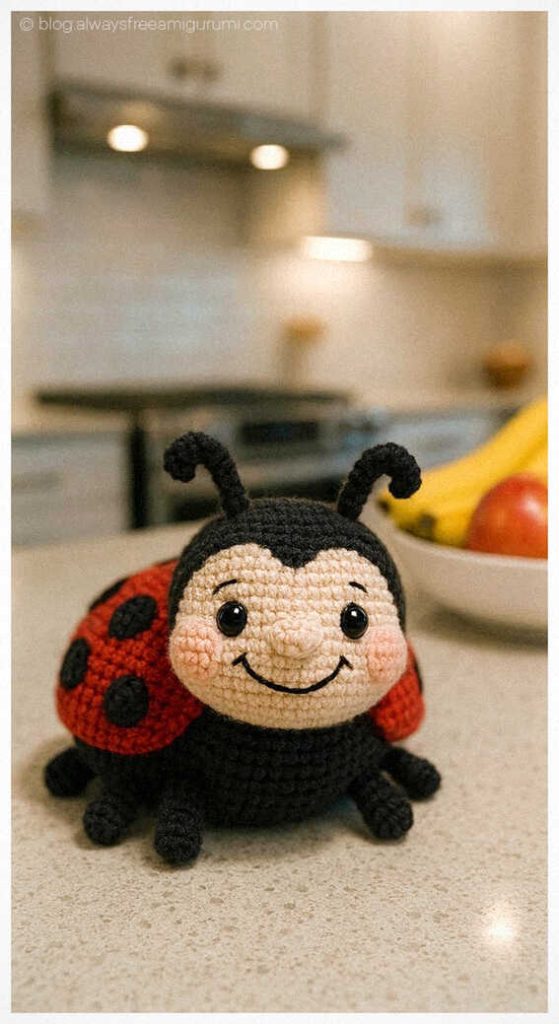
Cute amigurumi ladybug ideas:


From Yarn to Adorable: Your Amigurumi Adventure Awaits
Discover step-by-step tutorials for all your favorite amigurumi animals – from adorable amigurumi cats, amigurumi dogs, and bunnies to majestic amigurumi unicorns, amigurumi elephants, and amigurumi giraffes. Our pattern library includes amigurumi bears, amigurumi foxes, amigurumi pandas, amigurumi monkeys, amigurumi lambs, amigurumi pigs, amigurumi birds, amigurumi penguins, amigurumi llamas, amigurumi hippos, amigurumi dinosaurs, plus charming amigurumi amigurumi dolls and amigurumi clowns.
Each amigurumi pattern features clear instructions and inspiring example images to guide your crochet journey. Join our community (Facebook group, Facebook page) of makers, share your creations, and bring these delightful handmade toys to life!
Start crocheting your favorite amigurumi animals today.
Keywords: free amigurumi patterns, crochet toys, amigurumi animals, beginner amigurumi, amigurumi dolls, crochet free patterns, crochet patterns, easy crochet