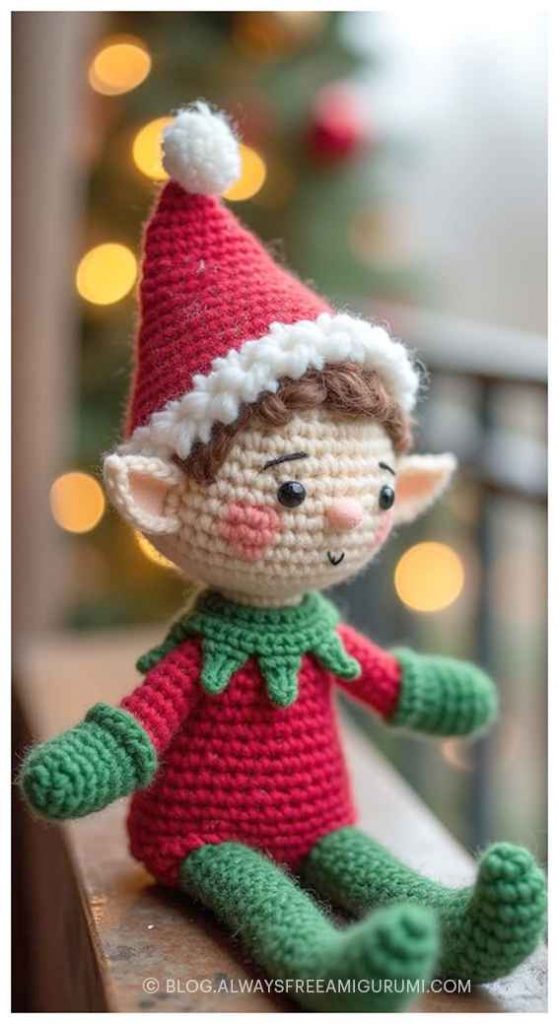
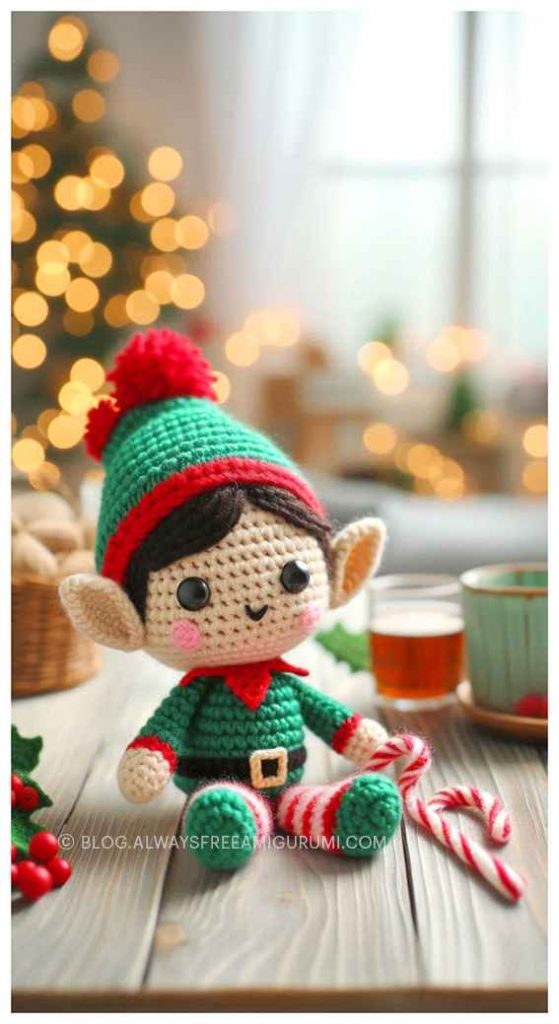
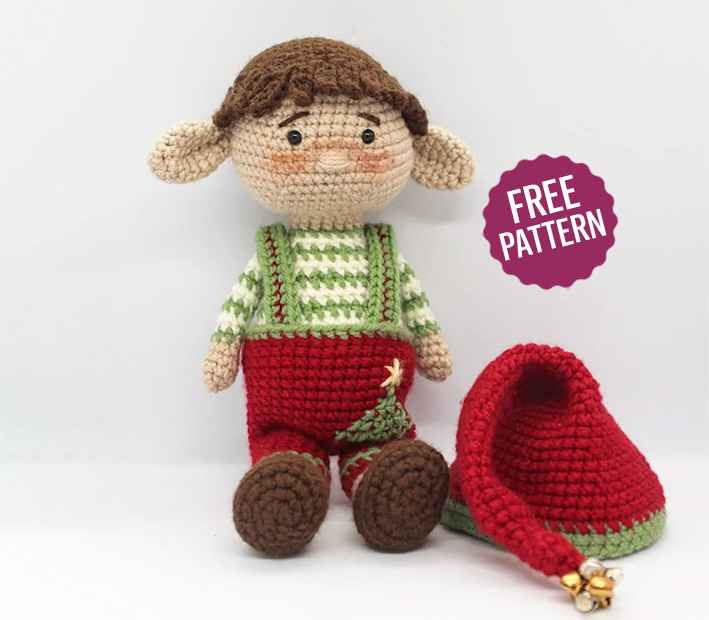
Amigurumi Elf Dolly Crochet Free Pattern
Designer: Tobbys Handcraft Amigurumi
Instagram: @tobbys_handcraft
Hello everyone…
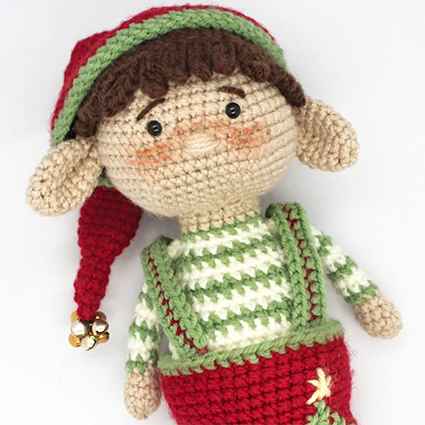
One of the free amigurumi crochet patterns we will share today is the amigurumi Christmas Elf Dolly, whose photos and design belong to Tobbys Handcraft Amigurumi. You can learn how to crochet this elf using the free amigurumi pattern. Thanks to Tobbys Handcraft Amigurumik for this cute elf.
Amigurumi cats, amigurumi dolls, amigurumi dogs, amigurumi unicorns, amigurumi lambs, amigurumi dinosaurs, amigurumi foxes, amigurumi bears, amigurumi giraffes, amigurumi pigs, amigurumi birds, amigurumi penguins, amigurumi pandas, amigurumi llamas, amigurumi bunnys, amigurumi clowns, amigurumi elephants, amigurumi hippos, amigurumi monkeys… All the amigurumi toys pattern step by step tutorials and ideas you are looking for are here… Don’t forget to visit our YouTube channel…
Abbreviations
ch-chain
st-stitch
inc – increase
dec – decrease
mr-magic ring
Sc-single crochet
BLO | FLO-back | front loop only
hdc – half double crochet
Materials
4mm hook
stuffing
beige and brown yarns
red and green yarns
white yarn
safety eyes
scissors
needle
AMIGURUMI CHRISTMAS ELF CROCHET FREE PATTERN
Leg x2
Start with brown yarn
R1: 6 sc in mr (6)
R2: 2 inc 1 sc (10)
R3: 4 inc 1 sc (18)
R4: 2 sc 1 inc (24)
R5: 24 sc in BLO (24)
R6: 24 sc (24)
R7: 3 sc, 6 dec, 9 sc (18)
R8: 4 sc, 2 dec, 10 sc (16)
R9: 2 sc 1 dec (12)
R10-24: 12 sc (12)
Change to white yarn at row 13 Change to beige yarn at row 15
R25: 2 sc 1 dec (9)
R26: 1 sc 1 dec (6)
R27: 6 dec (3)
Close the leg sewing Cut off the yarn
Body
Start with beige yarn
R1: 6 sc in mr (6)
R2: 6 inc (12)
R3:1 sc 1 inc (18)
R4: 2 sc 1 inc (24)
R5: 3 sc 1 inc (30)
R6: 4 sc 1 inc (36)
R7: 5 sc 1 inc (42)
R8: 6 sc 1 inc (48)
R9: 48 sc (48)
R10: 6 sc 1 dec (42)
R11-12: 42 sc (42)
changes alternating 1 round green and 2 round white
R13: 5 sc 1 dec (36)
R14-15: 36 sc (36)
R16: 4 sc 1 dec (30)
R17-18: 30 sc (30)
R19: 3 sc 1 dec (24)
R20-21: 24 sc (24)
R22: 2 sc 1 dec (18)
Change to beige yarn
R23-24: 18 sc (18)
leave the body open with 18 sc
leave a long tail for sewing the head
Head
With beige yarn
R1: 6 sc in mr (6)
R2: 6 inc (12)
R3: 1 sc 1 inc (18)
R4: 2 sc 1 inc (24)
R5: 3 sc 1 inc (30)
R6: 4 sc 1 inc (36)
R7: 36 sc (36)
R8: 5 sc 1 inc (42)
R9-10: 42 sc (42)
R11: 6 sc 1 inc (48)
R12: 48 sc (48)
R13: 7 sc 1 inc (54)
R14: 8 sc 1 inc (60)
R15: 60 sc (60)
R16: 8 sc 1 dec (54)
R17: 7 sc 1 dec (48)
R18: 6 sc 1 dec (42)
R19: 5 sc 1 dec (36)
R20: 4 sc 1 dec (30)
R21: 3 sc 1 dec (24)
R22: 2 sc 1 dec (18)
R23: 1 sc 1 dec (12)
R24: 6 dec (6)
Close the head and cut
Arm x2
Start with beige yarn
R1: 6 sc in mr (6)
R2: 6 inc (12)
R3: 12 sc (12)
R4: 12 sc (12)
R5: 12 sc (12)
changes alternating 2 rounds with white yarn, 1 round with green yarn
R6: 12 sc (12)
R7: 5 sc, 1 dec, 3 sc, 1 dec (10)
R8-17 (10 rows): 10 sc (10)
R18: 3 sc 1 dec (8)
R19: 2 sc 1 dec (6)
Close the arm sewing
Leave a long tail for sewing
Filling with stuffing only half arm
Ear x2
R1: 6 sc in mr (6) with beige colour
R2: 1 sc, 1 inc (9)
R3: 2 sc, 1 inc (12)
R4-6: 12 sc (12)
R7: 3 sc, 1 dec (9)
R8: 2 sc, 1 dec (6) leave a long tail
Hair
With brown yarn
R1: 6 sc in mr (6)
R2: 6 inc (12)
R3:1 sc 1 inc (18)
R4: 2 sc 1 inc (24)
R5: 3 sc 1 inc (30)
Now we start the hair (H)
H1-2: 9 ch, from the 2nd ch 8sc, attach the hair to the base with a slip stitch
H3-4: 13 ch 12 sc (12)
H5-23: 23 ch 22 sc (22)
H24-25: 13 ch 12 sc (12)
H26-27: 9 ch 8 sc (8)
Now you’re almost done and you’re back to the center of the base of the hair.
Work 3 slip stitches to leave a central space between the shorter hair.
Leave the thread long to sew the hair to the head.
Dungarees
With green yarn start 42 ch
Insert the hook in the first ch and join with a sist the foundation ch.
Continue working in spiral
R1-10 (10 rows): 2 ch 41 hdc (42) Switch and continue with red in round 3
LEGS
R11: divide the round indentifying 3 ch for front central space, 3 ch for the back and 18 ch for each leg.
FIRST LEG
R11-15 (5rows): 2 ch 17 hdc(18)
Changes to green on round 14 Changes with red color on round 15 cut the yarn
SECOND LEG Rejoin the yarn
R11-15 (5rows): 2 ch 17 hdc (18)
Changes to green on round 14 Changes with red color on round 15 cut the yarn
Sewing the 6 ch in the middle with a needle.
SUSPENDERS X2
With the red color work a chain of 25 stitches and from the second, with the green, work 24 sc on each side
Hat
With red yarn
R1: 4 sc in mr (4)
R2: 1 sc 1 inc (6)
R3-6: 6 sc (6)
R7: 6 inc (12)
R8-26: 12 sc (12)
R27: 1 sc 1 inc (18)
R28-29: 18 sc (18)
R30: 2 sc 1 inc (24)
R31-32: 24 sc (24)
R33: 3 sc 1 inc (30)
R34-35: 30 sc (30)
R36: 4 sc 1 inc (36)
R37-38: 36 sc (36)
R39: 5 sc 1 inc (42)
R40-41: 42 sc (42)
R42: 6 sc 1 inc (48)
R43-44: 48 sc (48)
change to green yarn
R45: 7 sc 1 inc (54)
R46-47: 54 sc (54)
Assembling the Christmas elf
1 Sew the HEAD to the body with the needle following the 18 st left open. The part with the decreases is located at the base of the neck.
2 Sew the HAIR to the top of the head
3 Attach the LEGS laterally to the base of the body by piercing it with a needle. 4 Sew the ARMS 3 rows below the neck
5 Insert EYES between rounds 13 and 14, leaving 4 st between one eye and the other (the st can change depending the dimensions of the eyes)
6 Sew the EARS to the head
7 Sew the details with embroidery thread and enrich the Christmas elf with shades using fabric colors (optional)
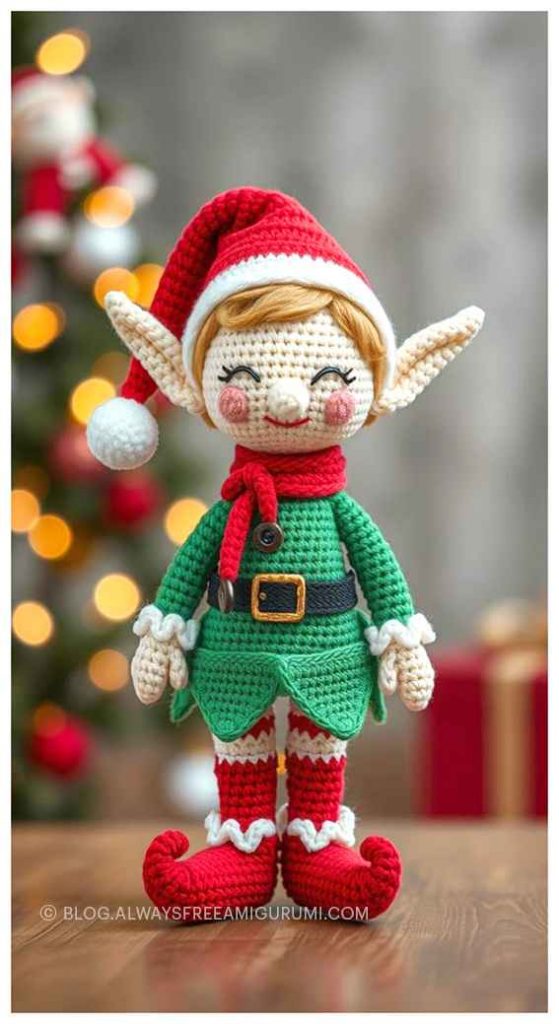
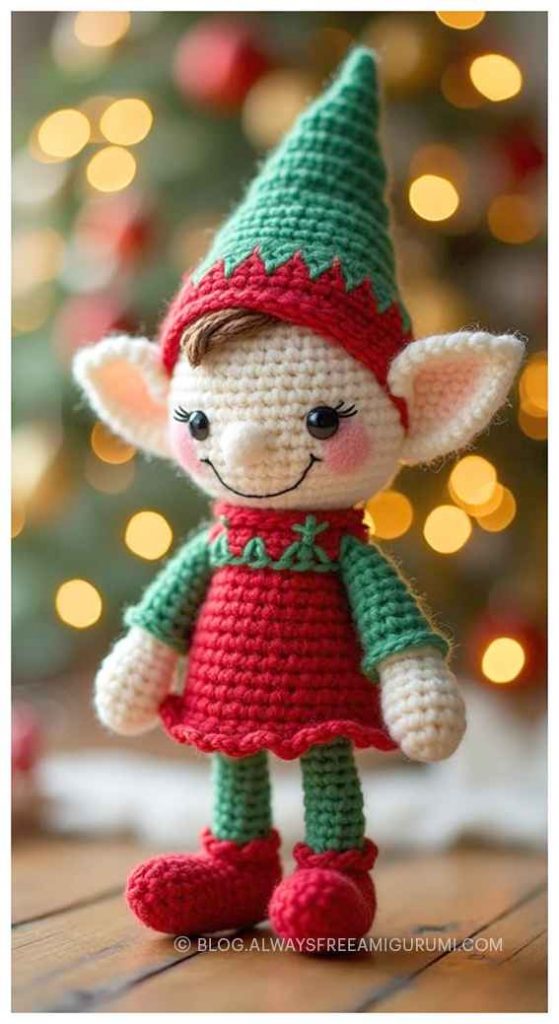
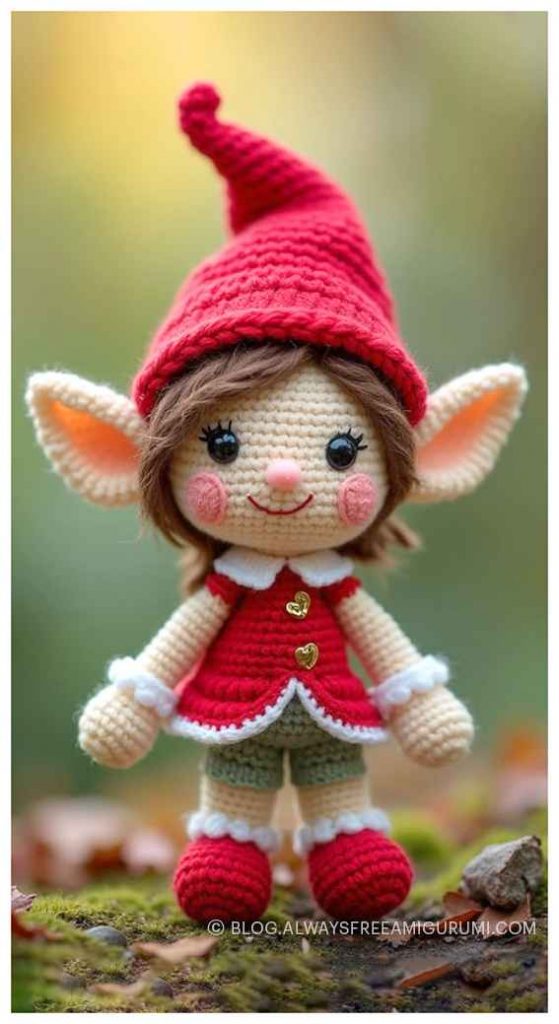
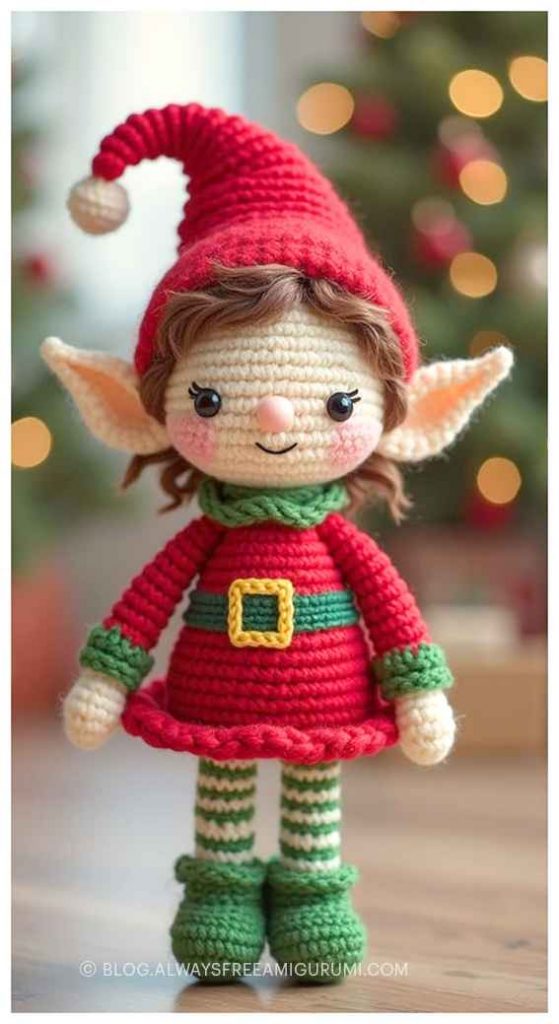
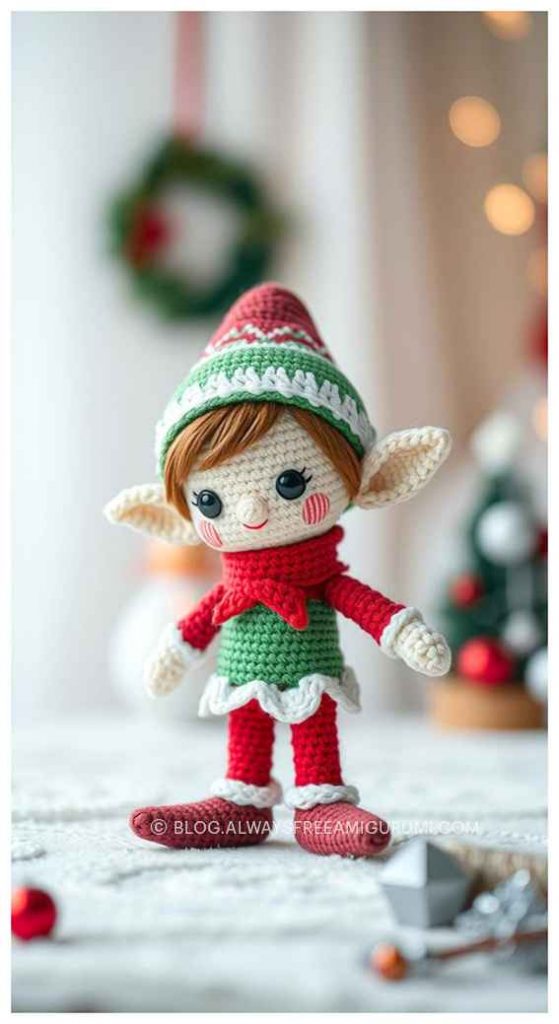
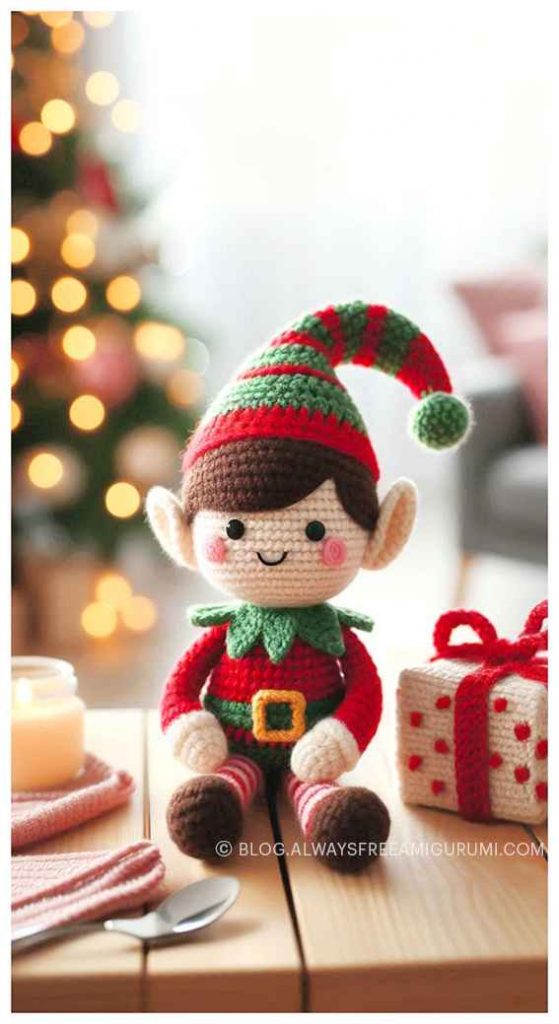
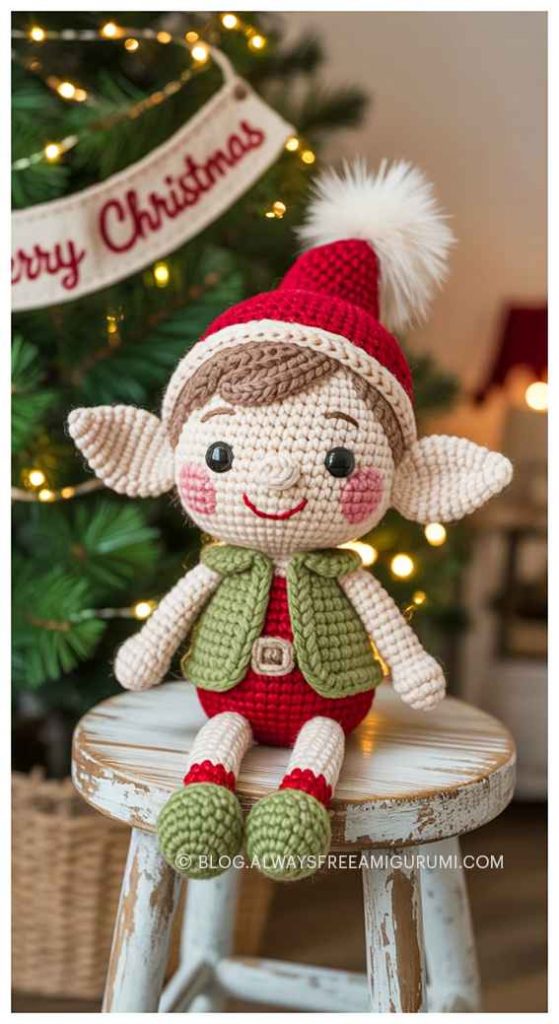
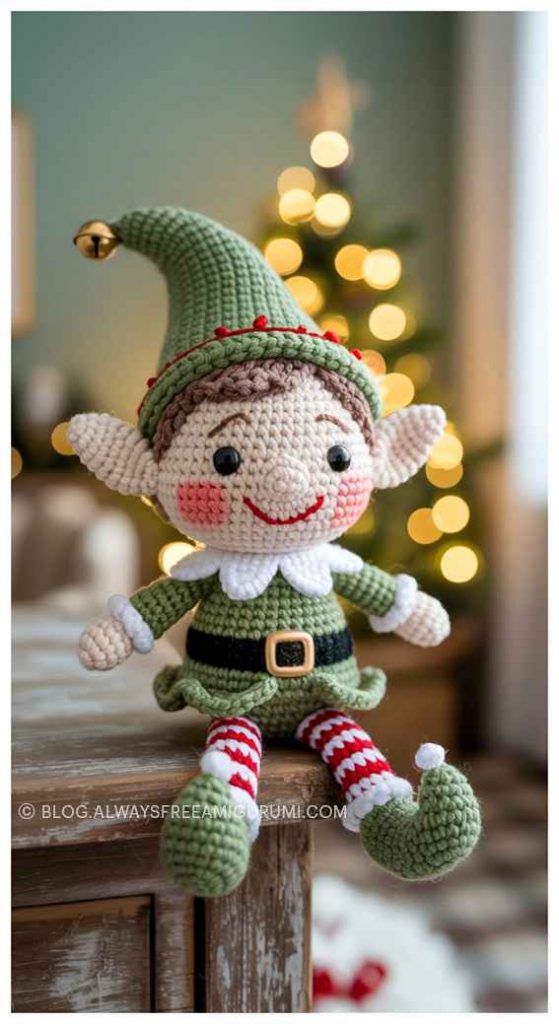
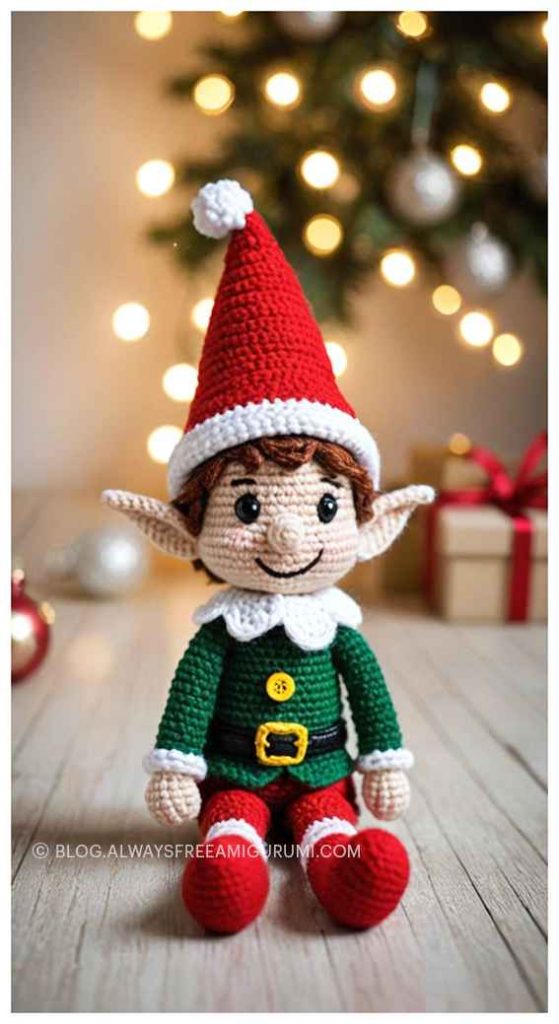
More amigurumi Christmas Elf ideas: