Amigurumi Bubbles the Bird Crochet Free Pattern
Designer: Emily Martin
Instagram: @loops.snuggles
Etsy Shop: LoopsSnuggles
Hello everyone…
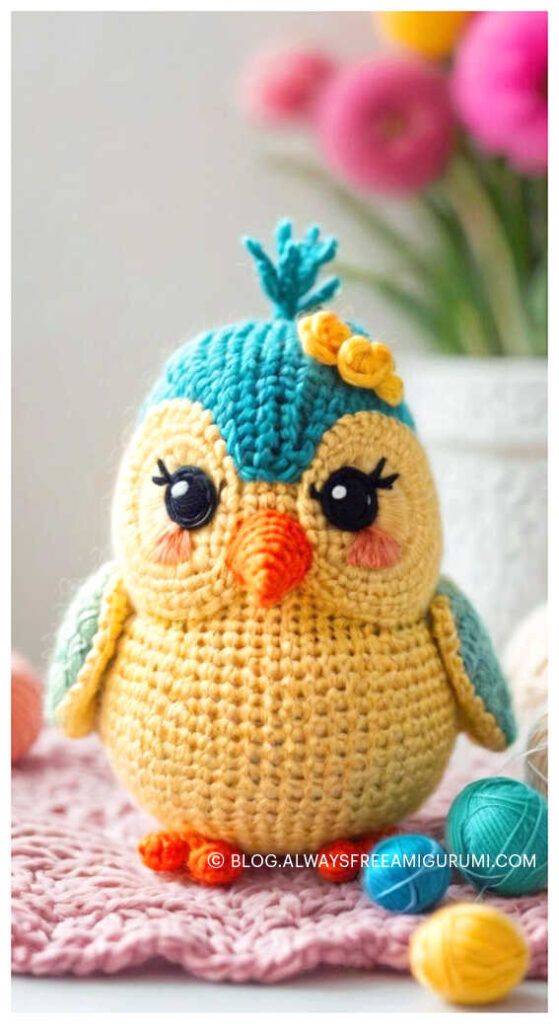
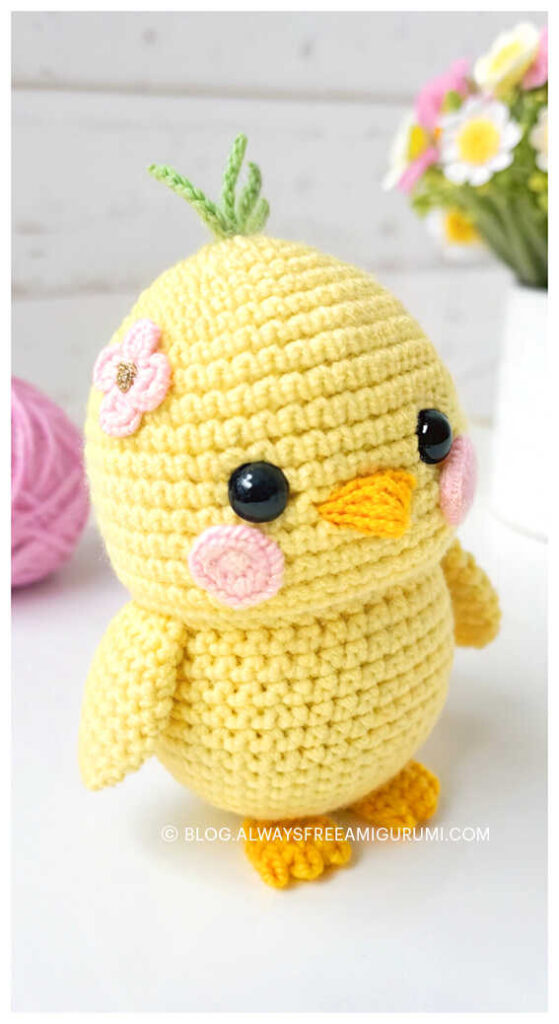
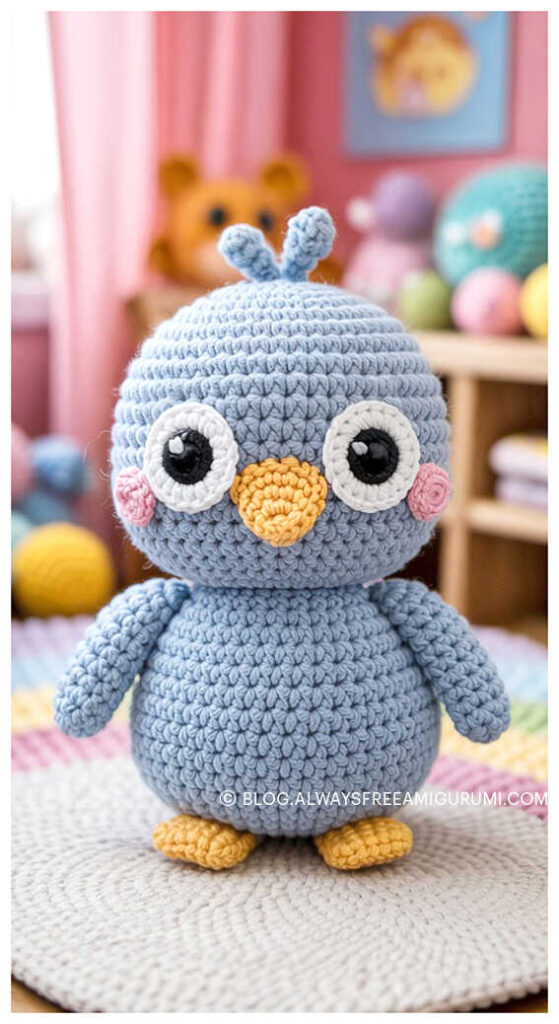
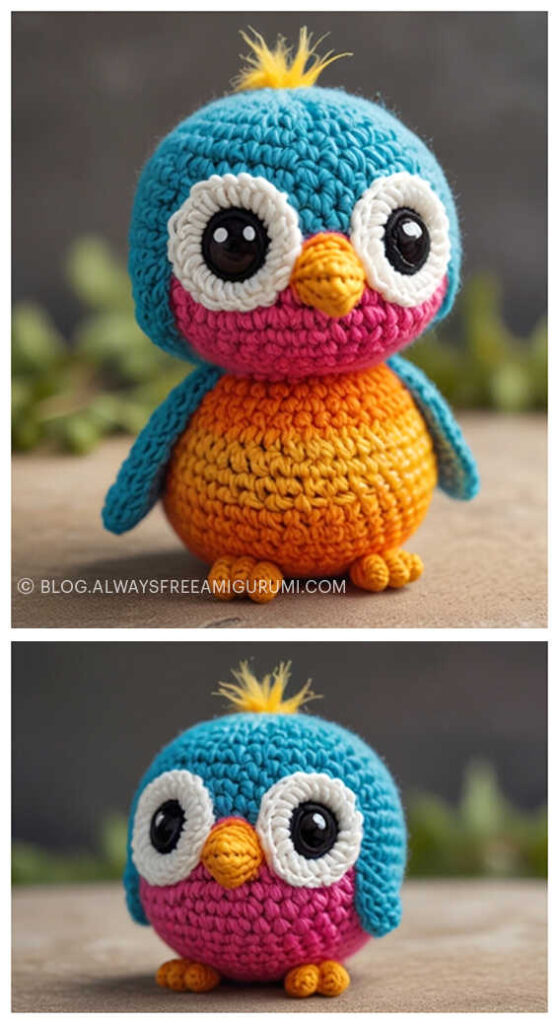
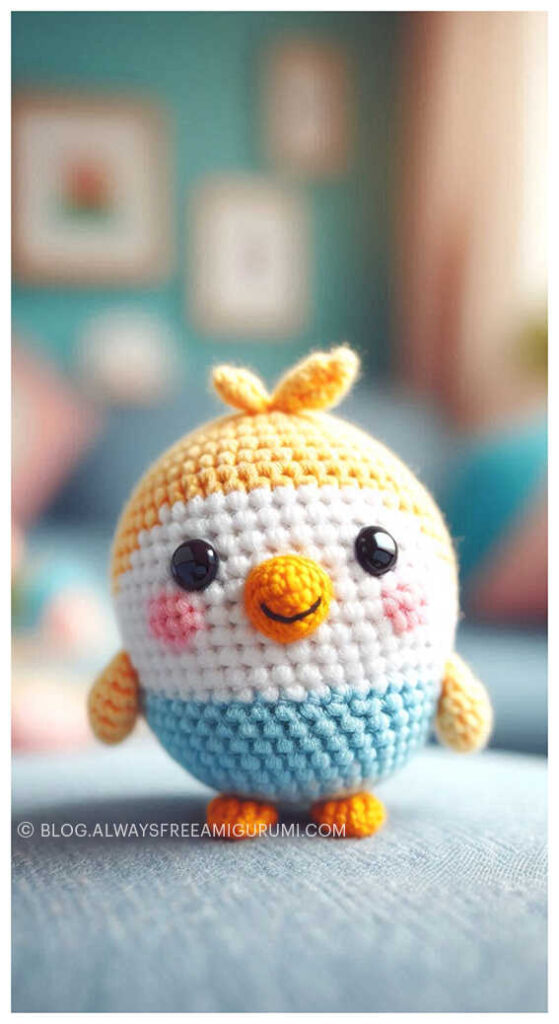
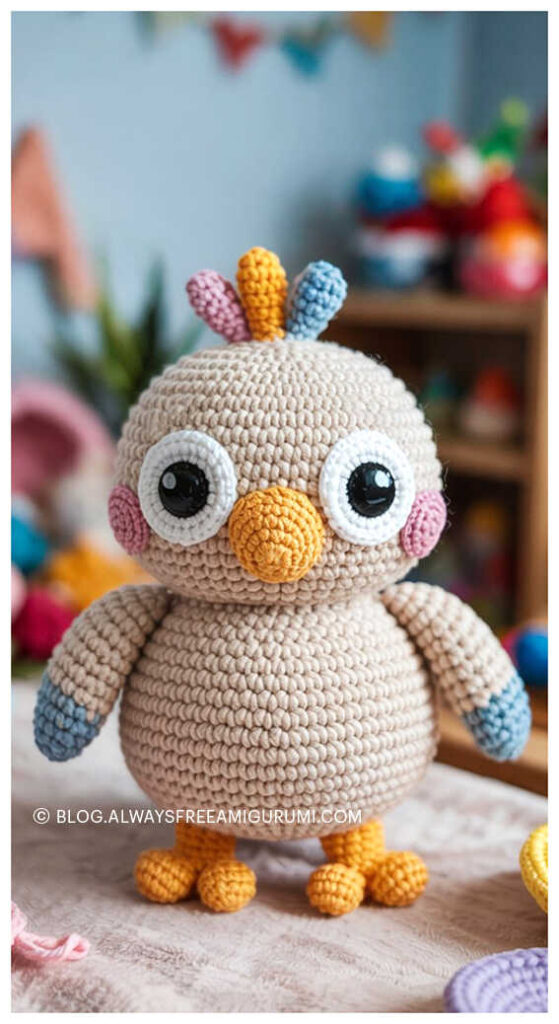
One of the free amigurumi crochet patterns we will share today is the amigurumi Bubbles the bird, whose photos and design belong to Emily Martin. You can learn how to crochet these bird using the free amigurumi pattern. Thanks to dear Emily Martin for this bird…
Amigurumi cats, amigurumi dolls, amigurumi dogs, amigurumi unicorns, amigurumi lambs, amigurumi dinosaurs, amigurumi foxes, amigurumi bears, amigurumi giraffes, amigurumi pigs, amigurumi birds, amigurumi penguins, amigurumi panda, amigurumi llama, amigurumi bunny, amigurumi clowns, amigurumi elephants, amigurumi hippos, amigurumi monkeys… All the amigurumi toys pattern step by step tutorials and ideas you are looking for are here… Don’t forget to visit our YouTube channel…
What you’ll need:
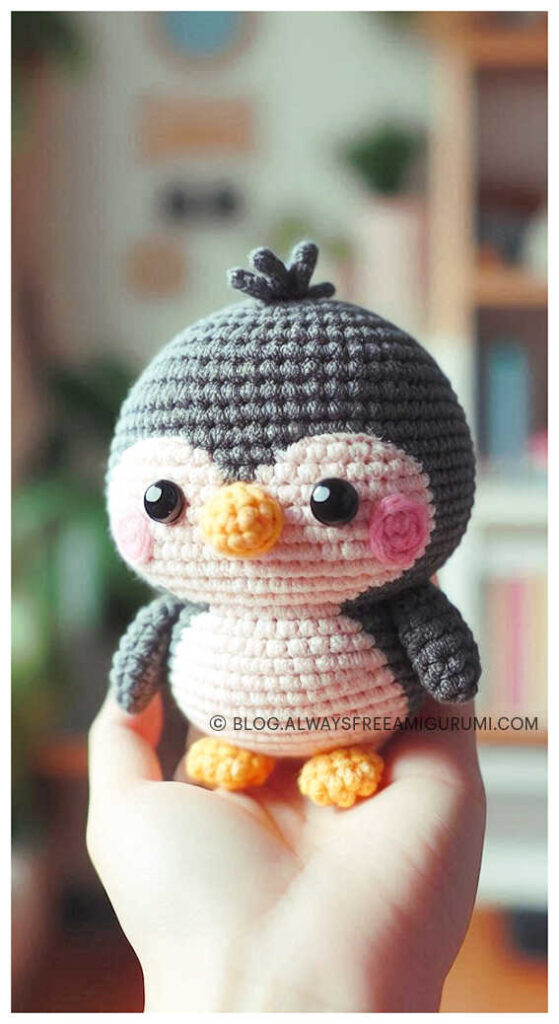
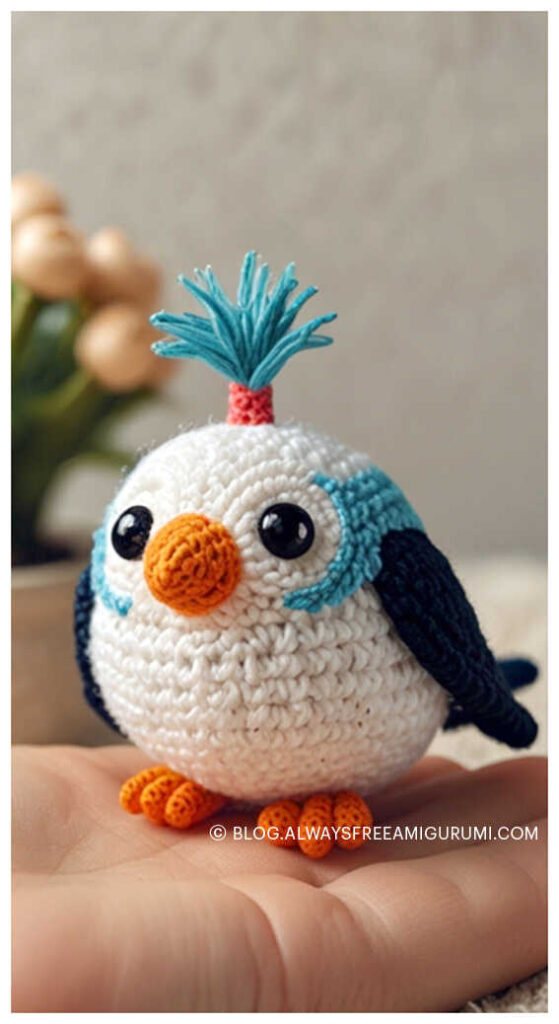
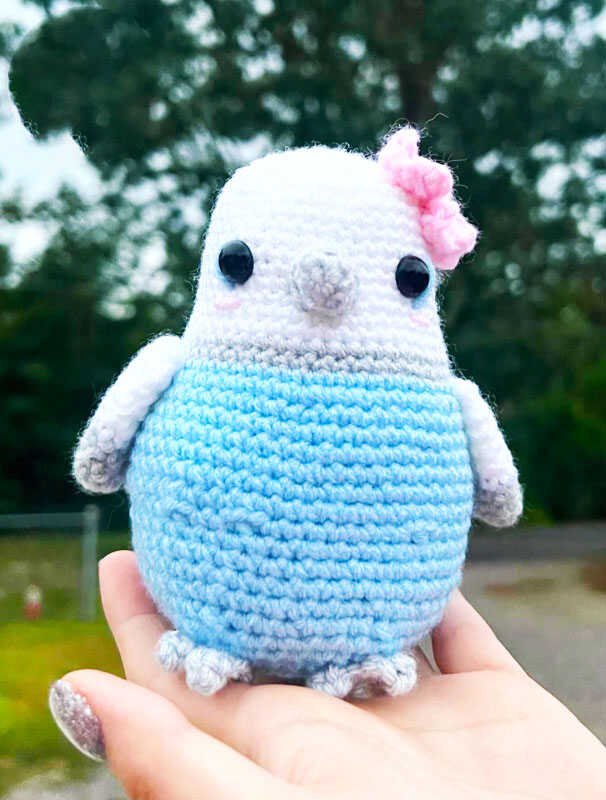
–3mm crochet hook -size 4 worsted yarn in preferred colors (I used baby blue as the main color, white for the head and grey for beak, feet and accents) -safety eyes in size of your choice (I used 12mm) or you can embroider the eyes with black yarn/embroidery thread
–polyester filling
–sewing needle
–stitch marker
–scissors
Abbreviations
Sc-single crochet
Inc– increase
Dec-invisible decrease
Dc-double crochet
Hdc-half-double crochet
Mc– magic circle/chain 2 Method
Fo-fasten off
Sl st-slip stitch
Ch-chain
Cc-color change
AMIGURUMI BIRD FREE PATTERN
Body
*working in the round,start with head color*
Rnd 1: 6 sc in magic circle(6)
Rnd 2: 6 inc(12)
Rnd 3: {1 sc,1 inc}x6 (18)
Rnd 4: {2 sc, 1 inc}x6 (24)
Rnd 4: {3 sc, 1 inc}x6 (30)
Rnd 5: {4 sc, 1 inc}x6 (36)
Rnd 6: {5 sc, 1 inc}x6 (42)
Rnd 7-17: sc around (42) *insert safety eyes or embroider eyes between rows 12-13 with 8 spaces in between showing. Begin stuffing*
Rnd 18-19: *cc to neck color*sc around (42)
Rnd 20: *cc to body color*sc around (42)
Rnd 21: {6 sc, 1 inc}x6 (48)
Rnd 22: sc around rnd
Rnd 23: {7 sc, 1 inc}x6 (54)
Rnd 24-27: sc around
Rnd 28: {7 sc, 1 dec}x6 (48)
Rnd 29-32: sc around *continue stuffing every few rounds*
Rnd 33: {6 sc, 1 dec}x6 (42)
Rnd 34: {5 sc, 1 dec}x6 (36)
Rnd 35: {4 sc, 1 dec}x6 (30)
Rnd 36: {3 sc, 1 dec}x6 (24)
Rnd 37: {2 sc, 1 dec}x6 (18)
Rnd 38: {1 sc, 1 dec}x6 (12)
Rnd 39: {dec}x6 (6)
*fo,finish stuffing and sew hole shut*
Wings x 2
*working in the round, start with neck
Color*
Rnd 1: 6 sc in magic circle
Rnd 2: {1 sc, 1 inc}x3 (9)
Rnd 3: sc around
Rnd 4: *cc to head color* {2 sc, 1 inc}x3 (12)
Rnd 5: sc around
Rnd 6: (3 sc, 1 inc}x3 (15)
Rnd 7: sc around
Rnd 8: {4 sc, 1 inc}x3 (18)
Rnd 9: sc around
*fold in half, sl st across top to close* (9)
*fo, do not stuff, leave a long tail for sewing*
Tail feathers x 2
*working around a chain row in body
Color* ch 15
Start at the second chain from the hook-3 sc, 5 hdc, 5 dc, 7dc in the last stitch working around to the other side of the chain. On the other side of chain- 5 dc, 5 hdc, 3 sc
*fo, leave a long tail for sewing*
Beak
*working in the round, use same color as feet*
R1: 6 sc in magic circle
R2: (2 sc, inc}x2 (8)
R3: {3 sc, inc}x2 (10)
R4: sc around
*fo, do not stuff, leave a long tail for sewing*
Feet x 2
*working around a chain like the tail* r1: ch2. Sc in the second chain from the hook *this will be called the original chain going forward* ch3, sc in the second chain from the hook and in the next chain. Sc into the original chain. Repeat two more times wrapping toward the backside of the original chain. On the last one attach to the original chain with a slst instead of a sc.
*fo, leave a long tail for sewing*
Flower
*working in the round*
Rnd 1: *start with center flower color* 9 sc in magic circle, chi and sl st to join the round. Fo and weave in your ends. Attach your petal color to any stitch with a sl st.
Rnd 2: {ch 3, dcx3 into next stitch, ch3, sl st in the next st}x5
*fo, leave a long tail for sewing*
Assembly
–sewing-sew both of the tail feathers together as shown in the reference images
–sew the tail evenly on the back of the bird underneath about a half of an inch where the attached part will not be visible. Approximately around round 36 of the body’s underside -sew the beak evenly between the eyes starting the top of the beak one row under the top of the eyes – sew the wings evenly spaced on the sides of the bird as shown in the reference images on the row under the neck color
–sew the feet under the bird where two toes stick out of the front and one is underneath the bird about 3 stitches apart
–sew the flower to the side of the head, or where you like, by sewing through the center of the flower only to allow the petals to be more natural -add face details such as eye color and blush using contrasting yarn colors
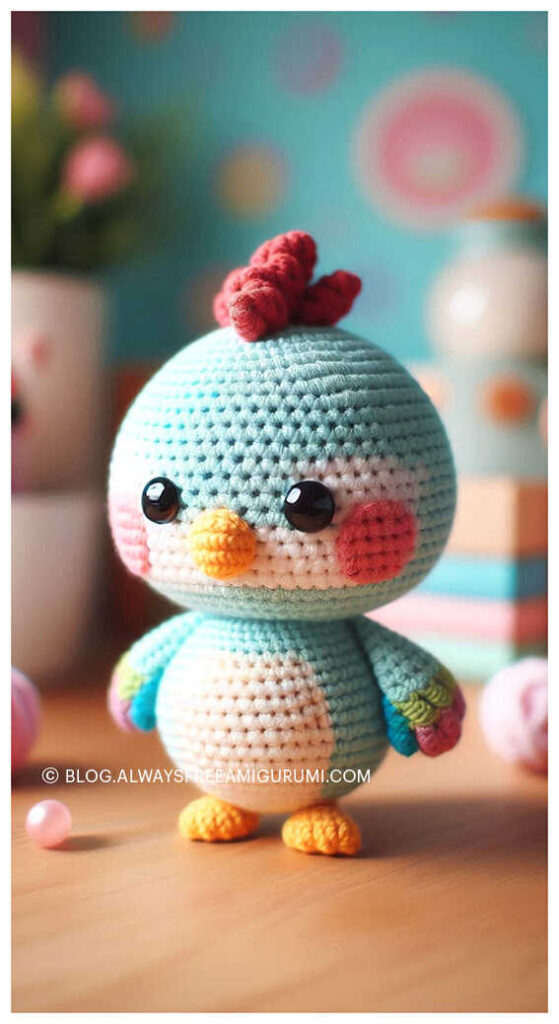
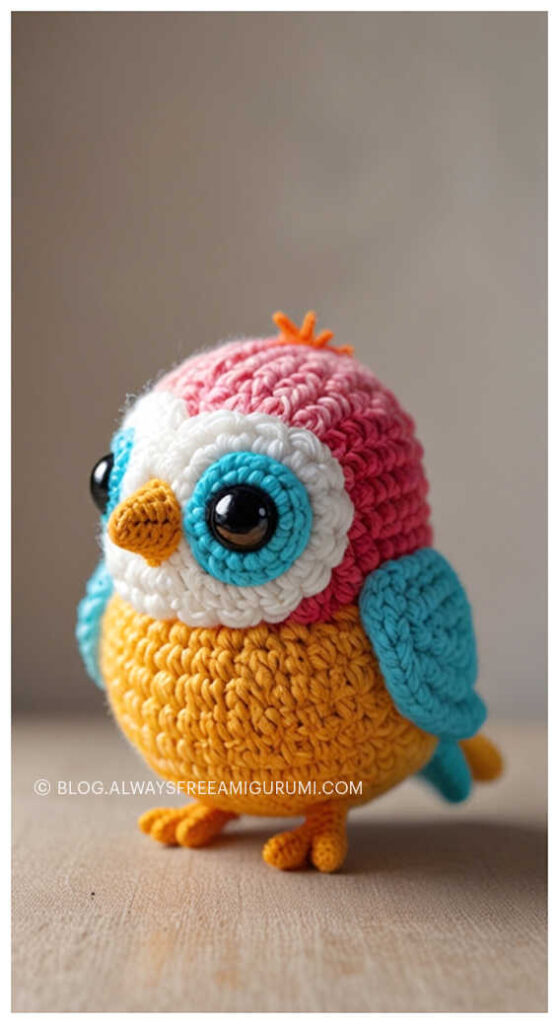
More amigurumi bird ideas: