
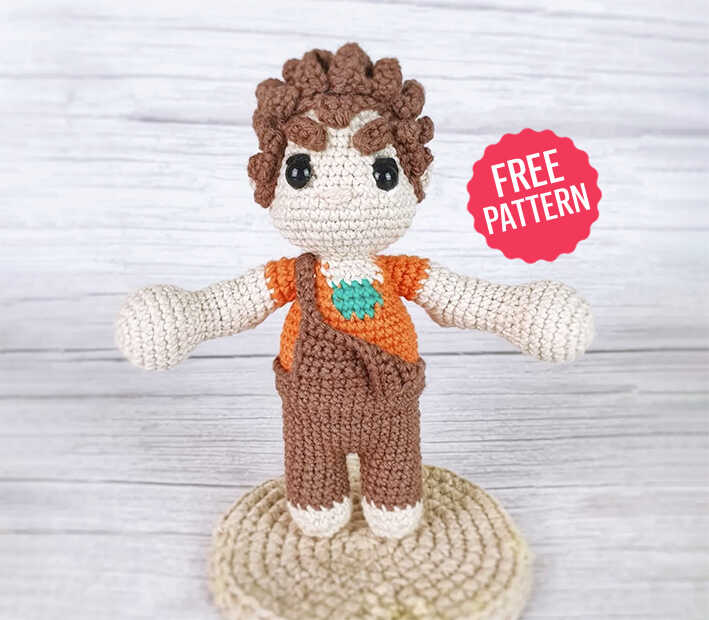
Amigurumi Boy Doll Crochet Free Pattern
Designer: Silvia Francucci
Instagram: @francuccicrochet
Etsy Shop: Francuccicrochet
Are you ready for a cute little crochet project?
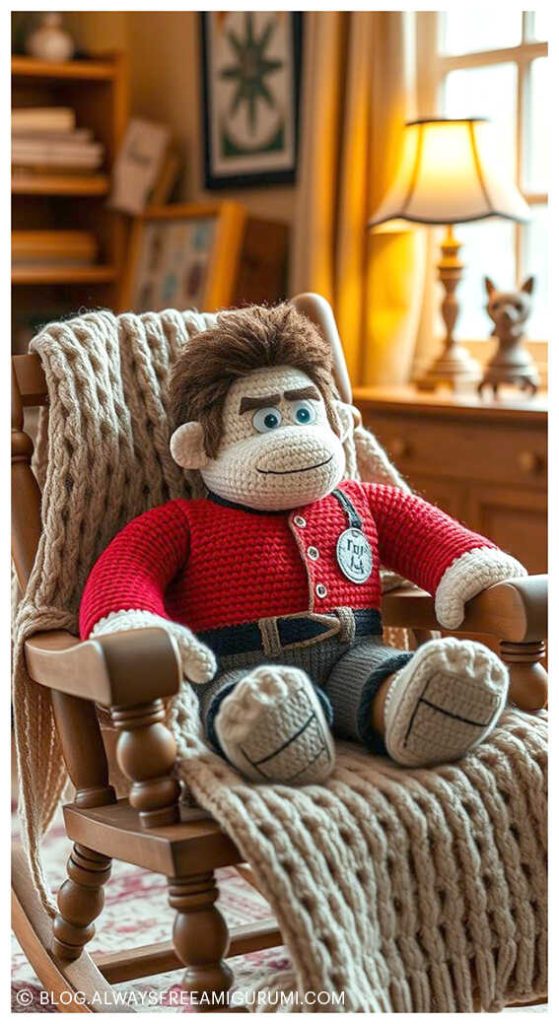
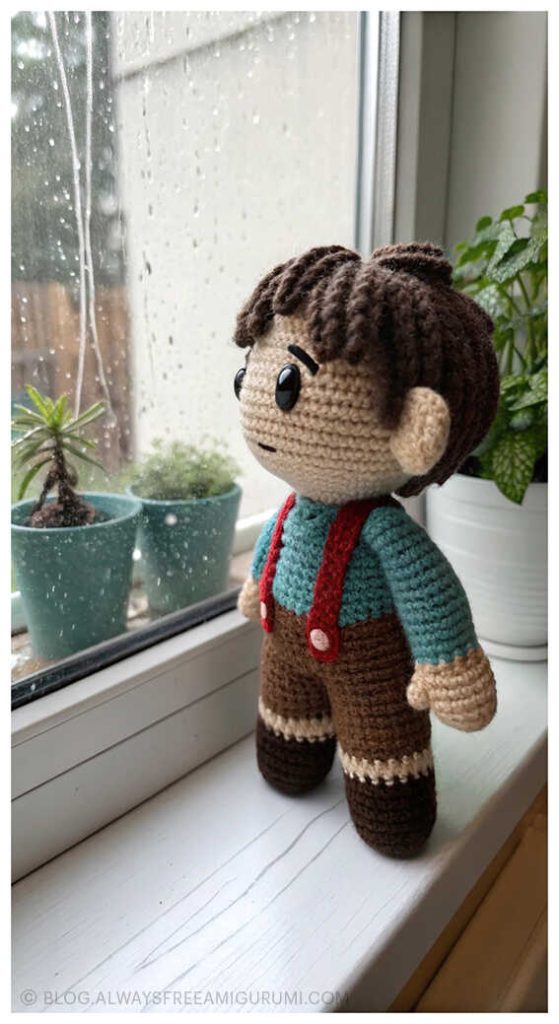
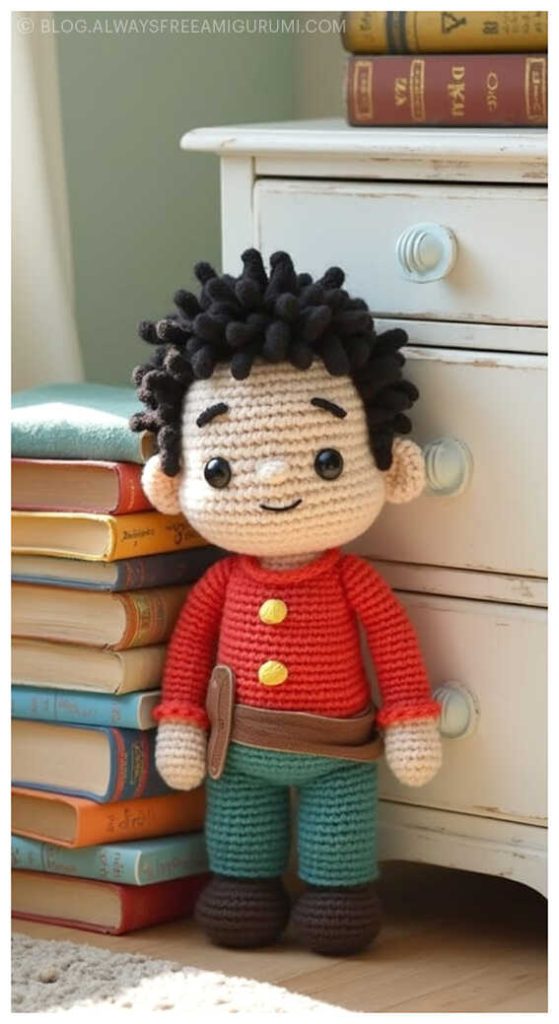
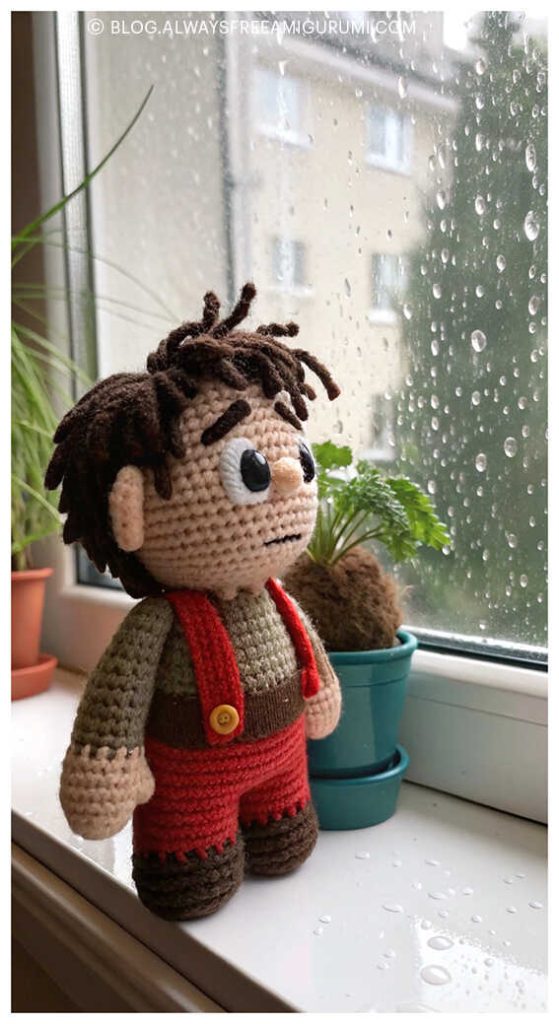
Get ready to bring a beloved animated character to life with this adorable Wreck it Ralph Doll Amigurumi Free Pattern, designed by the talented Silvia Francucci (Ravelry). This crochet doll captures the strength and charm of Ralph in a compact, handmade form — perfect for fans of the movie or collectors of amigurumi dolls. Measuring approximately 10 cm tall, this finished amigurumi is small enough to fit on your desk, shelf, or in a child’s toy collection, but full of personality and detail.
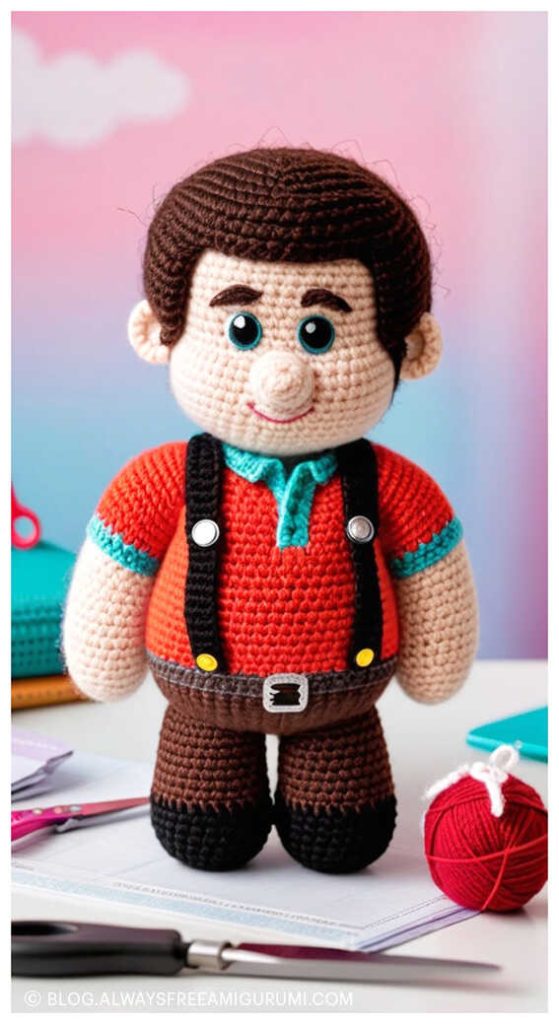
We’d like to send a big thank you to Silvia Francucci for sharing this creative and fun free pattern with the crochet community. Whether you’re a beginner or a seasoned amigurumi artist, this project is a joy to make. And don’t forget to scroll to the end of the pattern — you’ll find a collection of inspiring amigurumi boy dolls to spark your next crochet adventure!
Abbreviations
MR: magic ring
Ch: chain
R: round
St/s: stitch, stitches
Sk: skip
SI st: slip stitch
Sc: single crochet
Hdc: half double crochet
Dc: double crochet
Htc: half treble crochet
Inc: increase
Dec: decrease
Dec of 3: take 3 loops when decreasing instead of 2
FLO: front loop only
BLO: back loop only
Fo: fasten off
Stsc: standing single crochet
Inv join: invisible join
( ): Repeat for the times indicated
[ ]: work in the same stitch
Materials
Hobbii cotton kings yarn 8/4
in colors: white
– black
– skin color
– brown
– orange
– green
1.75 mm hook
8mm safety eyes
pins
scissors
tapestry needle
stuffing material
fabric glue
You can use any kind of yarn of the colors you want, in this case you choose the right hook which I recommend it to be one size smaller than indicated on the label of the yarn.
WRECK IT RALPH DOLL AMIGURUMI FREE PATTERN
ARMS x2
R1. 6sc in MR (6)
R2. 6inc (12)
R3. 1sc, 3inc, 3sc, 3inc, 2sc (18)
R4. 1sc, (1sc, 1inc)x3, 3sc, (1inc, 1sc)x3, 2sc (24)
R5-7 (3R). 24sc (24)
R8. (1sc, 1dec, 1sc) x6 (18)
R9. (1sc, 1dec) x6 (12)
Stuff as you go
R10-12 (3R). 12sc (12)
R13. (3sc, 1inc) x3 (15)
R14. 15sc (15)
R15. 9sc, 2dec, 2sc (13)
R16. 6sc, ch1 turn
Start working the ELBOW
4sc, sl st, turn without making the ch
sk1, 4sc, sc on the side (pic2), sl st (pic4), turn without ch
sk1, 2sc, dec, sc, sl st on the next st of R16, turn without ch
sk1, 4sc, sl st in the next st of R16
R17. 1sc, 3inc, 5sc (12)
R18-19 (2R). 12sc (12)
Change color to orange
R20-21 (2R). 12sc (12)
sl st and FO
LEGS x2
SKIN COLOR
R1. 5sc in MR (5)
R2. 5inc (10)
R3. 3inc, 1inc of 3, 1sc, 1inc of 3, 3inc, 1sc (20)
R4. 7sc, 3dec, 7sc (17)
R5. 7sc, 2dec, 6sc (15)
Start stuffing and keep on as you go
Change color to brown
R6-10 (5R). 15sc (15)
Cut yarn for the first leg, make a second one but this time don’t cut the yarn and keep on working
BODY
R11. 5sc, ch2, join the first leg with a sc in the 13th st (this may vary depending on the way you work and the yarn and hook you use, just make sure the feet are in the same direction), 14sc, 2sc on the ch, 10sc (34)
R12. 34sc (34)
R13. 14sc, 1inc, 16sc, 1inc, 2sc (36)
R14-15. 36sc (36)
R16. 15sc, 1inc, 17sc, 1inc, 2sc (38)
R17-18. 38sc (38)
Change color to orange
R19. 38sc BLO (38)
R20. 16sc, 1inc, 18sc, 1inc, 2sc (40)
R21-28 (8R). 40sc (40)
In the next R we’re adding the green color for
the shirt, it has to be in the center, so make sure
to change it’s position in the pattern if you need
to.
R29. (2sc, 1dec) x6, change color to green, 2sc, 1dec, change color to orange, (2sc, 1dec)x3 (30)
In the next R we’re joining the arms. Depending on the way you work and yarn and hook you use you might have to fix the number of sc in order to join the arms on the side.
R30. 11sc, taking both sts of the arm and of the body join one arm with 3sc, 3sc, change color to green, 5sc, change color to orange, 5sc, join the other arm with 3sc taking both the sc of the arm and of the body as you did before (30)
R31. (4sc, 1dec) x4, change color to green, 4sc, change color to orange, 1dec, (4sc, 1dec) x2 (35)
R32. (3sc, 1dec) x3, 3sc, change color to skin, 1dec, 3sc, 1dec, 1sc, change color to orange, 2sc, 1dec, 3sc, 1dec (28)
Stuff body and finish stuffing the arms.
R33. (2sc, 1dec) x3, 2sc, change color to skin, (1dec, 2sc) x2, change color to orange, 1dec, 2sc, 1dec (21)
R34. change color to skin, (1sc, 1dec) x7 (14)
R35. 14sc (14)
HEAD
R36. 14inc (28)
In the next rounds we’re going to increase only in the front, so make sure to fix the number of sc if you need to. Dividing the head in two, you have 14sc in the front and 14 in the back, You can use st markers to mark those points at the sides of the head.
R37. 13sc, (1sc, 1inc) x7, 1sc (35)
R38. 35sc (35)
R39. 13sc, (1sc, 1inc, 1sc) x7, 1sc (42)
R40-42 (3R). 42sc (42)
R43. 13sc, (1dec, 2sc) x6, 1dec, 1sc, 1dec (34)
R44. 14sc, 1dec, 13sc, 1dec, 1sc (30)
R45-51 (7R). 30sc (30)
Stop to place safety eyes between R45-46, 8 sts apart.
Embroider eyes as shown in pictures
EYEBROWS PATTERN, BROWN X2
R1, ch5 (4)
R2. 4sc (4)
FO, leave a long end for sewing later
Embroider the nose between the eyes back and forth many times, it’s 2sts wide.
Keep working on the head
R52. (3sc, 1dec) x6 (24)
Start stuffing
R53. (1sc, 1dec, 1sc) x6 (18)
R54. (1sc, 1dec) x6 (12)
R55. 6dec (6)
FO and close the little hole Weave in ends.
Sew the eyebrows on
DUNGAREES
Join brown yarn on the back in the FLO
left from R18
R1-4. 38sc (38)
Start stuffing
R5. 13sc, ch 1 and turn your work
R6. 12sc, ch 1 and turn (12)
The twelve sc must end up in the center of the back, so change the number of sc if you need to
R7-10. 12sc, ch 1 turn (12)
R11. 12 sc (12)
FO
Repeat from R5 to R11 in the front side to make another one.
SUSPENDER
To make the suspender join yarn in the right corner of the front side, ch12, 1sl st to the left corner of the back side, 12sc on the ch.
Fold the other side of the dungarees and secure it, in the front and the back
EARS x2
SKIN COLOR
Crochet in the MR
3hdc, 2sc, 3hdc (8)
Leave a long end for sewing them 3sts away from the eyes
HAIR
BROWN
BASE
R1. 6sc in MR (6)
R2. 6inc (12)
R3. (1inc, 1sc) x6 (18)
R4. (1sc, 1inc, 1sc) x6 (24)
R5. (3sc, 1inc) x6 (30)
R6. 30sc (30)
From now on we start working in rows, so ch1 and turn at the end of each row
R7-8. 18sc (18)
R9. 16sc, 1dec (17)
R10. 15sc, 1dec (16)
R11. 14sc, 1dec (15)
R12-15 (4R). 15sc (15)
R16. 1dec, 11sc, 1dec (13)
FO
To make the central hair we’re joining brown yarn in the center of the base and work:
3sc, ch1, turn
sk1, 1dec
FO and leave a long end for sewing if you’re not using glue
BROWN
SIDE STRANDS
Ch10, 9sc on the ch
FO and leave a long end for sewing
Sew or glue the base on the head
You can now sew the eyebrows
SPIKY HAIR SIDES x2
(ch4, 3sc on the ch) x2
FO and leave a long end for sewing on the side strands
SPIKY HAIR FIRST LINE
Strand1. ch5, 4sc (4)
Strand2. ch6, 3sc, 2hdc (5)
Strand3. ch7, 2sc, 2hdc, 2dc (6)
FO, leave a long end for sewing
SPIKY HAIR SECOND LINE
Strand1-8. ch6, 3sc 2hdc (5)
FO and leave a long end for sewing
SPIKY HAIR THIRD LINE
Strand1-5. ch5, 1sc, 2hdc, 1dc (4)
FO and leave a long end for sewing
Congratulations!
Unleash Your Imagination with New Crochet Wreck it Ralph Doll Patterns
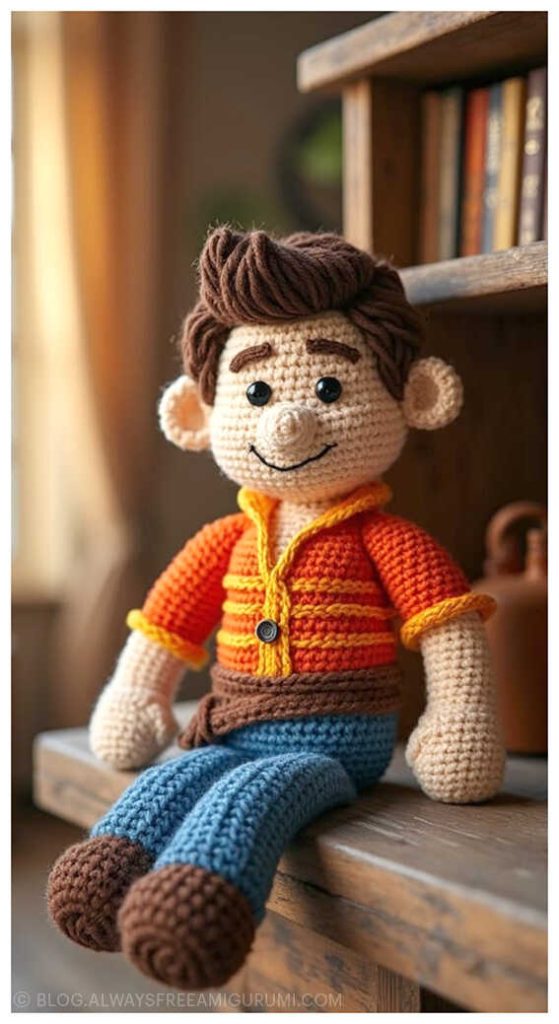
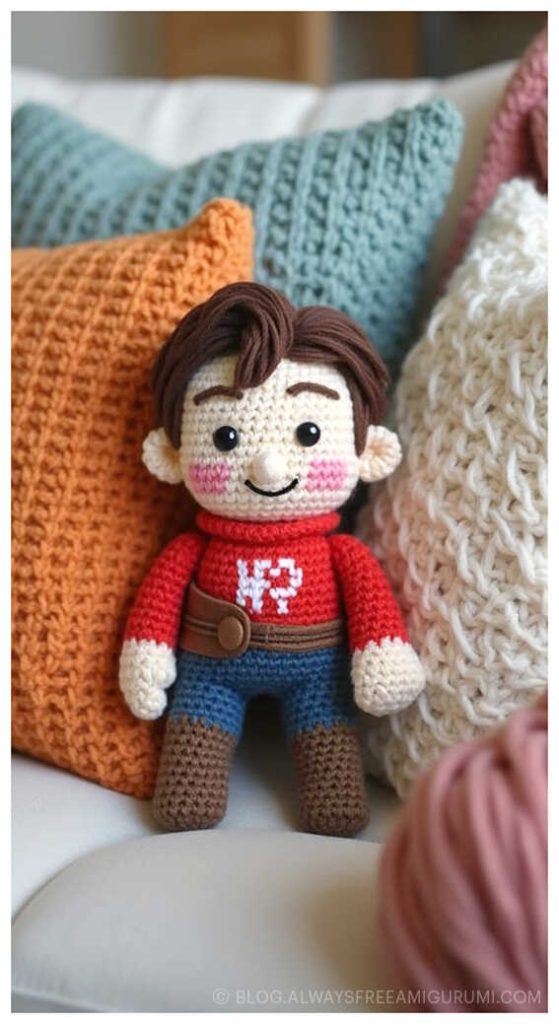
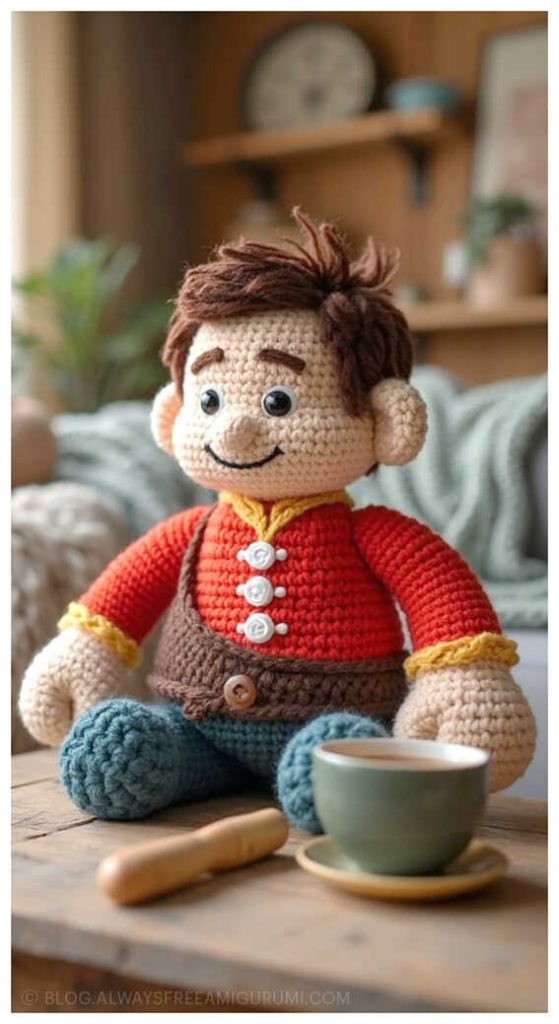
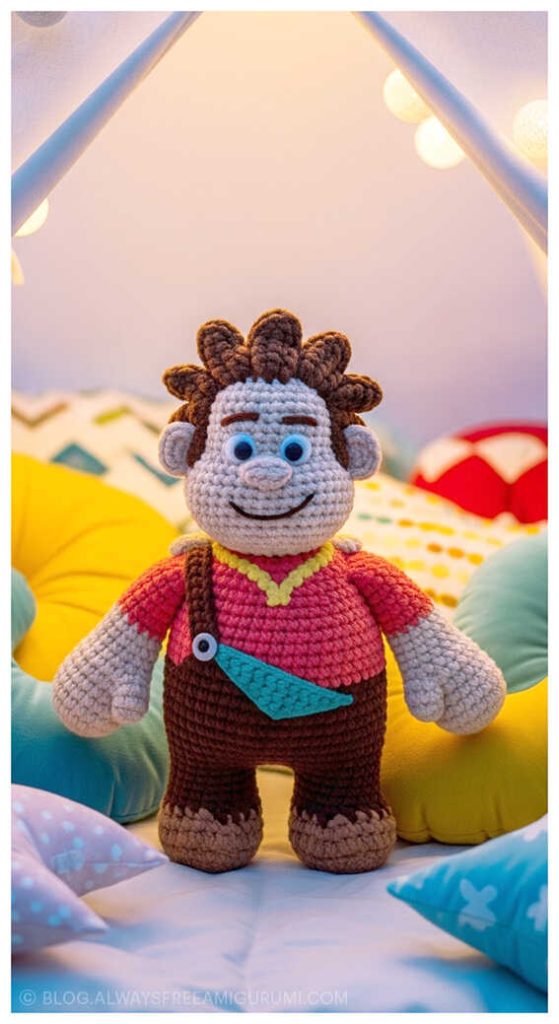
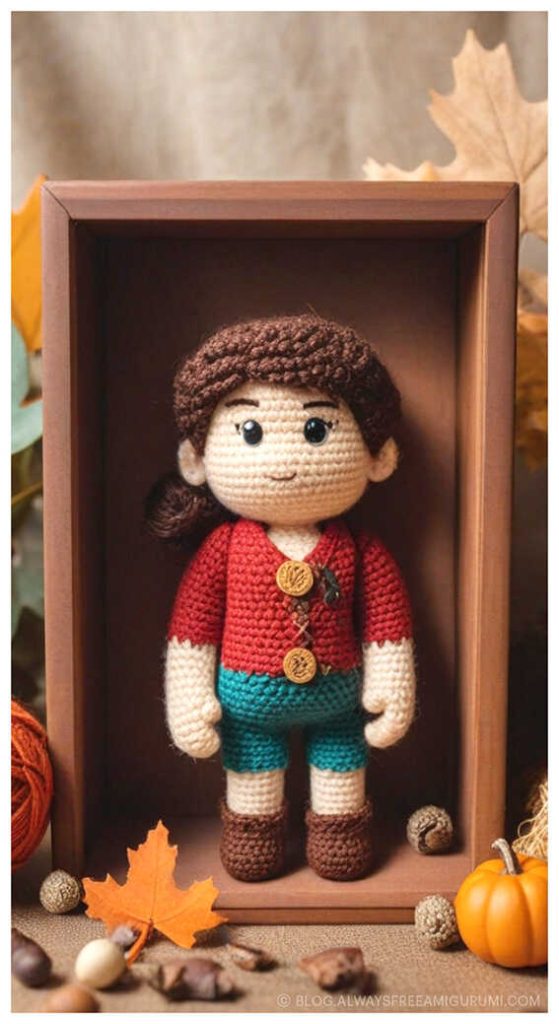

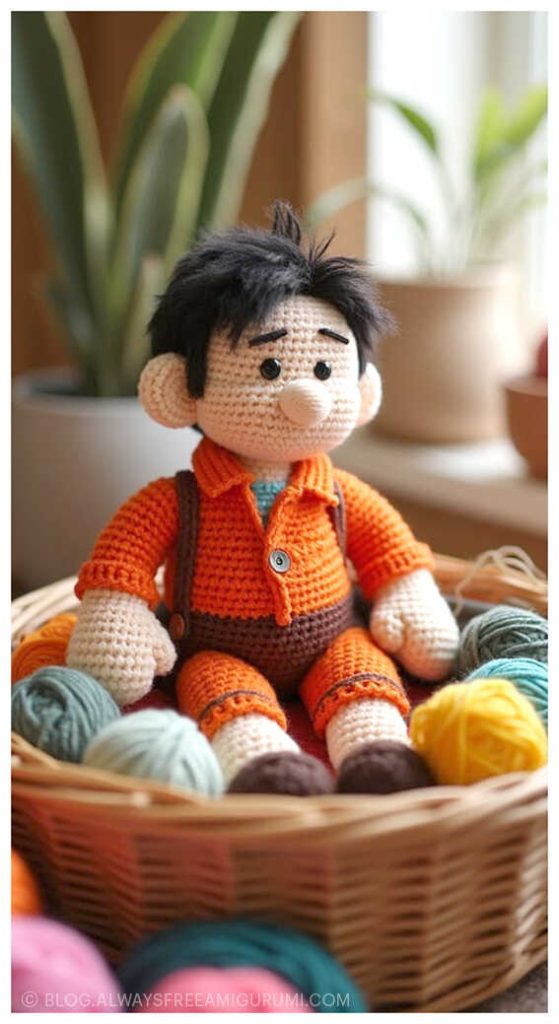
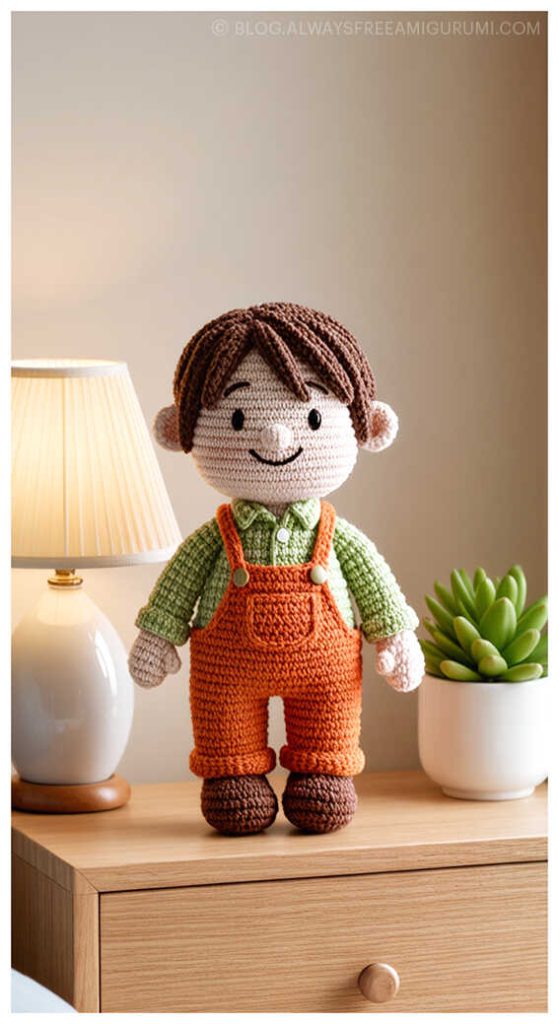
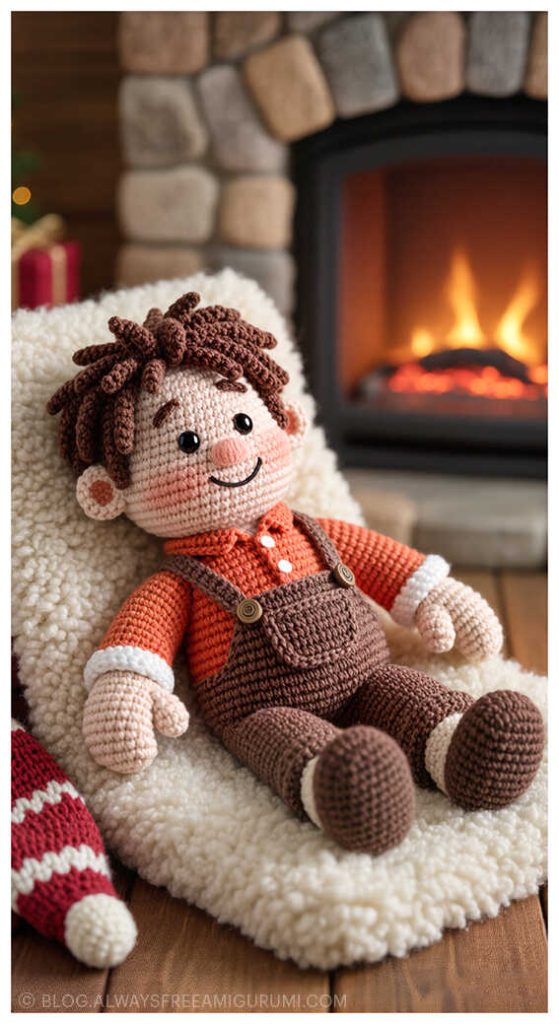
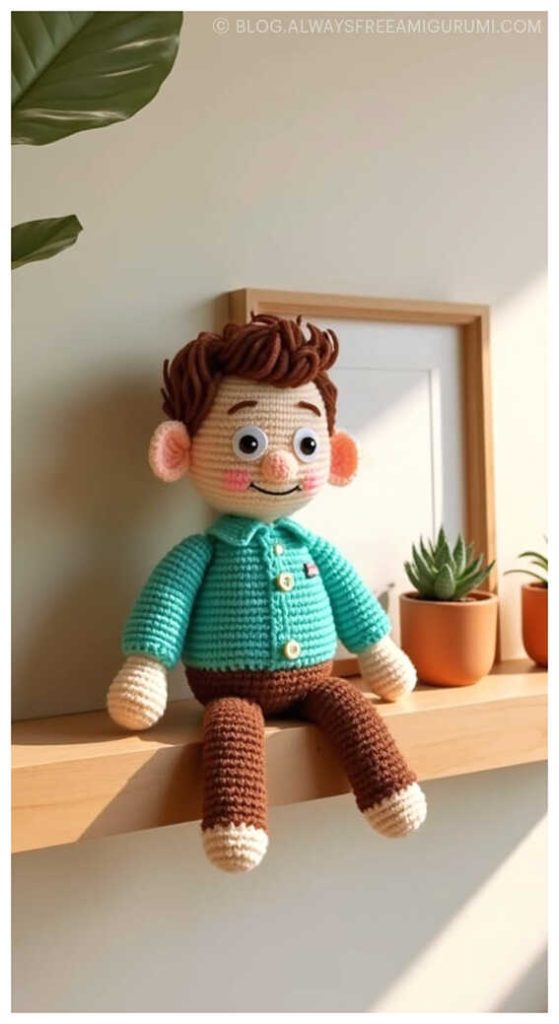
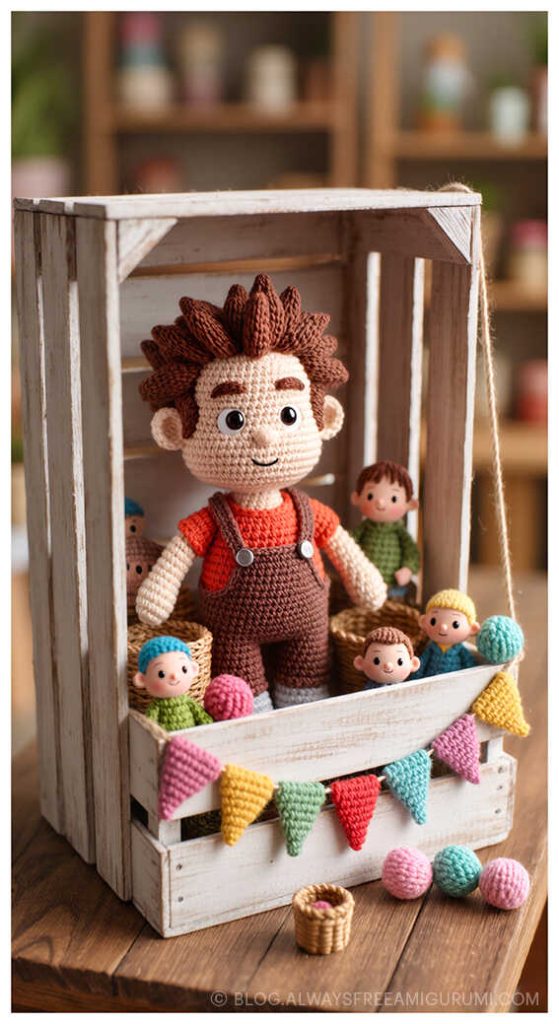
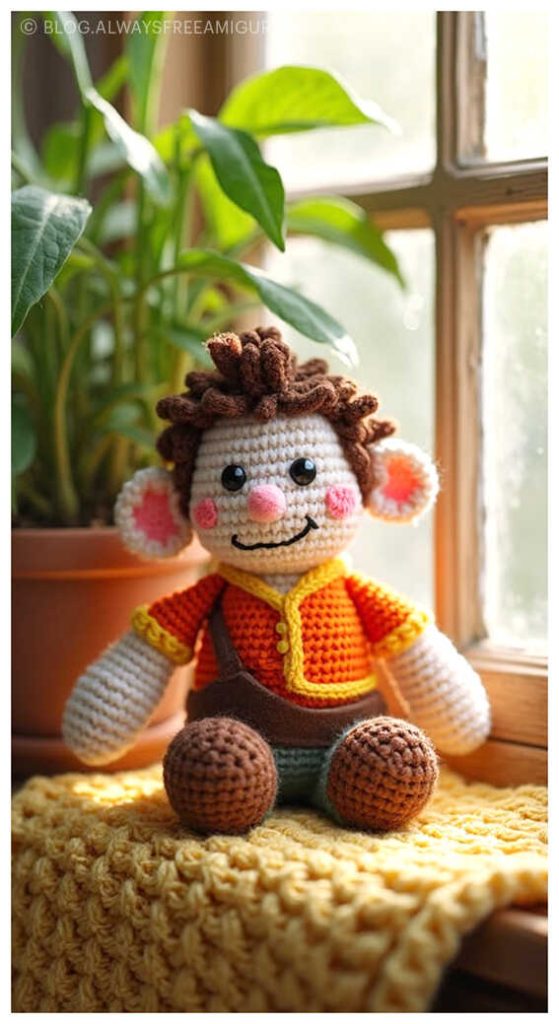
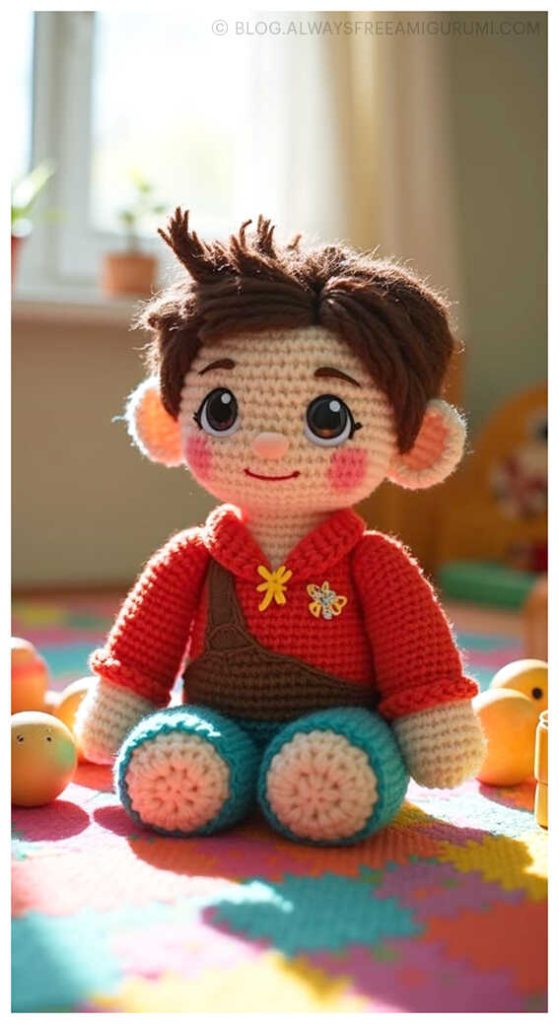
From Yarn to Adorable: Your Amigurumi Adventure Awaits
Discover step-by-step tutorials for all your favorite amigurumi animals – from adorable amigurumi cats, amigurumi dogs, and bunnies to majestic amigurumi unicorns, amigurumi elephants, and amigurumi giraffes. Our pattern library includes amigurumi bears, amigurumi foxes, amigurumi pandas, amigurumi monkeys, amigurumi lambs, amigurumi pigs, amigurumi birds, amigurumi penguins, amigurumi llamas, amigurumi hippos, amigurumi dinosaurs, plus charming amigurumi amigurumi dolls and amigurumi clowns.
Each amigurumi pattern features clear instructions and inspiring example images to guide your crochet journey. Join our community (Facebook group, Facebook page) of makers, share your creations, and bring these delightful handmade toys to life!
Start crocheting your favorite amigurumi animals today.