
Tiny Christmas Tree Amigurumi – Free Crochet Pattern
Designer: João Pedro Basques
Instagram: @amigurumi.tiny
Ravelry Store: tiny-amigurumis
Calling all crochet lovers — today’s pattern is extra adorable…
Bring this adorable 5 cm festive friend to life with a step by step, beginner friendly guide designed by Amigurumi Tiny. In this tutorial, you’ll naturally find all the essential materials woven into the text—your 1.25 mm crochet hook, yarn that matches your hook size, embroidery thread, a tapestry or sewing needle, pins, stuffing, eyes of your choice, and scissors—so you can begin crocheting with ease. This tiny project also makes a wonderful Christmas gift, adding a handmade touch to your holiday season. And at the end of the pattern you’ll also find beautiful amigurumi Christmas Tree ideas for extra inspiration. Special thanks to the designer, João Pedro Basques.
This compact and festive pattern is crafted to help you create a tiny Christmas tree that’s perfect for ornaments, mini holiday displays, or thoughtful handmade presents. The instructions guide you smoothly, supporting beginners while offering a quick, enjoyable project for more experienced crocheters as well. Enjoy the creative process and explore all the charming variations included with the pattern.
Abbreviations
Magic ring
Chain = ch
Single crochet = sc
Increase = inc
Decrease = dec
Half double crochet = hdc
Slip stitch = slst
Stitches = sts
Materials
•1.25mm crochet hook
•Yarn according to your crochet hook.
•Embroidery thread
•Tapestry needle or sewing needle
•Pins
•Stuffing
•Eyes of your choice
•Scissors
FREE TINY CHRISTMAS TREE AMIGURUMI – CROCHET PATTERN INSTRUCTIONS
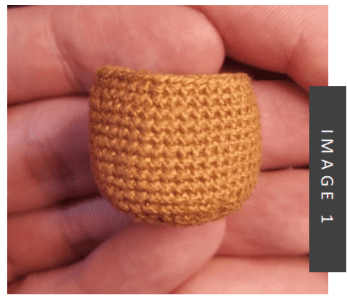
Stem
Rnd 1. 6sc in magic ring (6sts)
Rnd 2. 6inc (12sts)
Rnd 3. (1inc, 1sc) x6 (18sts)
Rnd 4. (1inc, 2sc) x6 (24sts)
Rnd 5. (1inc, 3sc) x6 (30sts)
Rnd 6. (1inc, 4sc) x6 (36sts)
Rnd 7. (1inc, 5sc) x6 (42sts)
Rnd 8-15. 42sc around (42sts)
Rnd 16. (1dec, 5sc) x6 (36sts)
Rnd 17. 36sc around (36sts)
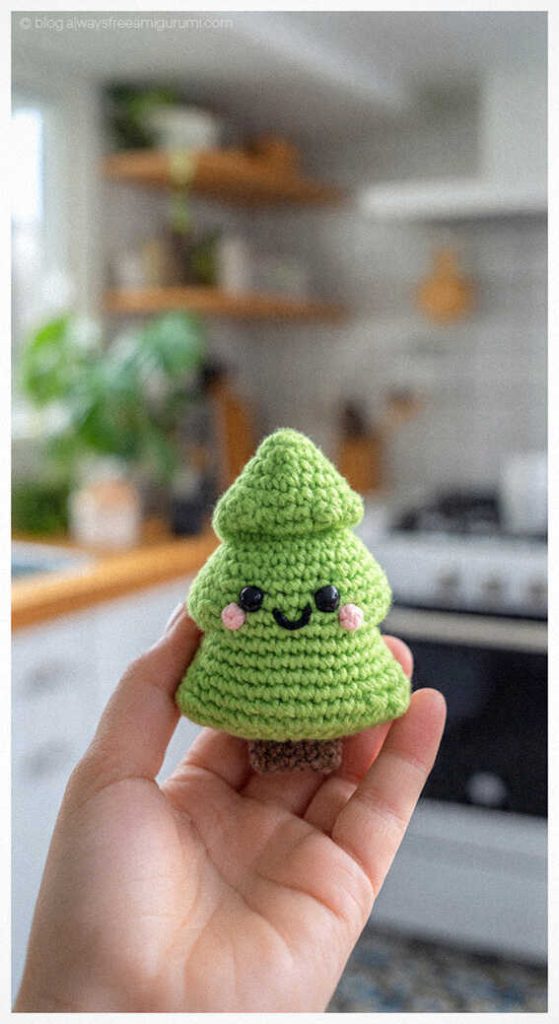
If you’re going to put safety eyes, place them now between rounds 12 and 13, with about 6 stitches of distance between them.
Fasten off! [Image 1]
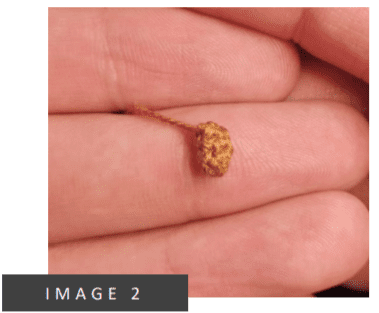
Arms and Legs
Let’s make 4!
Rnd 1. 6sc in magic ring (6sts)
Rnd 2-3. 6sc around (6sts)
Fasten off and leave a long tail for sewing! [Image 2]
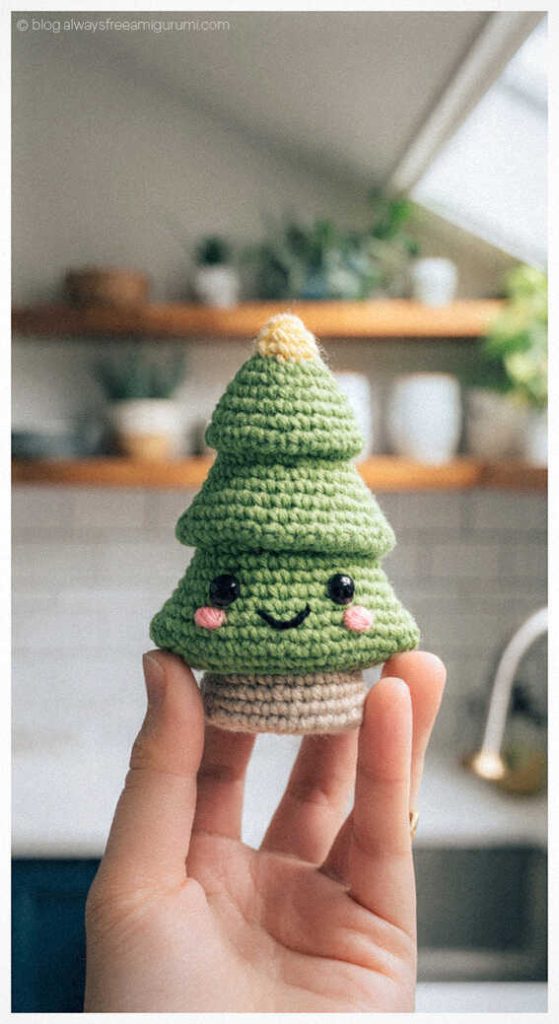
Tree
Part 1
Rnd 1. 6sc in magic ring (6sts)
Rnd 2. (1inc, 1sc) x3 (9sts)
Rnd 3. (1inc, 2sc) x3 (12sts)
Rnd 4. (1inc, 3sc) x3 (15sts)
Rnd 5. (1inc, 4sc) x3 (18sts)
Rnd 6. (1inc, 5sc) x3 (21sts)
Rnd 7. (1inc, 6sc) x3 (24sts)
Rnd 8. (1inc, 7sc) x3 (27sts)
Rnd 9. (1inc, 8sc) x3 (30sts)
Rnd 10. (1inc, 9sc) x3 (33sts)
Rnd 11. (1inc, 10sc) x3 (36sts)
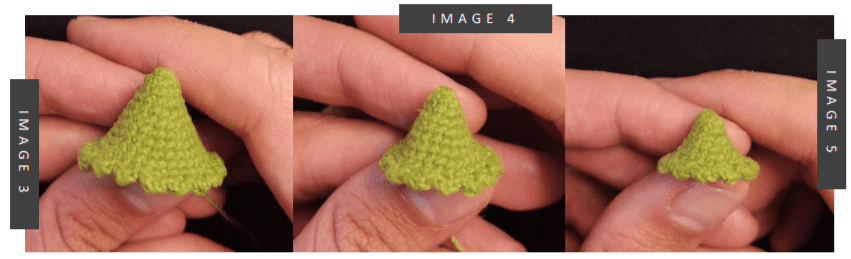
Rnd 12. ([1sc, 1hdc, 1sc together in the same stitch] 1slst) x18 (72sts) [Chart 1] [Image 3]
Part 2
Rnd 1. 6sc in magic ring (6sts)
Rnd 2. (1inc, 1sc) x3 (9sts)
Rnd 3. (1inc, 2sc) x3 (12sts)
Rnd 4. (1inc, 3sc) x3 (15sts)
Rnd 5. (1inc, 4sc) x3 (18sts)
Rnd 6. (1inc, 5sc) x3 (21sts)
Rnd 7. (1inc, 6sc) x3 (24sts)
Rnd 8. (1inc, 7sc) x3 (27sts)
Rnd 9. (1inc, 8sc) x3 (30sts)
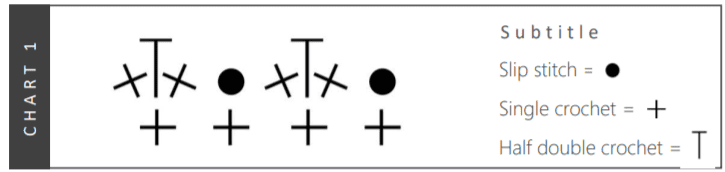
Rnd 10. ([1sc, 1hdc, 1sc together in the same stitch] 1slst) x15 (60sts) [Chart 1].
Fasten off and leave a long tail [Image.4].
Part 3
Rnd 1. 6sc in magic ring (6sts)
Rnd 2. (1inc, 1sc) x3 (9sts)
Rnd 3. (1inc, 2sc) x3 (12sts)
Rnd 4. (1inc, 3sc) x3 (15sts)
Rnd 5. (1inc, 4sc) x3 (18sts)
Rnd 6. (1inc, 5sc) x3 (21sts)
Rnd 7. (1inc, 6sc) x3 (24sts)
Rnd 8. ([1sc, 1hdc, 1sc together in the same stitch] 1slst) x12 (48sts) [Chart 1]
Fasten off and leave a long tail [Image.5].
Ornaments
Balls
Let’s make 8!
Rnd 1. 5sc in magic ring (5sts)
Rnd 2. 5sc around (5sts)
Close the stitches, fasten off and leave a long tail! [Image 5]
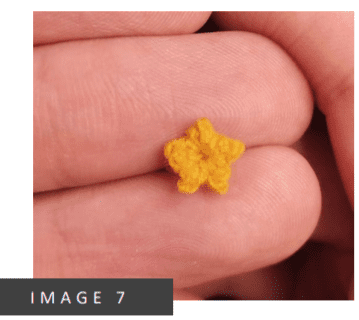
Star
Rnd 1. In the magic ring (1ch, 1sc, 2ch, 1sc, 1ch, 1slst) x5. [Chart 2]
Close the magic ring.
Fasten off and leave a long tail to sewing. [Image 7]

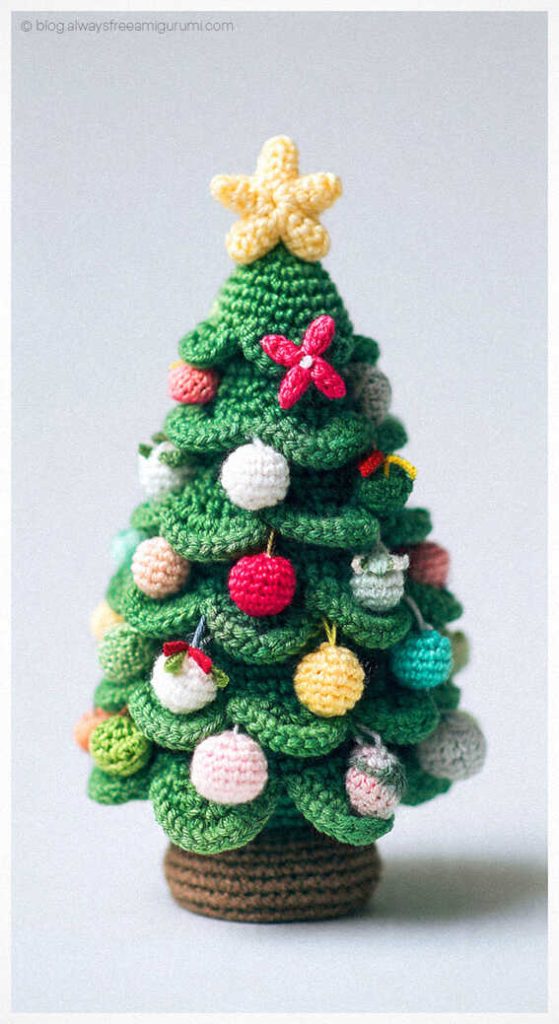
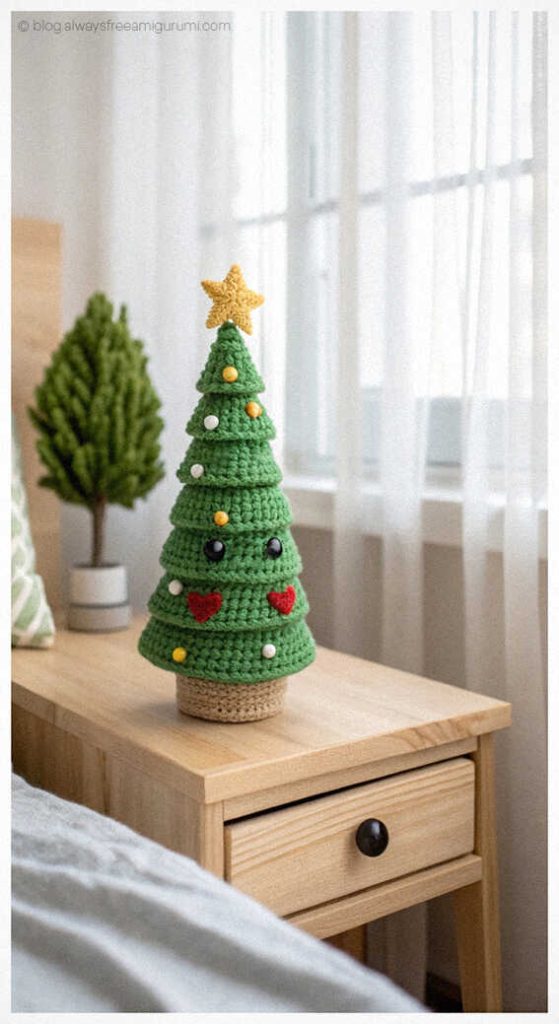
Assembling
Sew arms between rounds 11 and 12 with about 17sts of distance between them. Position the legs between rounds 5 and 6 with about 7sts between them [Image 8]. Stuff the stem and the part 1 of the tree and sew it [Image 9]. Let’s sew part 2 over part 1 of the tree. In the end, we’re going to sew part 3 over part 2. Fasten off and hide the yarn.

Put the star in the top of part 3 of the tree and sew it [Image 10]. Spread the balls around the tree randomly [Image 11]. Fasten off and hide the yarn. Use your imagination to make the embroidery of the face!
That’s it, you made it!
You may also like Christmas Deer Amigurumi Crochet Free Pattern
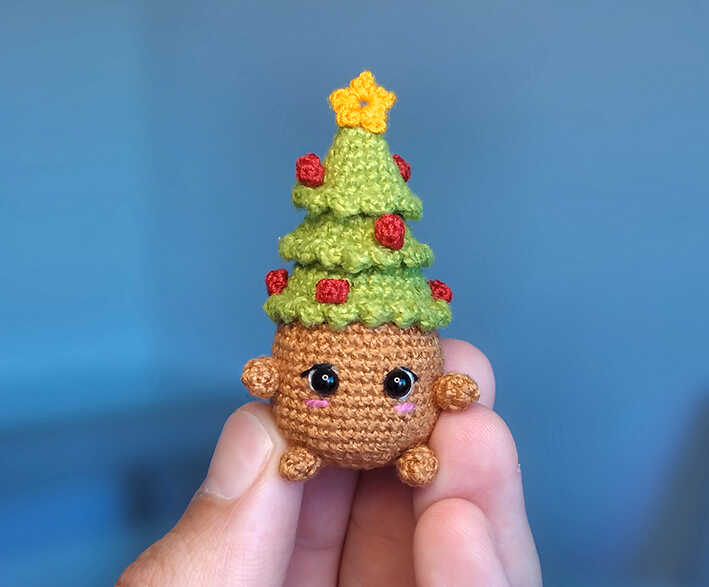
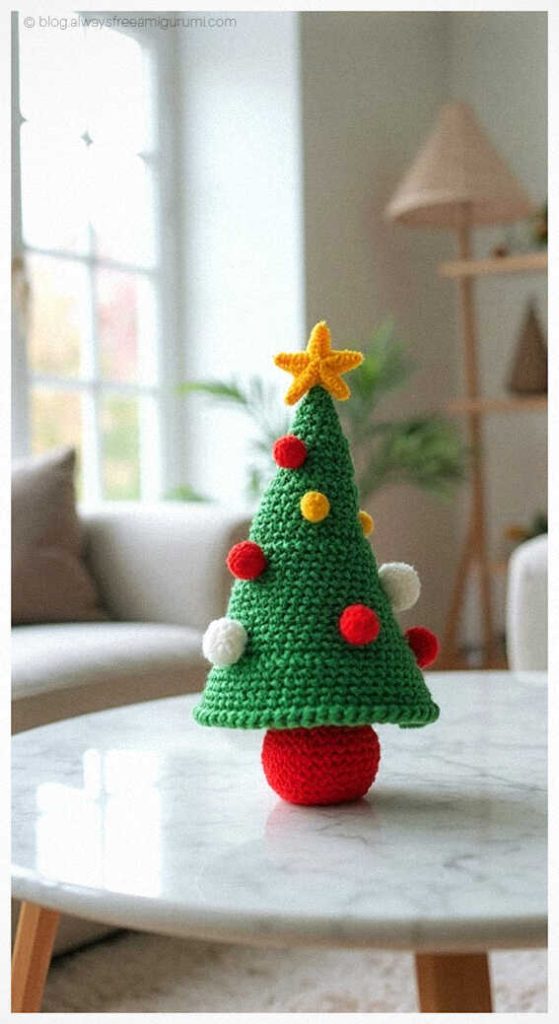
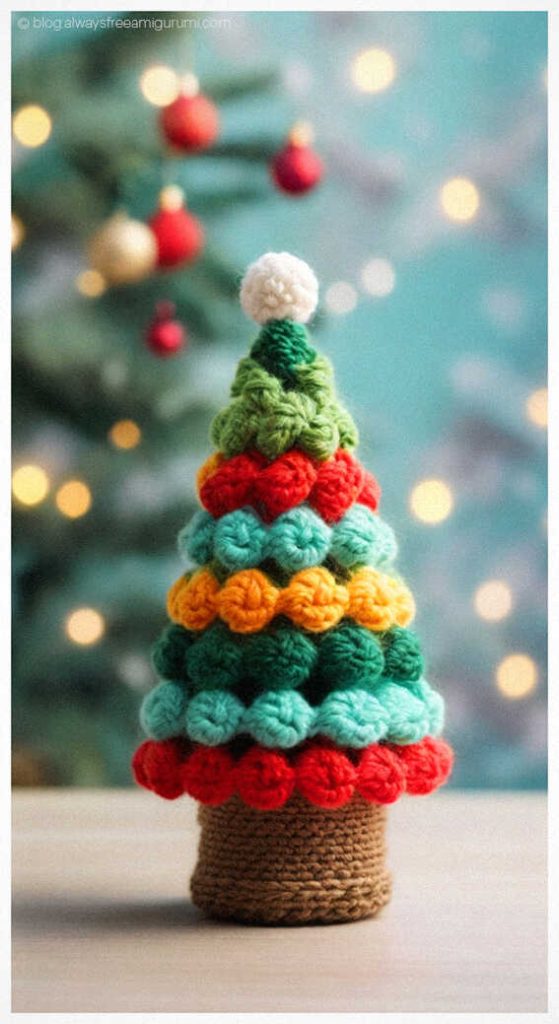
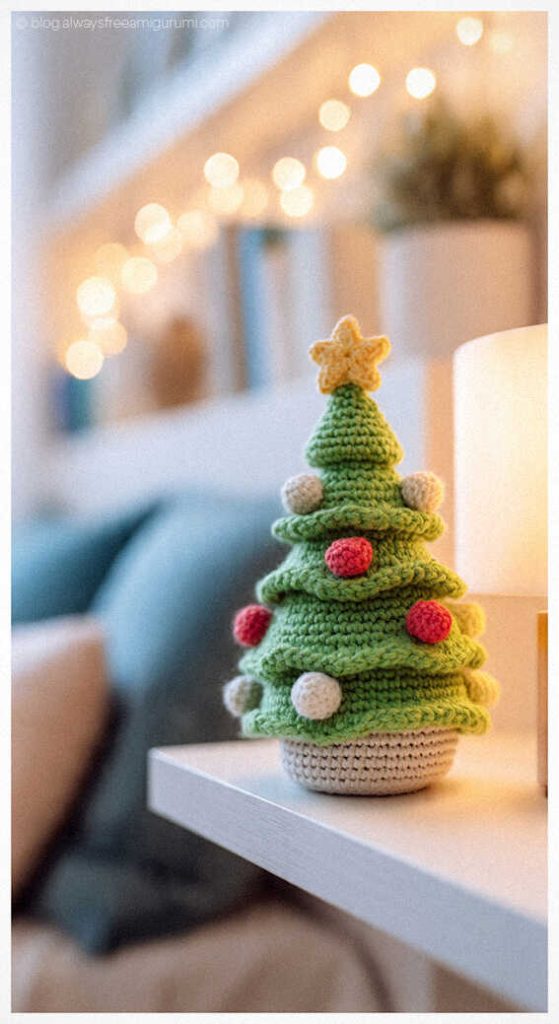
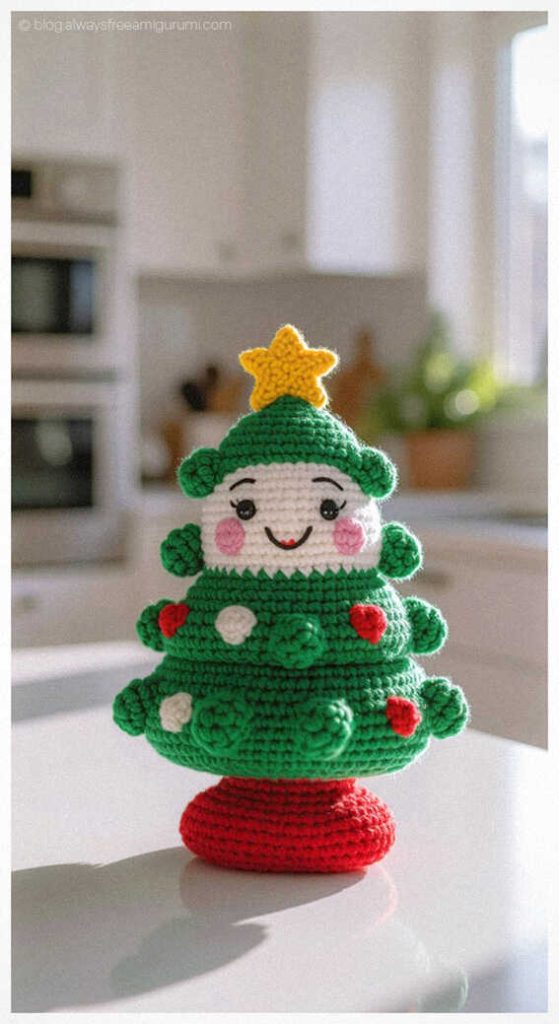
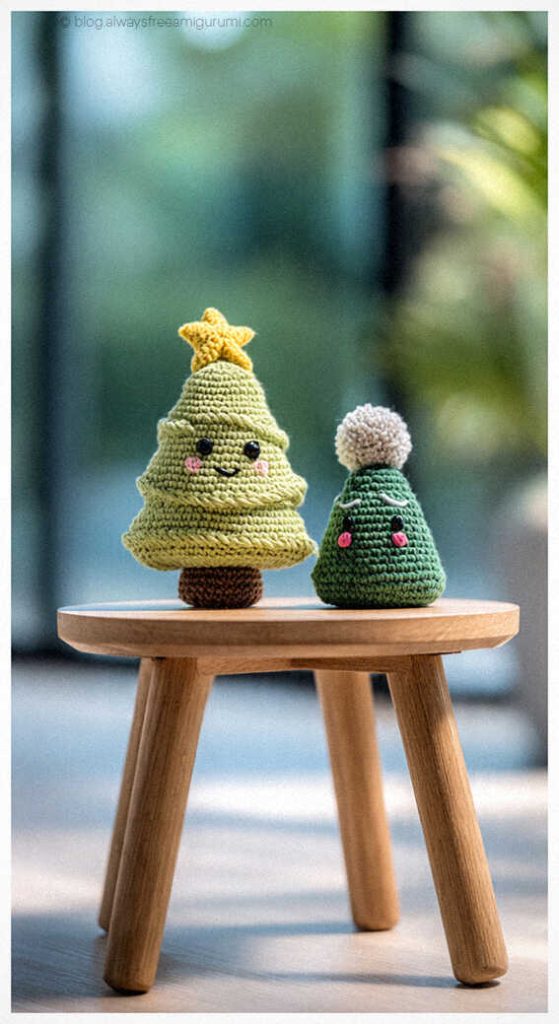
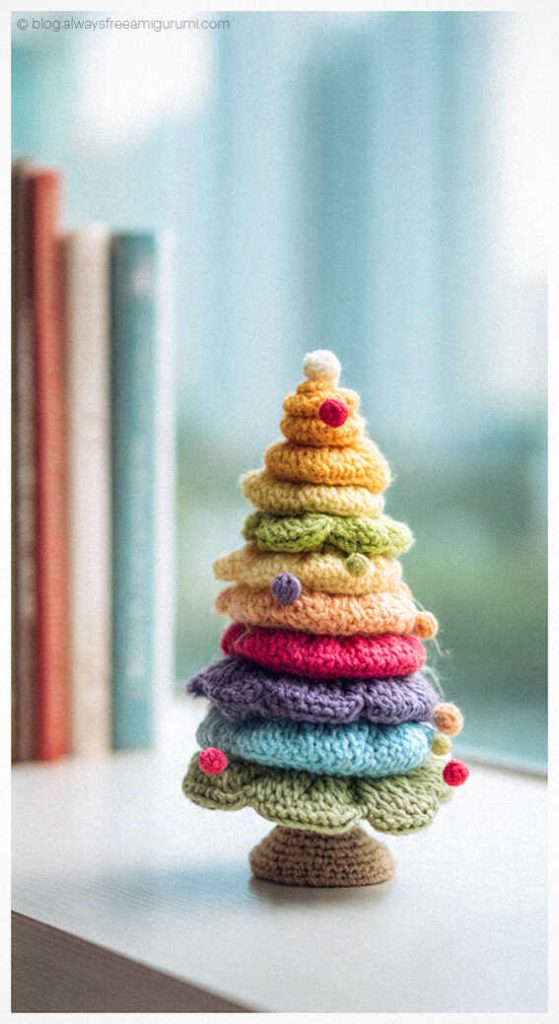
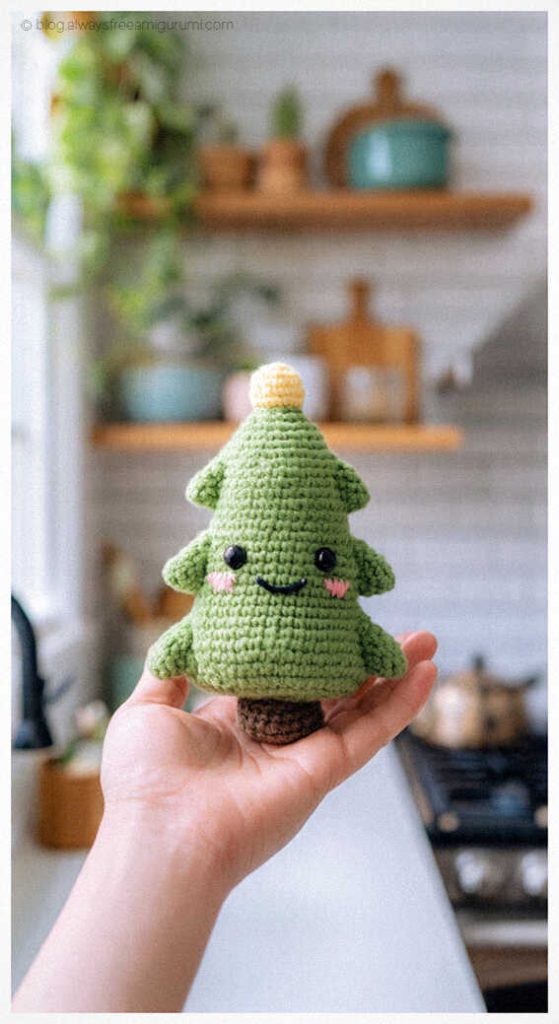
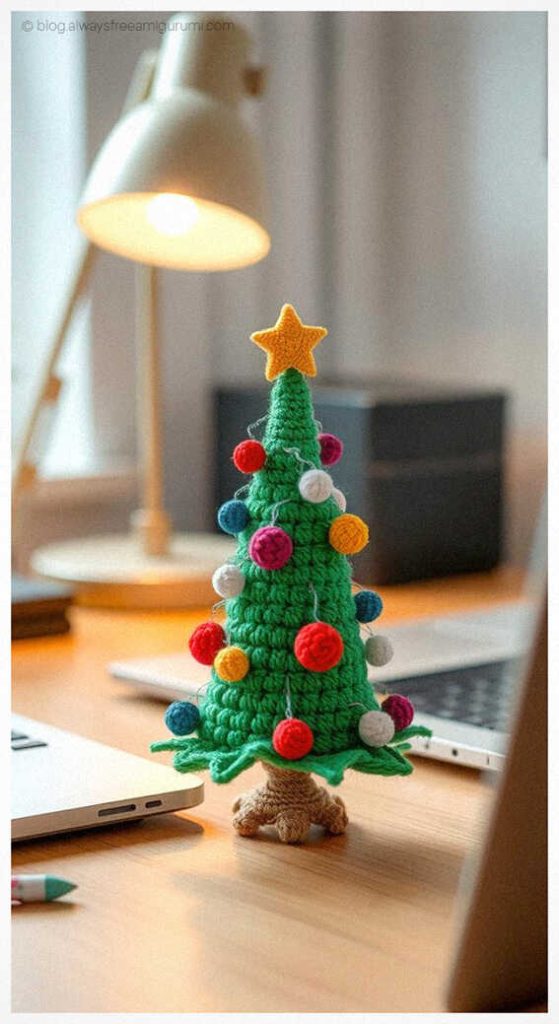
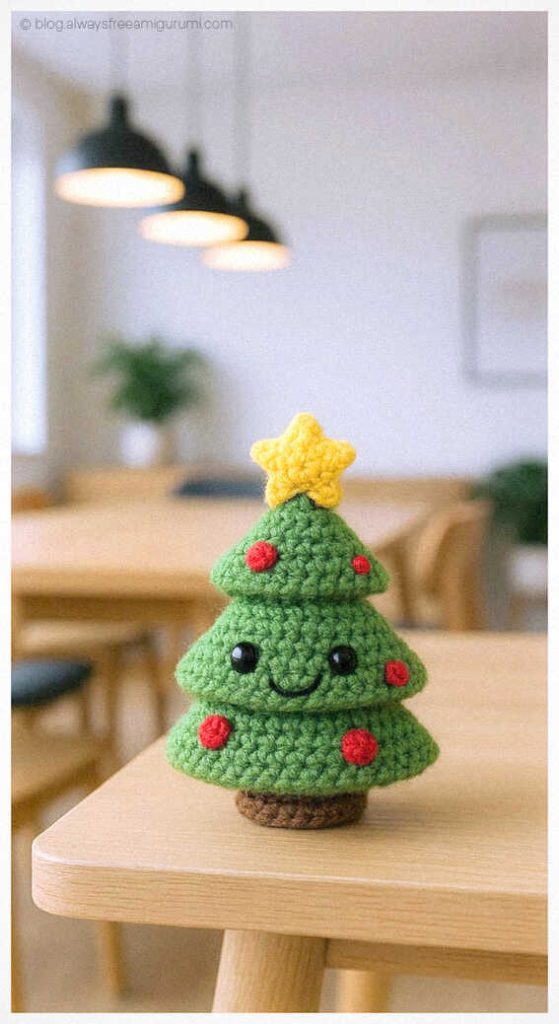
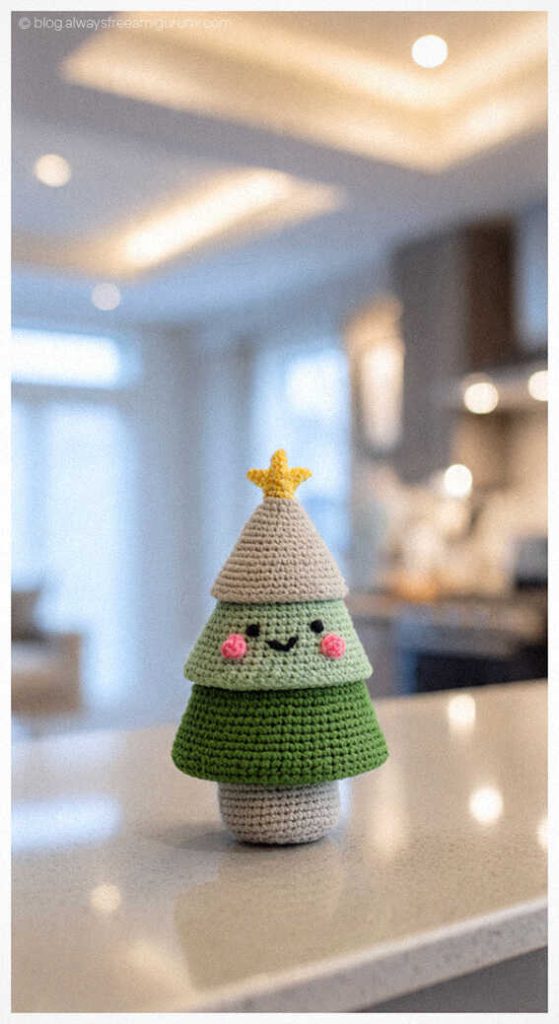
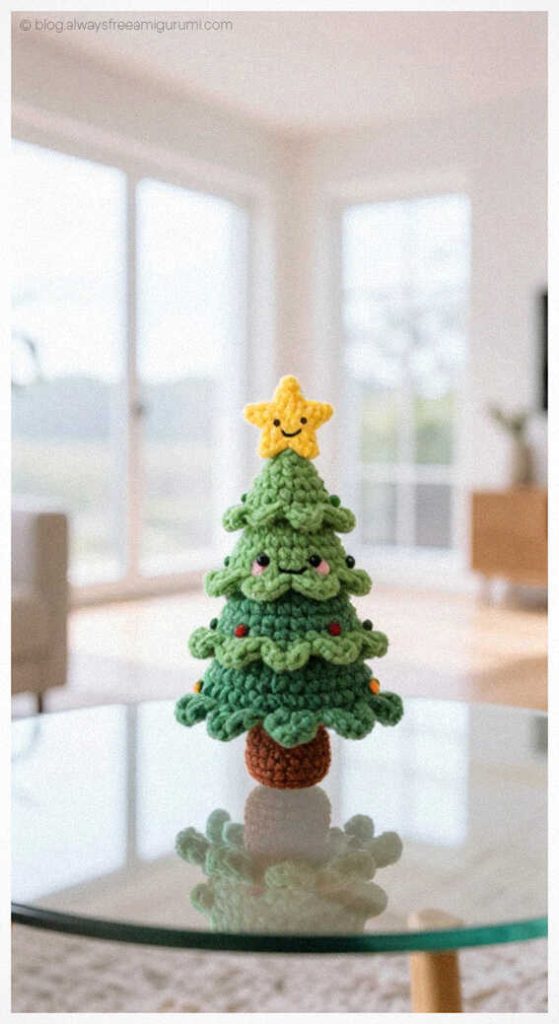
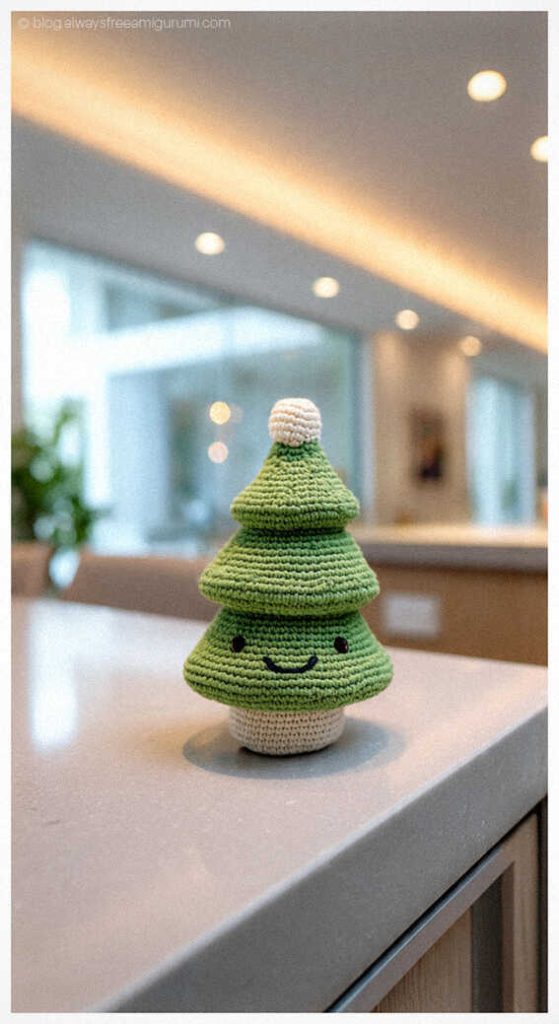
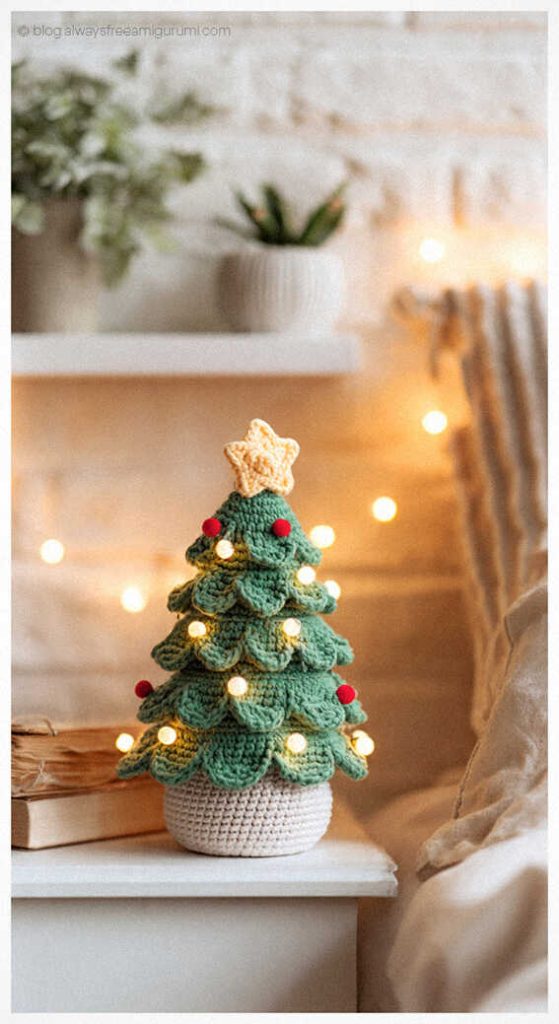
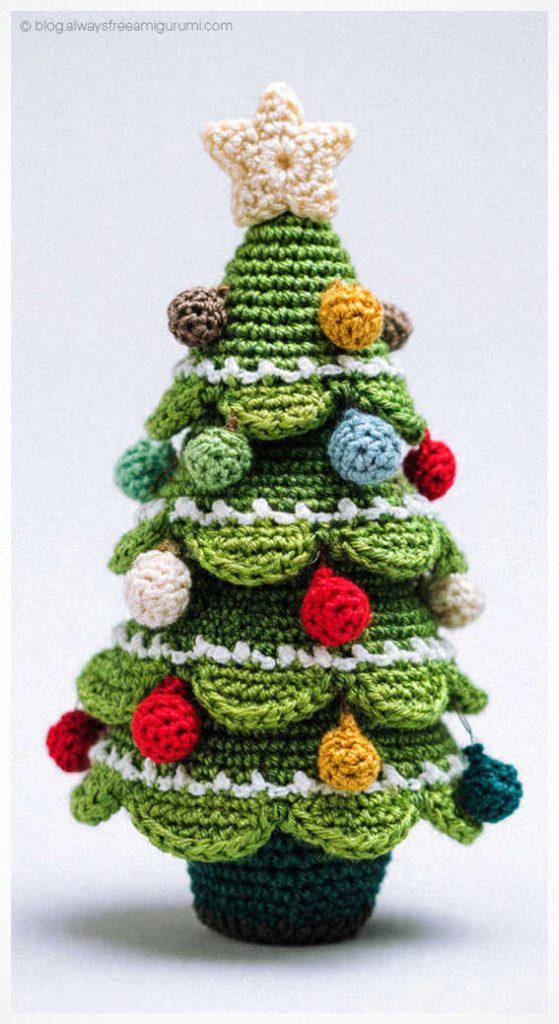
Magical amigurumi Christmas Tree ideas:
From Yarn to Adorable: Your Amigurumi Adventure Awaits
Discover step-by-step tutorials for all your favorite amigurumi animals – from adorable amigurumi cats, amigurumi dogs, and bunnies to majestic amigurumi unicorns, amigurumi elephants, and amigurumi giraffes. Our pattern library includes amigurumi bears, amigurumi foxes, amigurumi pandas, amigurumi monkeys, amigurumi lambs, amigurumi pigs, amigurumi birds, amigurumi penguins, amigurumi llamas, amigurumi hippos, amigurumi dinosaurs, plus charming amigurumi amigurumi dolls and amigurumi clowns.
Each amigurumi pattern features clear instructions and inspiring example images to guide your crochet journey. Join our community (Facebook group, Facebook page) of makers, share your creations, and bring these delightful handmade toys to life!
Start crocheting your favorite amigurumi animals today.
Keywords: free amigurumi patterns, crochet toys, amigurumi animals, beginner amigurumi, amigurumi dolls, crochet free patterns, crochet patterns, easy crochet