
Little Rhino Amigurumi Free Crochet Pattern
Designer: Min Handmade
Instagram: @translate_lami
Calling all crochet lovers — today’s pattern is extra adorable…
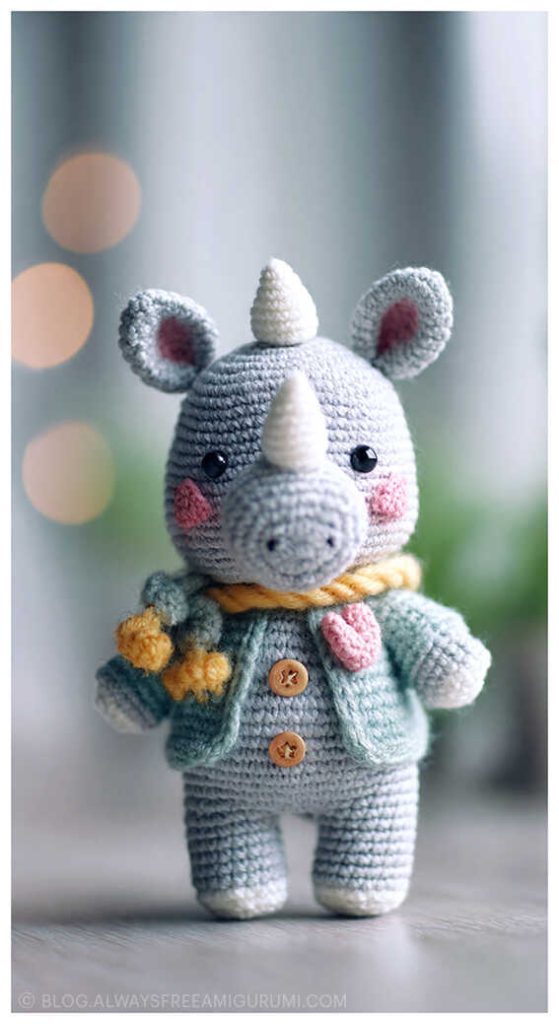
Bring a touch of sweet safari charm to your handmade collection with this Little Rhino Amigurumi Free Crochet Pattern, beautifully designed by Min Handmade. This adorable project allows you to crochet a little girl rhino wearing a cute dress and a tiny flower, perfect for gifting, decorating nurseries, or adding to your amigurumi doll lineup. The finished toy measures approximately 10 cm, making it a quick and satisfying step-by-step, beginner-friendly project suitable for all skill levels. You can use any yarn with a suitable crochet hook, which makes this pattern flexible and easy to customize. Essential materials include yarn, crochet hook, safety eyes, toy stuffing, felt for cheeks, a sewing needle, and scissors—everything you need to bring this gentle rhino character to life.
We extend our warm thanks to Min Handmade for sharing this delightful free pattern with the crochet community. As you follow the instructions, you’ll enjoy a smooth and relaxing crafting experience while creating a miniature rhino full of personality. And don’t forget—at the end of the pattern, you’ll also find wonderful amigurumi rhino ideas to inspire even more creativity for your next projects. Perfect for blogs, Pinterest boards, and crochet lovers everywhere, this charming design is sure to be a favorite in your amigurumi collection.

Materials and Tools
Yarn
Crochet hook
Safety eyes
Toy stuffing
A small piece of felt for cheeks
Needle for sewing parts
Scissors
Abbreviations
AM — amigurumi magic ring
ch — chain
sl st — slip stitch
sc — single crochet
dc — double crochet
hdc — half double crochet
inc — increase
dec — decrease
(…) x n — repeat the sequence n times
AMIGURUMI RHINO FREE PATTERN
Arms (make 2)
Using grey yarn.
R1: 7 sc in AM
R2–R8: 7 sc
Cut the yarn, fasten off. Stuff the arms lightly.
Head
Using grey yarn.
R1: 7 sc in AM
R2: 7 inc (14)
R3: (sc, inc) x 7 (21)
R4: 21 sc
R5: 10 sc, inc, 10 sc (22)
R6: 11 sc, inc, 10 sc (23)
R7: 11 sc, inc, 11 sc (24)
R8: 24 sc
R9: 3 inc, 18 sc, 3 inc (30)
R10: (sc, inc) x 3, 18 sc, (sc, inc) x 3 (36)
R11: 36 sc
R12: 2 sc, inc, (5 sc, inc) x 5, 3 sc (42)
R13: 42 sc
R14: (6 sc, inc) x 6 (48)
R15: 48 sc
R16: (7 sc, inc) x 6 (54)
R17–R22: 54 sc
R23: (7 sc, dec) x 6 (48)
R24: 3 sc, dec, (6 sc, dec) x 5, 3 sc (42)
R25: (5 sc, dec) x 6 (36)
R26: 2 sc, dec, (4 sc, dec) x 5, 2 sc (30)
R27: (3 sc, dec) x 6 (24)
R28: sc, dec, (2 sc, dec) x 5, sc (18)
R29: (sc, dec) x 6 (12)
R30: 6 dec (6)
Cut the yarn, fasten off.
Legs (make 2)
Using grey yarn.
R1: 6 sc in AM
R2: 6 inc (12)
R3–R5: 12 sc
Cut the yarn and fasten off on the first leg only. Do not cut the yarn on the second leg; continue to crochet the body from here.
Body
Using grey and pink yarn. Continue from the leg.
R1: ch 4, sl st into the first leg, 2 sc, inc, 6 sc, inc, 2 sc, 4 sc (along the chain), 2 sc, inc, 6 sc, inc, 2 sc, 4 sc (along the chain) (36)
R2: (5 sc, inc) x 6 (42)
R3: 42 sc
R4: 42 sc
Switch to pink yarn:
R5: 42 sc
R6: working in back loops only, 42 sc
R7: (5 sc, dec) x 6 (36)
R8–R9: 36 sc
R10: (4 sc, dec) x 6 (30)
R11: 30 sc
R12: 30 sc
R13: (3 sc, dec) x 6 (24)
R14: 24 sc
R15.1 (pink): working in back loops only, 24 sc
Switch to grey yarn:
R15.2 (grey): working in front loops only, 24 sc
R16: 2 sc, dec, 2 sc, (5 sc, dec across arm), dec, (2 sc, dec) x 2, 2 sc, (dec, 5 sc across arm), dec, 2 sc, dec (30)
R17: (sc, dec) x 10 (20)
R18: 20 sc
Stuff the body. Cut the yarn, leaving a long tail for sewing. Make the straps for the dress by crocheting 10 ch and securing them in row 15.1.
Ears (make 2)
Using grey yarn.
R1: 6 sc
R2: (sc, inc) x 3 (9)
R3: (2 sc, inc) x 3 (12)
R4: sc, inc, (3 sc, inc) x 2, 2 sc (15)
R5: 15 sc
Sew to the head between rows 20–21.
Skirt
Using pink yarn, crochet into the back loops of Row 6.
R1: ch 3, (3 dc in one stitch) x 42
Cut the yarn, fasten off.
Flower
Using pink yarn. Work into an AM.
R1: (ch 2, dc, ch 2, sl st) x 5
Tighten the ring well and sew the flower in front of the ear. Sew a bead in the center of the flower.
Horn
Using white yarn.
R1: 4 sc
R2: (inc, sc) x 2 (6)
R3: (inc, 2 sc) x 2 (8)
R4: (inc, 3 sc) x 2 (10)
R5: (inc, 4 sc) x 2 (12)
R6: (inc, 5 sc) x 2 (14)
Sew to the head between rows 2–5.
Assembly
Glue the safety eyes between rows 10–12. Embroider two eyelashes on each side of each eye.
Embroider a small mouth with black thread under the horn, 3 rows lower.
Cut out felt cheeks measuring 6 x 8 mm and glue them on.
Stitch Terminology Note
Some patterns include stitch notations that do not directly match standard English amigurumi terminology. In this translated version, all stitches have been adapted to standard US crochet terms to ensure clarity and ease of use.
You may also like Amigurumi Baby Elephant Free Pattern
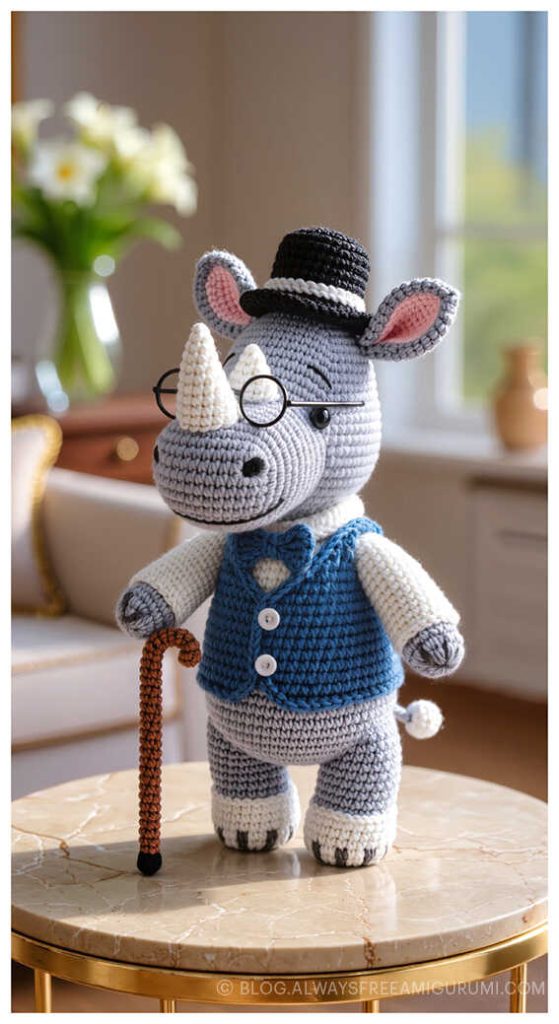
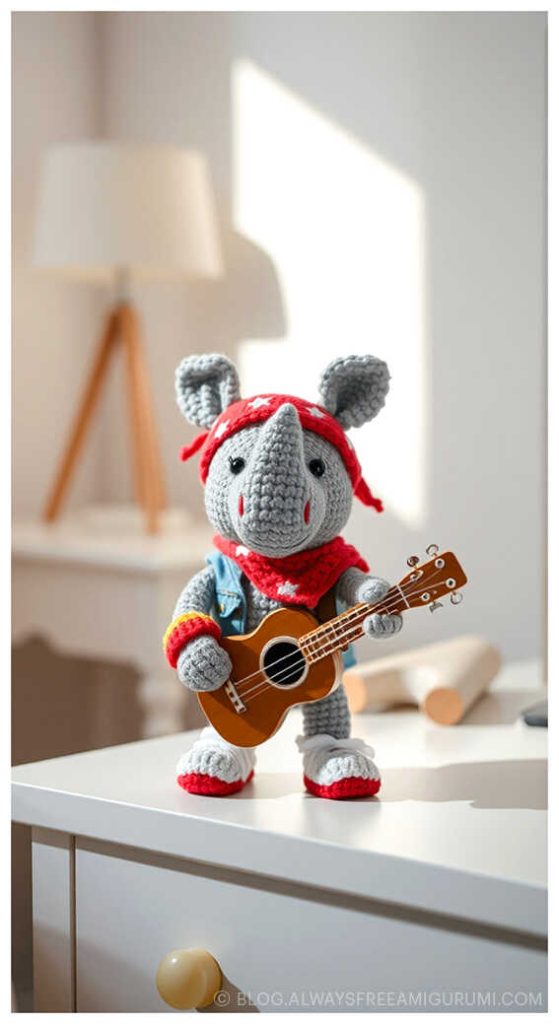
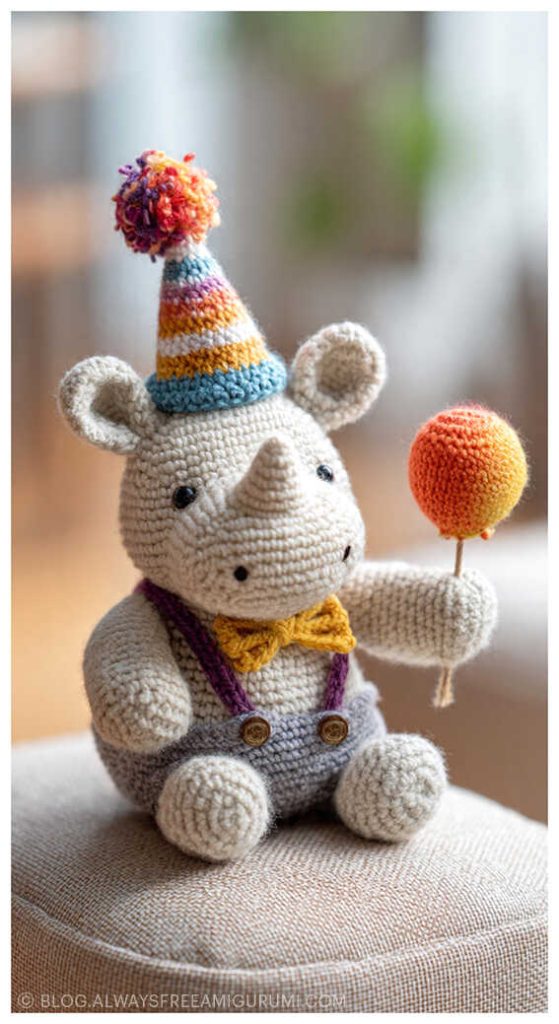
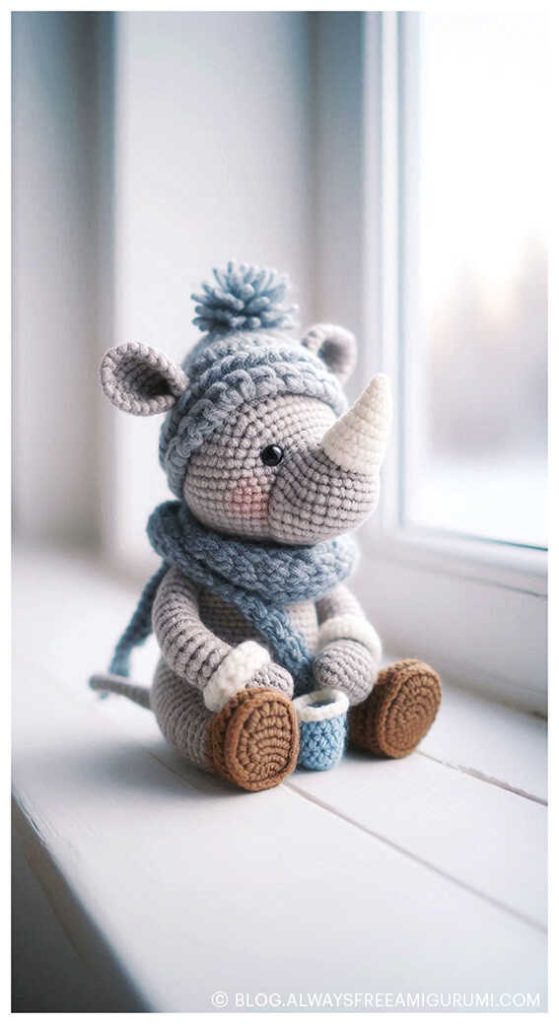
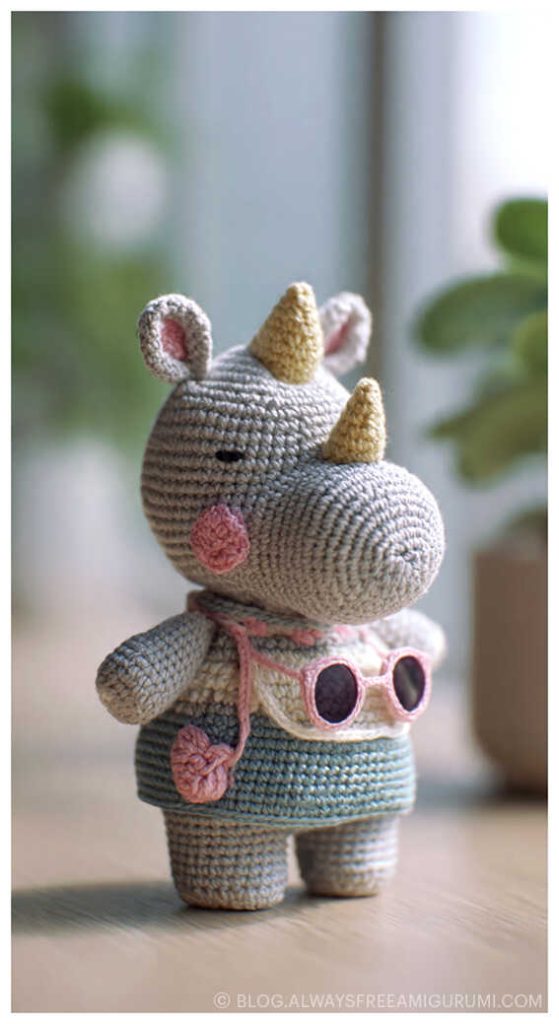
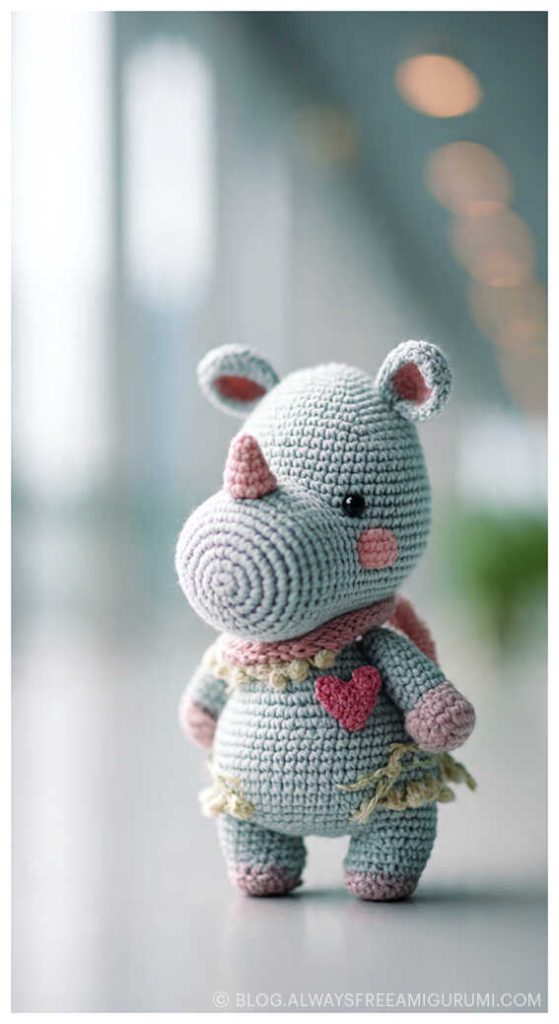
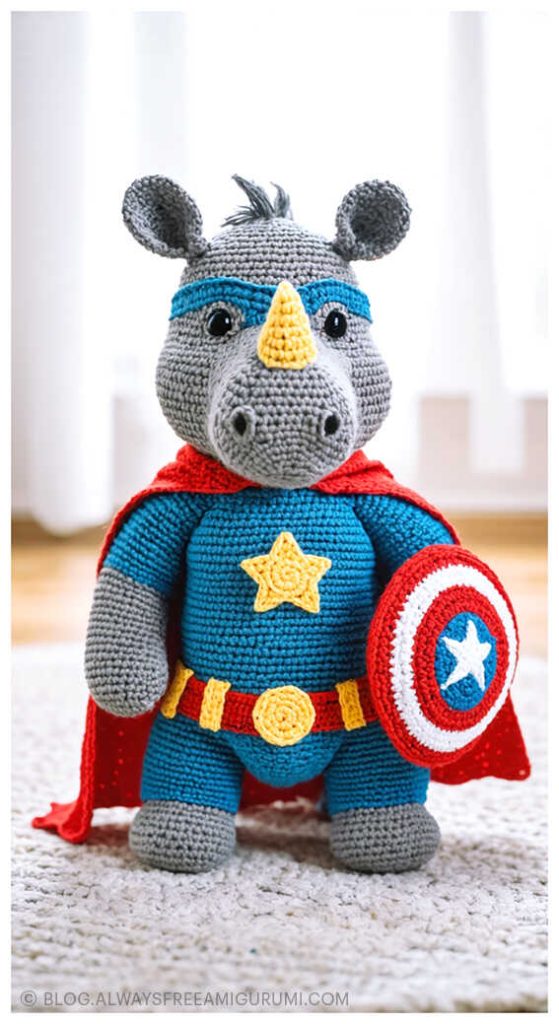
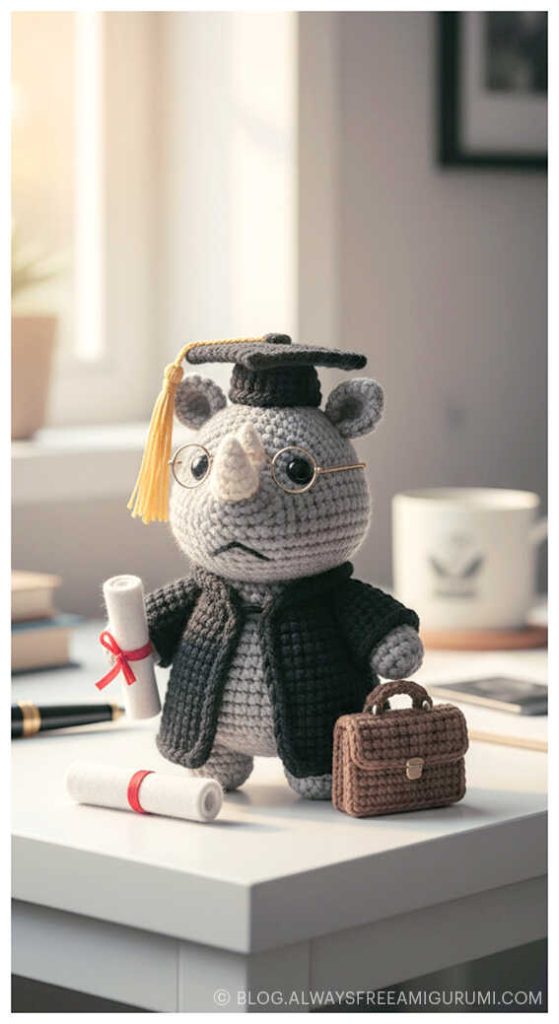
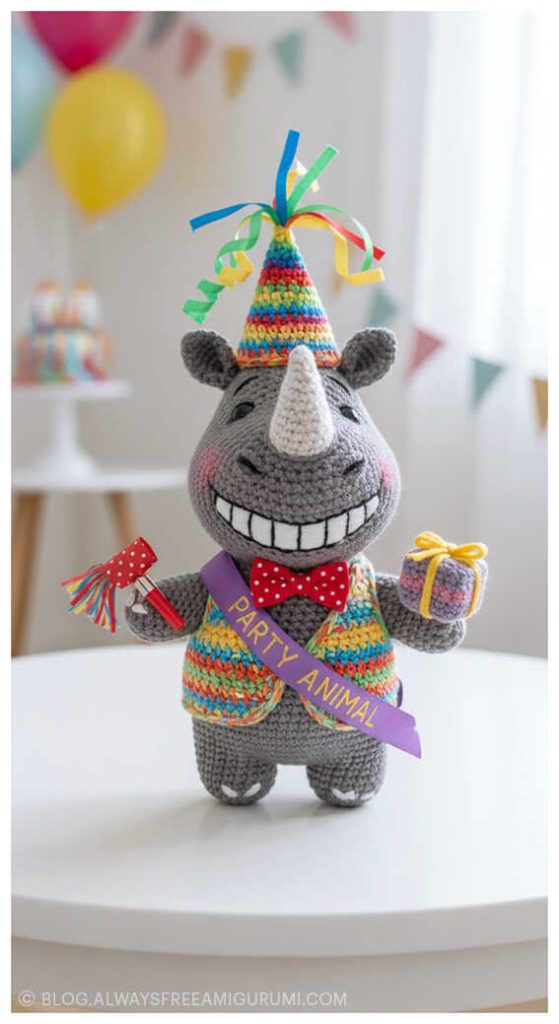
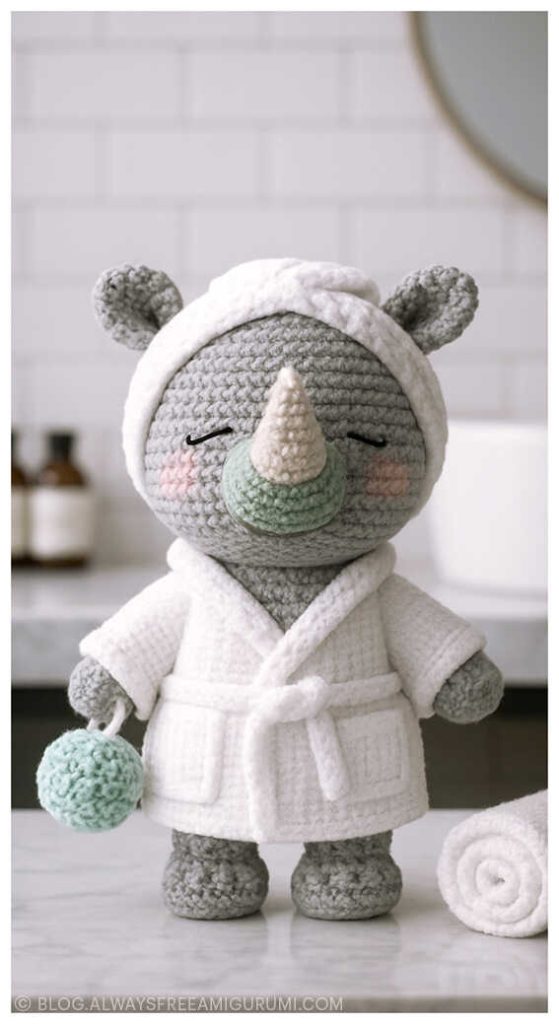
Charming amigurumi rhino ideas:


From Yarn to Adorable: Your Amigurumi Adventure Awaits
Discover step-by-step tutorials for all your favorite amigurumi animals – from adorable amigurumi cats, amigurumi dogs, and bunnies to majestic amigurumi unicorns, amigurumi elephants, and amigurumi giraffes. Our pattern library includes amigurumi bears, amigurumi foxes, amigurumi pandas, amigurumi monkeys, amigurumi lambs, amigurumi pigs, amigurumi birds, amigurumi penguins, amigurumi llamas, amigurumi hippos, amigurumi dinosaurs, plus charming amigurumi amigurumi dolls and amigurumi clowns.
Each amigurumi pattern features clear instructions and inspiring example images to guide your crochet journey. Join our community (Facebook group, Facebook page) of makers, share your creations, and bring these delightful handmade toys to life!
Start crocheting your favorite amigurumi animals today.
Keywords: free amigurumi patterns, crochet toys, amigurumi animals, beginner amigurumi, amigurumi dolls, crochet free patterns, crochet patterns, easy crochet