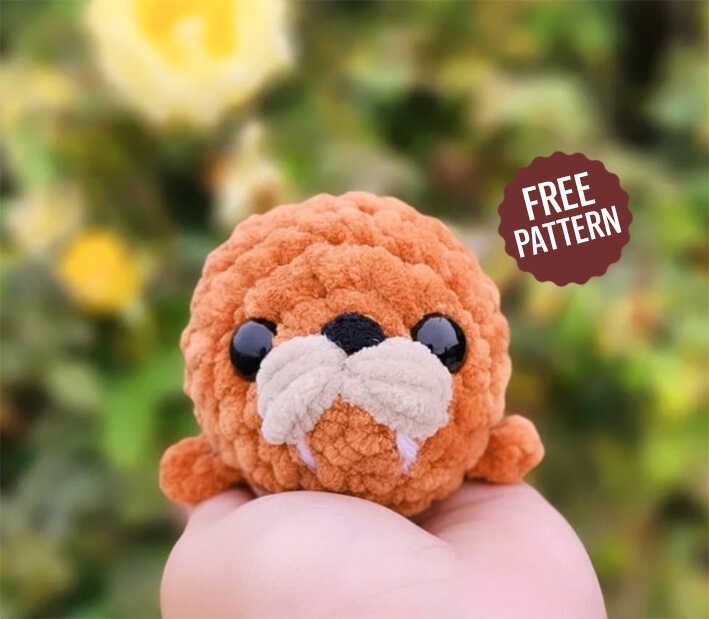
Crochet Walrus Amigurumi Free Pattern
Designer: Cozy Crochet by Chloe
Instagram: @cozycrochetbychloe
Etsy Shop: KozyCrochetbyChloe
Hello everyone…
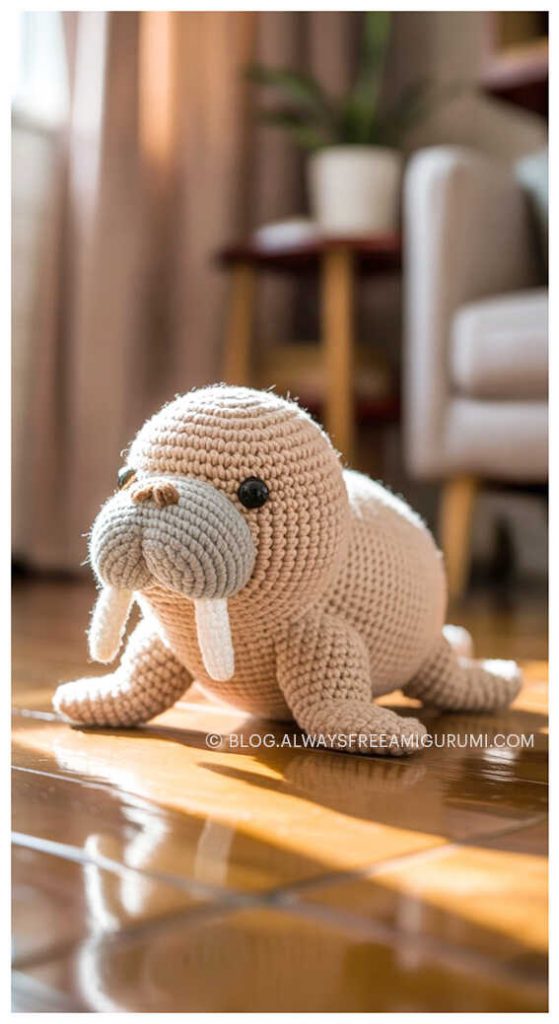
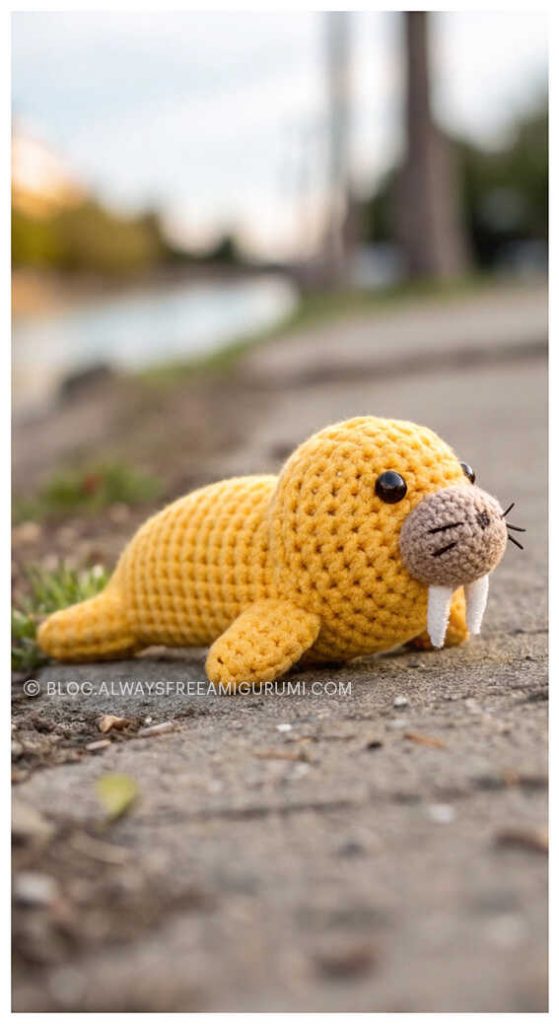
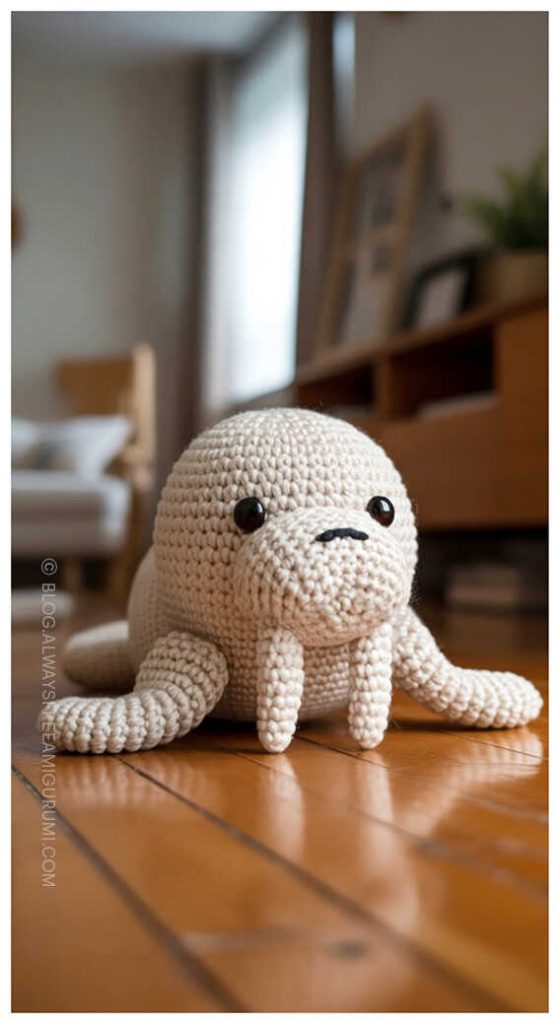
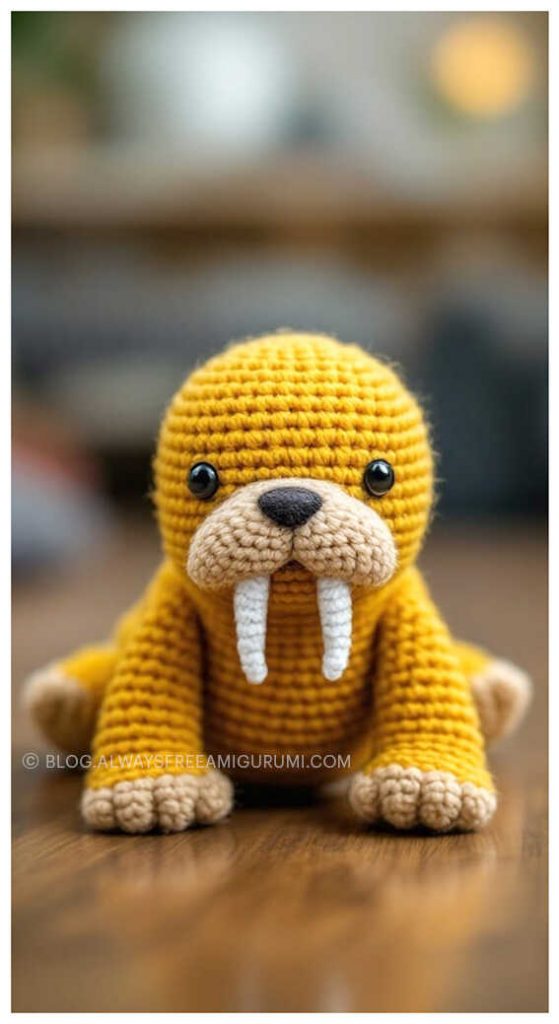
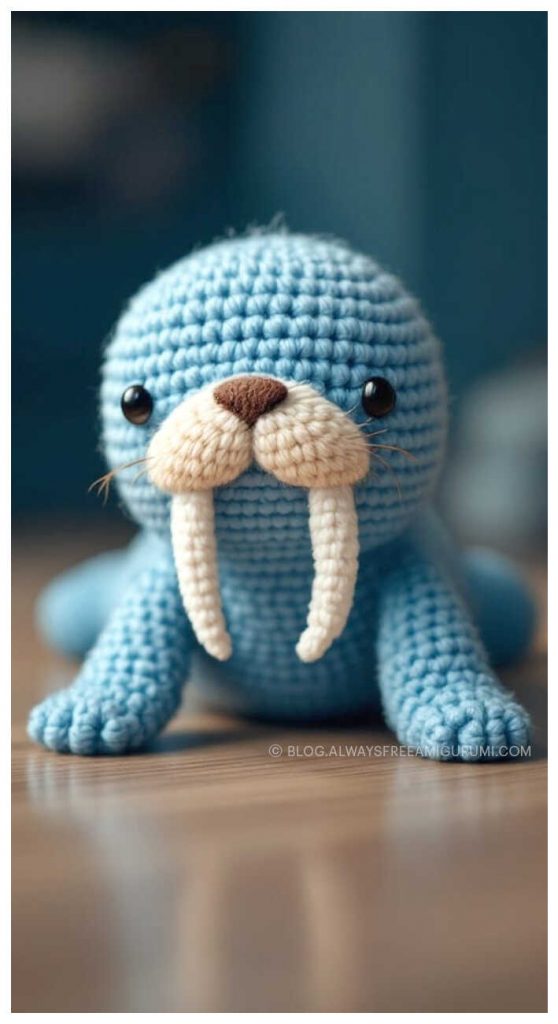
One of the free amigurumi crochet patterns we will share today is the amigurumi walrus keychain, whose photos and design belong to Cozy Crochet by Chloe. You can learn how to crochet this keychain using the free amigurumi pattern. Thanks to dear Chloe White-Johnson for this cute walrus.
Amigurumi cats, amigurumi dolls, amigurumi dogs, amigurumi unicorns, amigurumi lambs, amigurumi dinosaurs, amigurumi foxes, amigurumi bears, amigurumi giraffes, amigurumi pigs, amigurumi birds, amigurumi penguins, amigurumi pandas, amigurumi llamas, amigurumi bunnys, amigurumi clowns, amigurumi elephants, amigurumi hippos, amigurumi monkeys… All the amigurumi toys pattern step by step tutorials and ideas you are looking for are here… Don’t forget to visit our YouTube channel…
Abbreviations.
• MR: Magic Ring
• R: Round
• sc: Single Crochet
• dec: Decrease
• inc: Increase
• hdc: Half Double Crochet
• Ch: Chain
• st: Stitch
• sts: Stitches
• sl st: Slip Stitch
• FO: Fasten Off
• Instructions written in (…) are repeated steps or the total number of stitches at the end of a round.
Materials
• Sweet Snuggles yarn (Weight 6) in shades Terracota and Sand.
• Weight 4 yarn in the shade White for tusks.
• Weight 6 scrap black yarn for nose.
• 5.5mm crochet hook
• 12mm saftey eyes x2
• Scissors
• Poly-fil stuffing
• Stitch marker
• Yarn needle
AMIGURUMI WALRUS KEYCHAIN FREE PATTERN
Walrus Body
Starting in Walrus body color:
R1: 5sc in MR (5)
R2: 5inc (10)
R3: (sc, inc) x5 (15)
R4: 2sc, inc, 2sc, 7inc, 2sc, inc (24).
On Round 4 after the 3rd and 4th increase place a stitch marker to mark the center of the face.
R5-R7: 24sc (3 rounds)
R8: (2sc, dec) x6 (18)
R9: 18sc (18)
R10: (sc, dec) x6 (12)
Insert safety eyes between rounds 3- 4 about 3 sts apart.
Start stuffing.
R11-R12: 12sc (2 rounds)
R13: 6dec (6)
Finish stuffing.
FO and weave yarn tail through front loops only to close the hole.
Tail fins and flippers
Tail Fins:
Insert your hook into the tail of the body. Pull yarn through the stitch and Ch 3, starting in the 2nd Ch from your hook, 3 hdc in one st. In the next stitch, 1hdc. Ch 3 starting on the 2nd Ch from your hook, 3hdc in one st, 1 hdc in the last Ch. Now sl st back into the starting st. FO and hide your yarn tails.
Flippers:
On round 6, insert your hook
towards the belly of the walrus and Ch 2, starting in the 2nd Ch from your hook, 3 hdc in one st. Sl st into the next st over on round 7. FO and hide your yarn tails. Repeat steps for the 2nd flipper. The flippers should be placed 4 sts apart.
Walrus Facial Details
Whiskers
Using Sand yarn: Embroider the whiskers between R1-R3. Make
multiple passes to get a fuller effect. Repeat on other side for the next whisker.
Nose
Using black scrap yarn: Embroider nose right above the whiskers.
Tusks
Using White yarn (Weight #4):
Emroider the tusks between R1-R4
Make sure the whiskers are covering the top of the tusks.
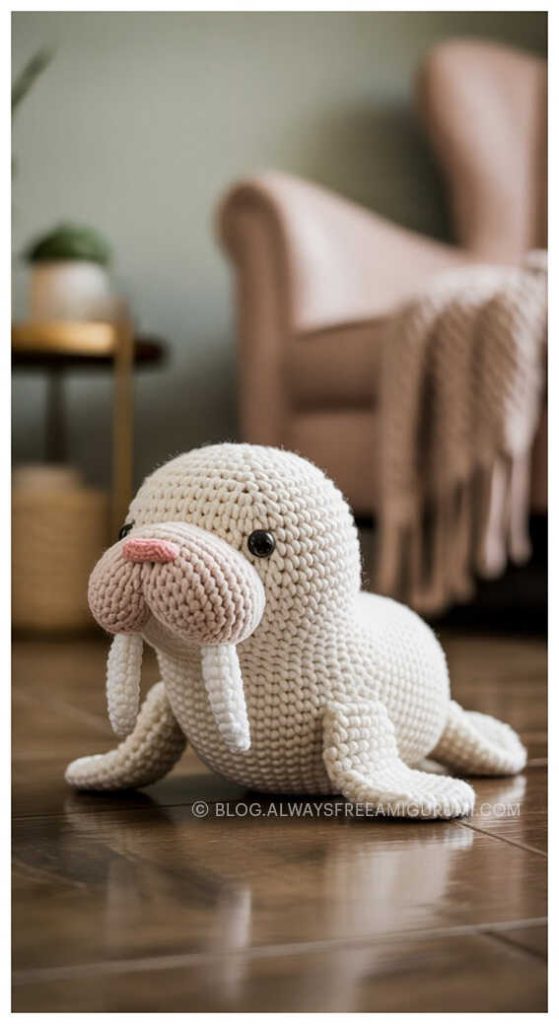
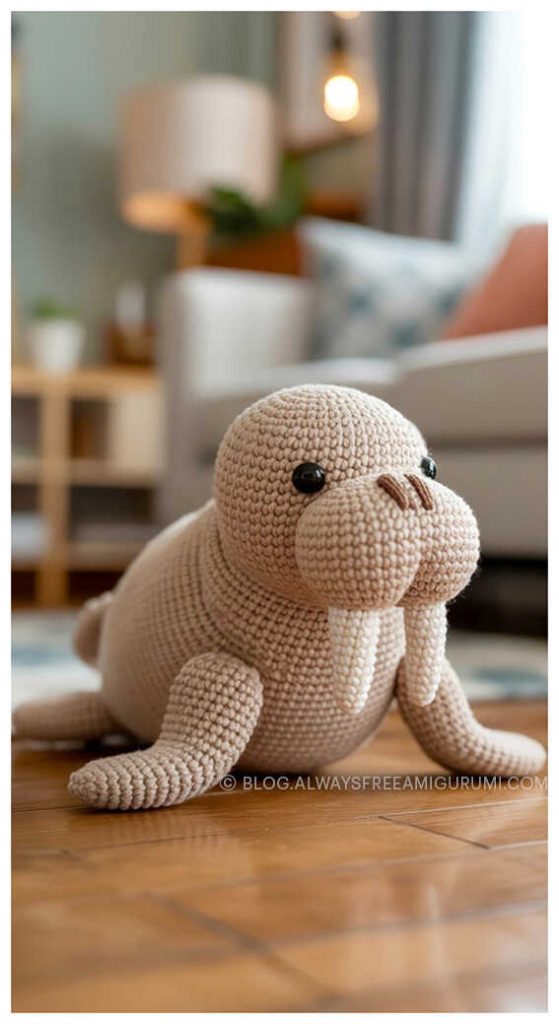
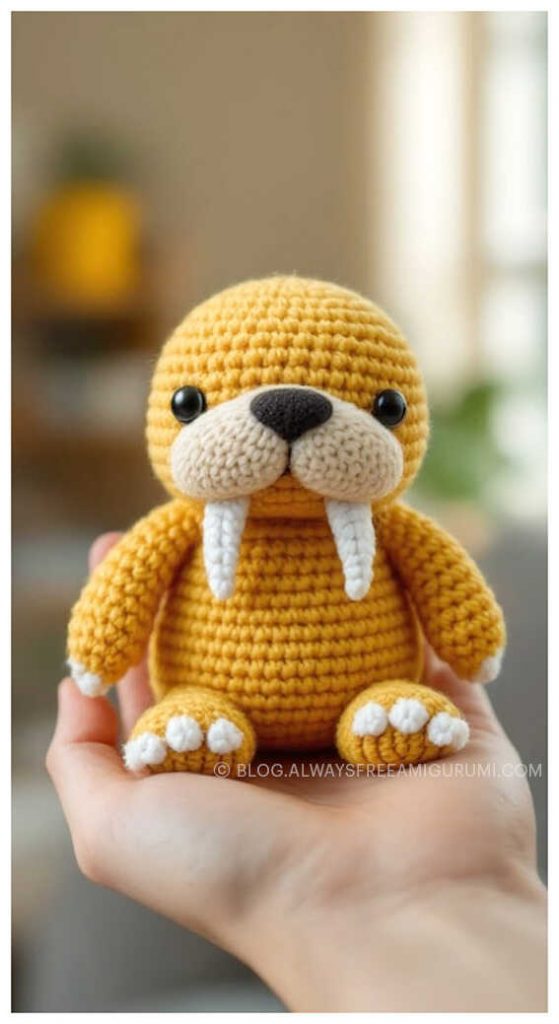
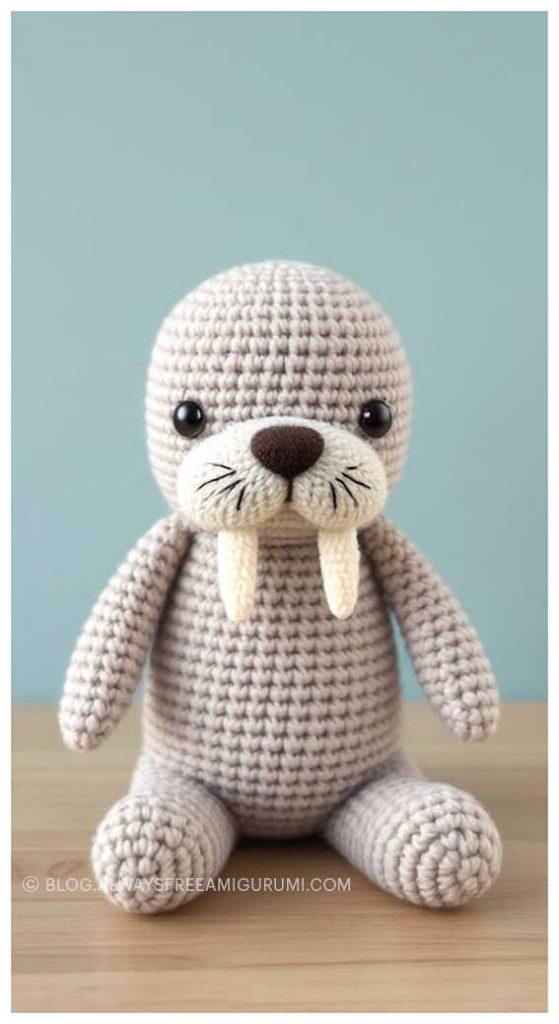
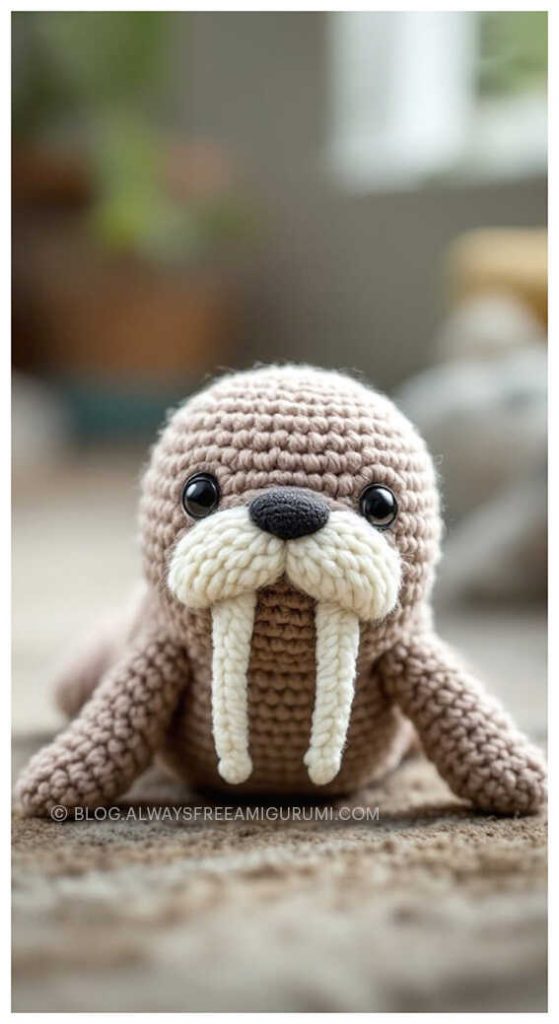
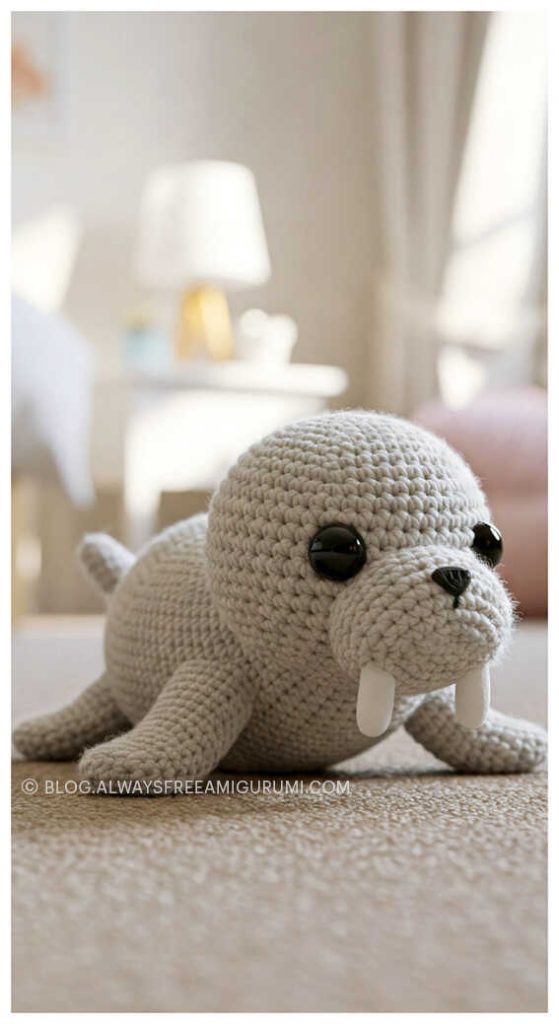
More amigurumi walrus ideas: